Mockplus Cloud provides a convenient plugin for users to import designs with assets from Figma.
Download the Figma pluginDownload and install the Figma plugin.
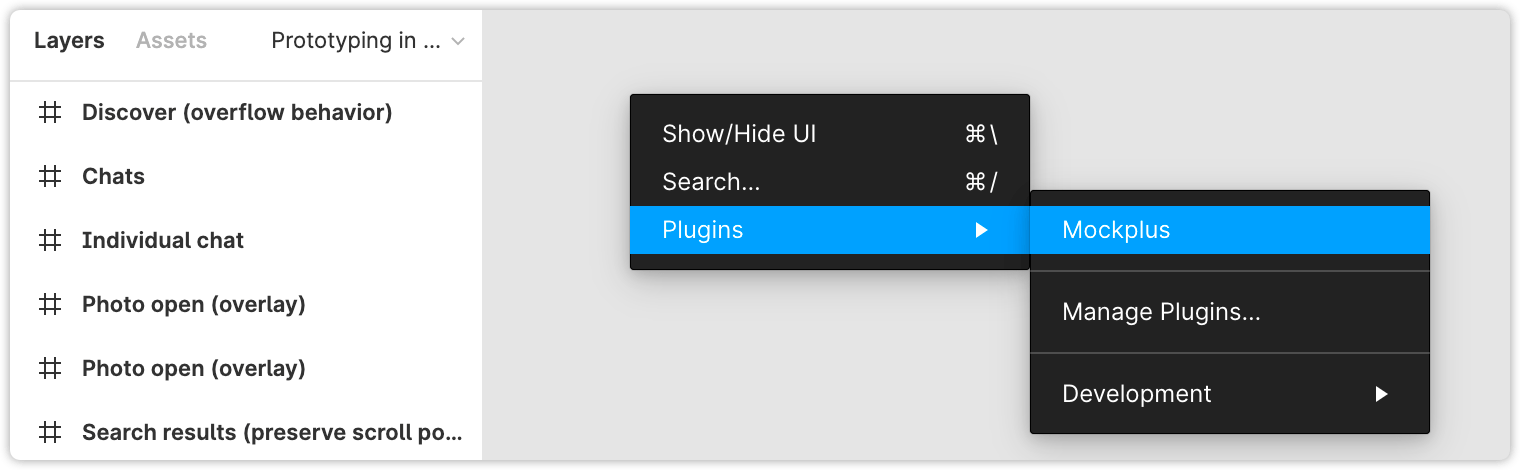
Start the Figma PluginAfter successfully installing the plugin on your computer, you can open a project in Figma and right-click on whitespace to open it by selecting: Plugins > Mockplus.
Register & Log InTo use the plugin, you'll need to log in with your Mockplus account. If you don't have an account yet,
register one here.
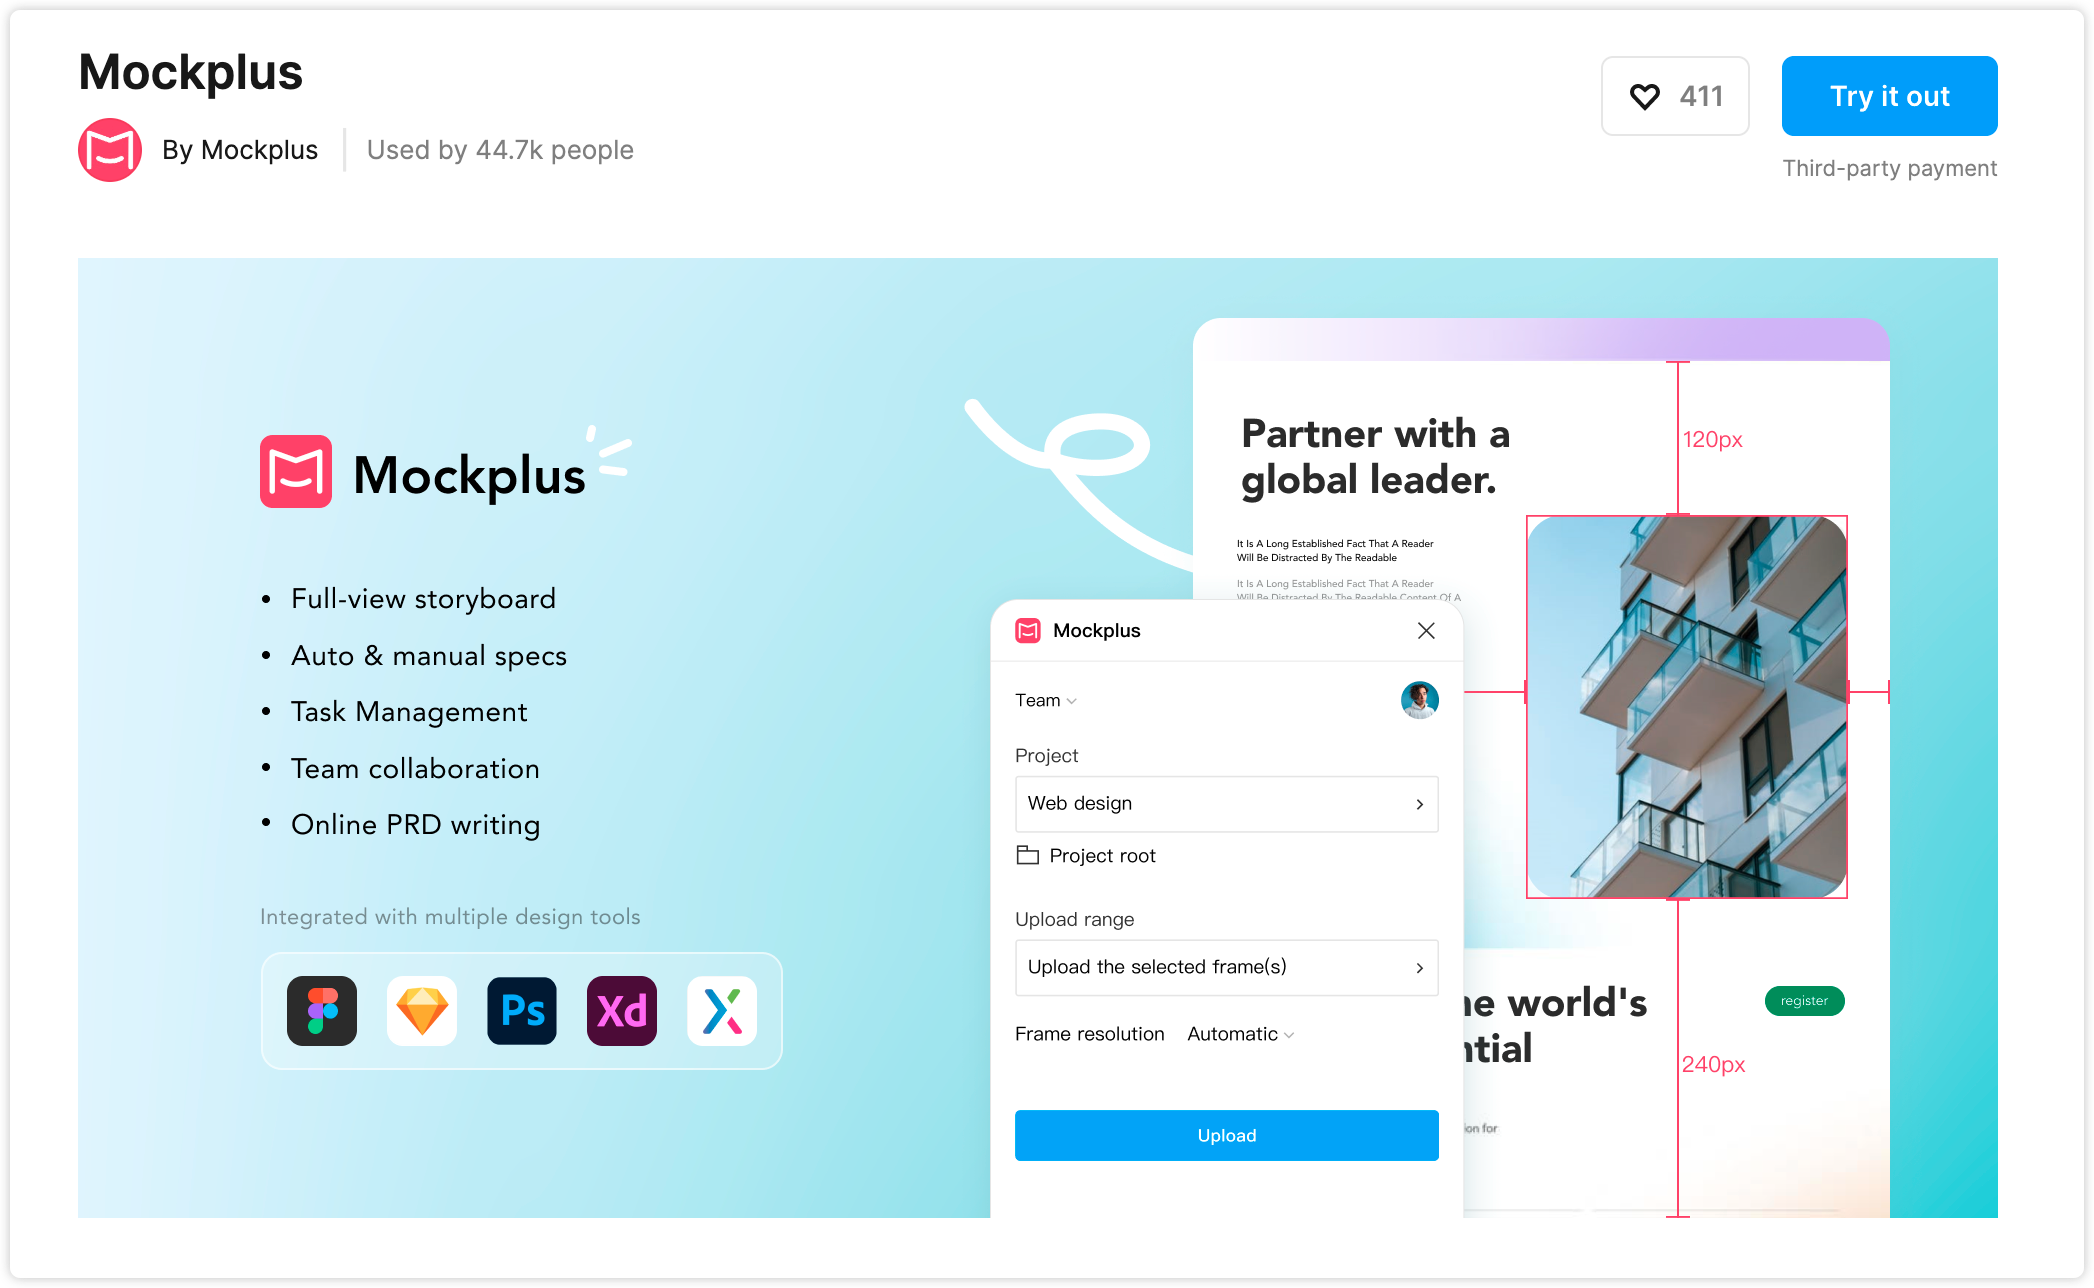
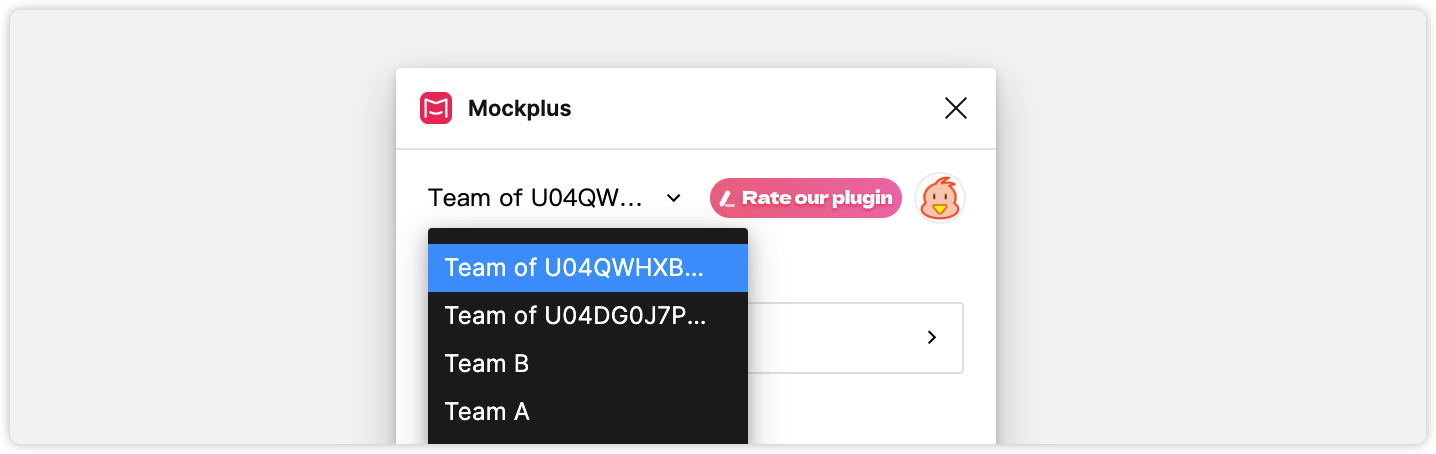
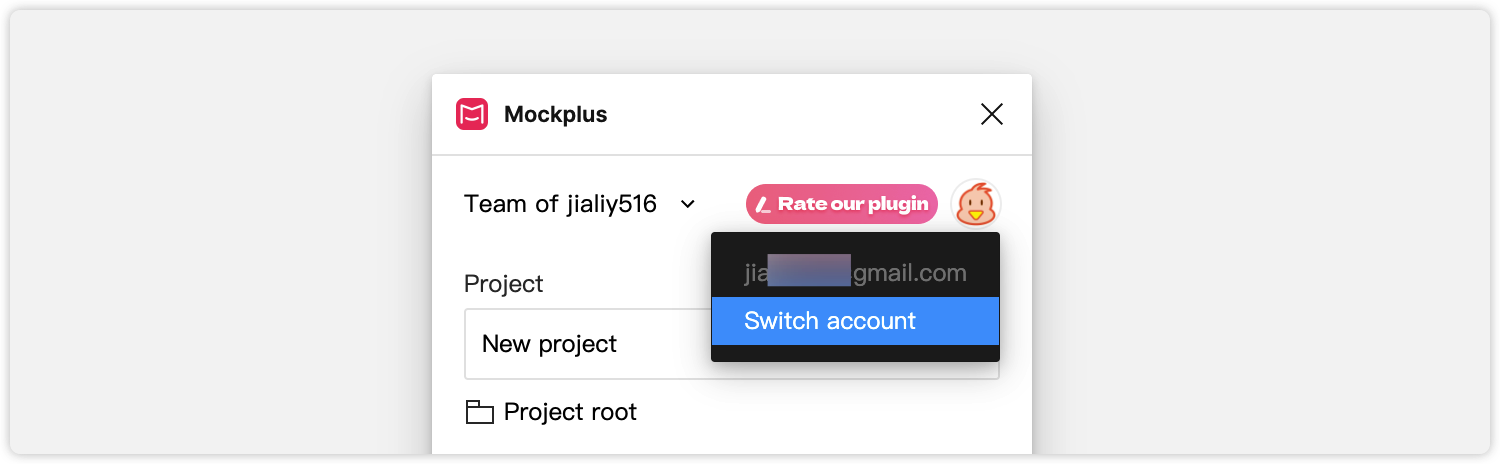
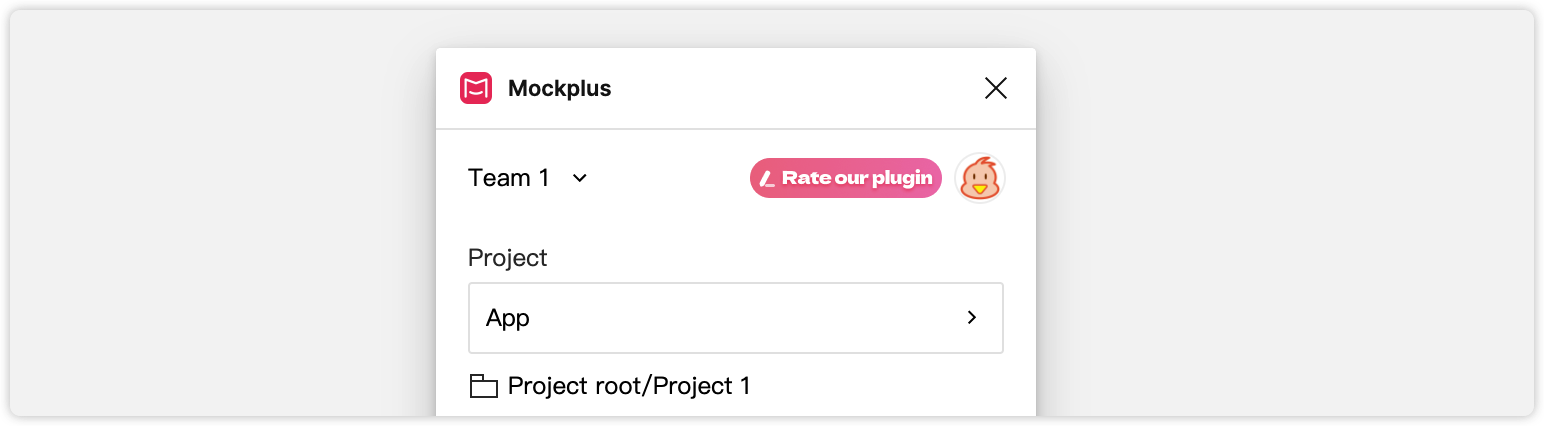
Switch Teams or AccountsOnce you've logged in, you'll be seamlessly taken to the upload interface. To switch between different teams, click on the team name in the top left corner. Additionally, to switch between different accounts, just click on the avatar on the right side.
 Create a New Project
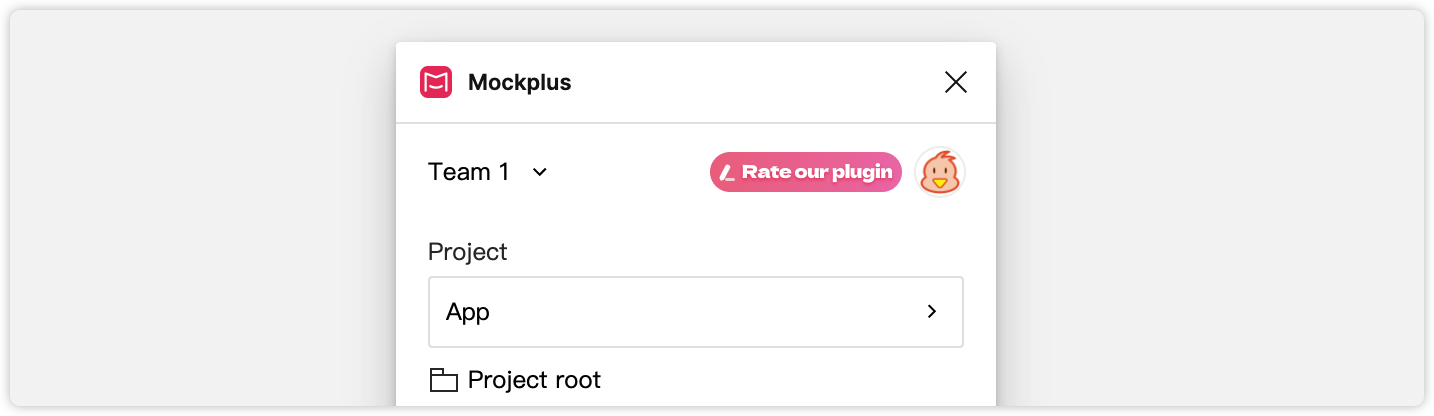
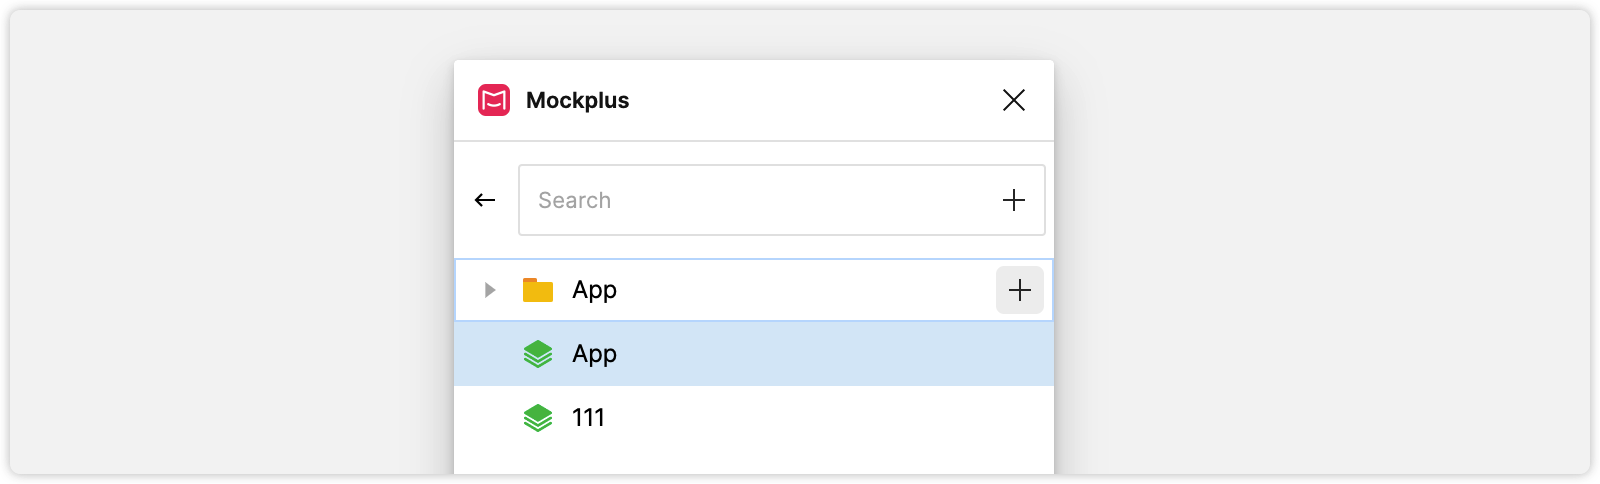
To import designs from Figma, you'll need to choose the project from which you want to import the designs and assets. If you don't have a project, you can easily create one. Within the plugin, click on the triangle icon to access the selection page. Next, click on the "+" icon located next to the search bar to create a new project.
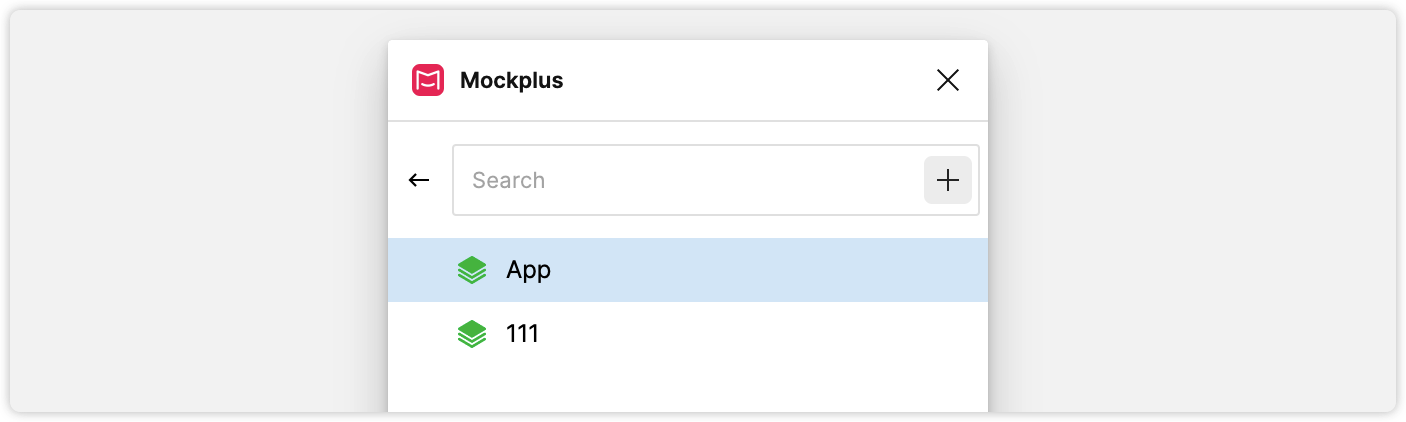
You can also create a subproject within a project folder by hovering over that project folder and clicking on the "+" icon next to it.
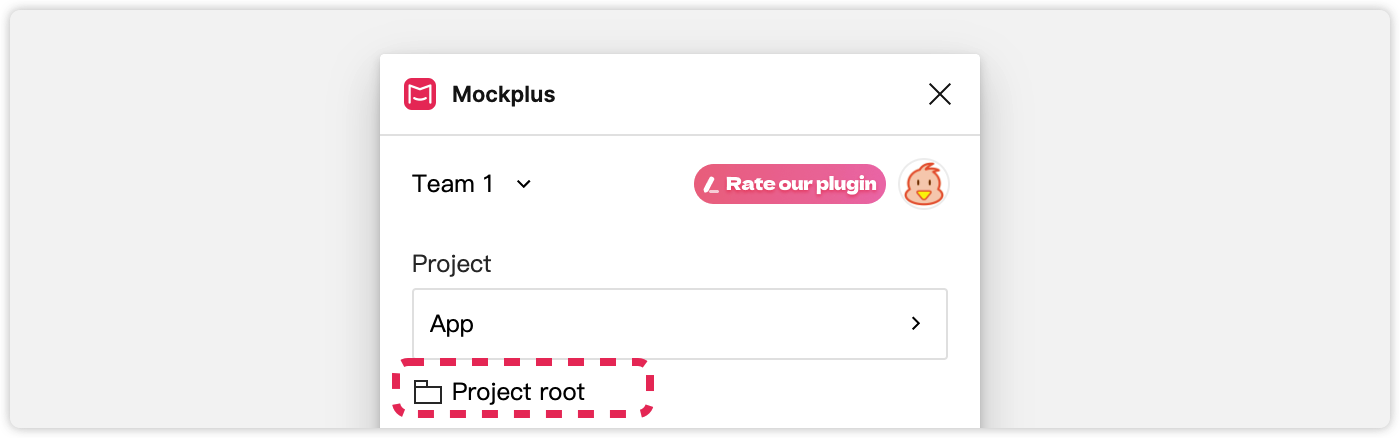
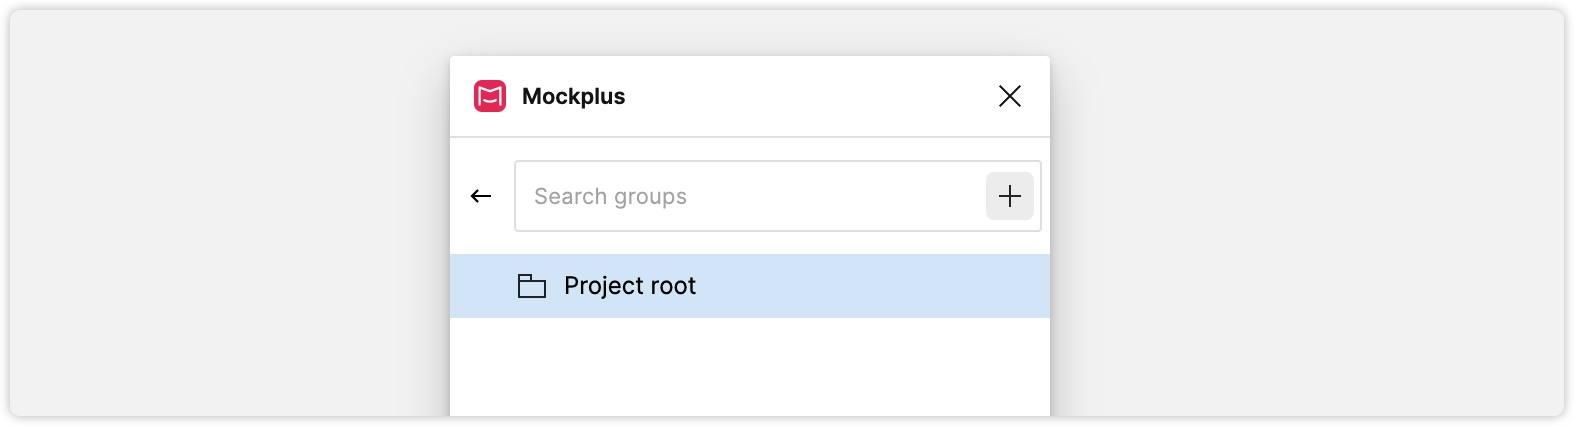
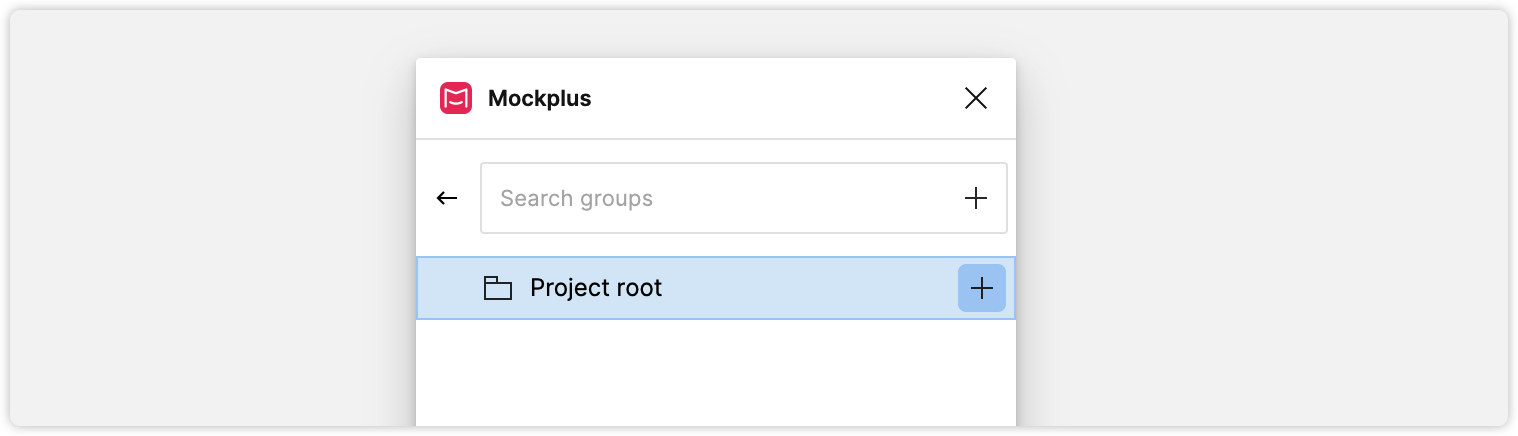
When you've selected a target project, you may create or select a frame group within that project then. Just click on the "Project root" located below that selected project and enter a dedicated interface where you can make your frame group selection.
To create a new frame group, simply click on the "+" icon next to the search bar.
Alternatively, if you want to create a subgroup within an existing frame group, hover over the desired frame group and click on the "+" icon next to it.
After selecting the appropriate frame group, return to the upload interface. You will notice that the location path of the selected frame group will be displayed below the project you initially chose.
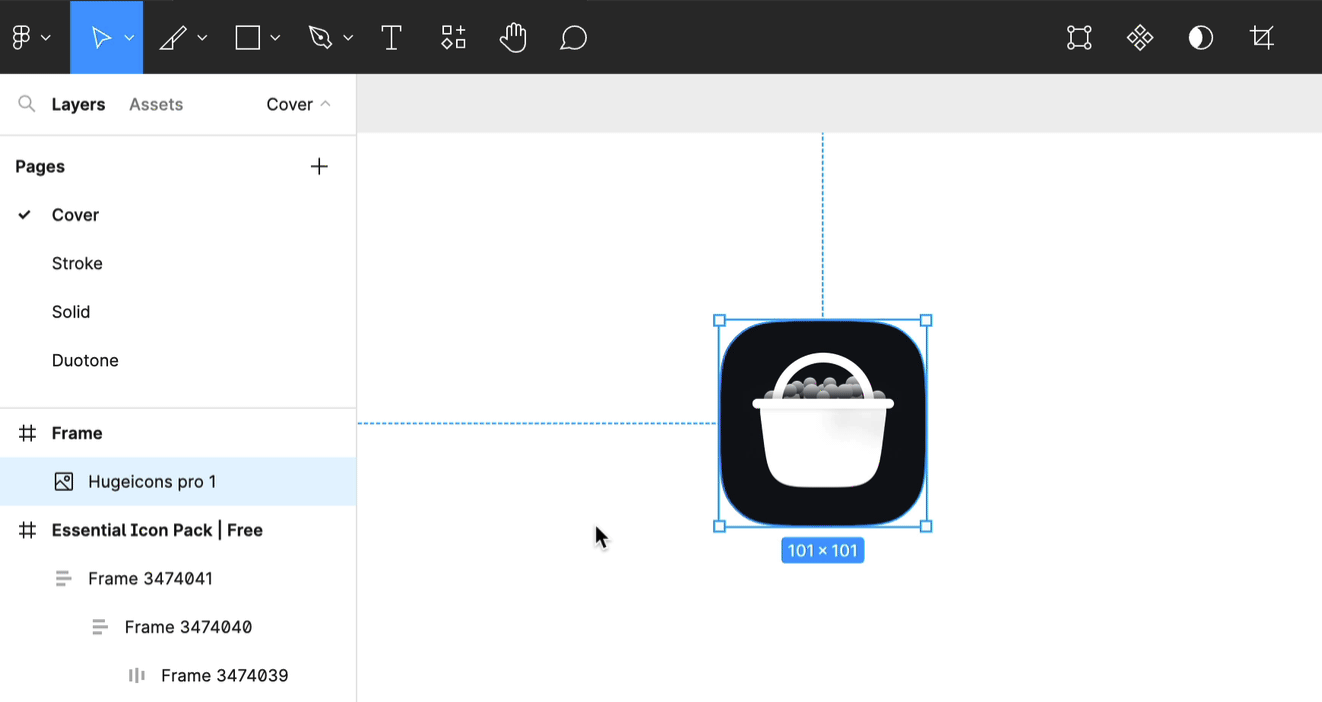
Mark Assets for ExportWith our Figma plugin, exporting both designs and assets to Mockplus Cloud becomes a breeze. What you should do is first mark any desired layers or groups as assets for export.
There are two ways can help you accomplish that:
Way 1: Use the Export ToolSelect the layers and groups that you want to export as assets for export.
In the bottom right corner of Figma, you'll find the "Export" button.
Simply click on "Export" and Figma will handle the rest, ensuring your selected elements are marked as assets for export.
Way 2: Use the Slice ToolChoose the layers or groups that you'd like to export as assets.
Look for the "Slice" tool in the toolbar, which can be found under the Region tools dropdown. Alternatively, you can directly use the shortcut "S" for quick access. Once the Slice tool is activated, you also have the flexibility to customize the size of the slice according to your preferences.
Figma will automatically mark the selected layers or groups as assets, ready to be exported.
When using our Figma plugin, you can export your designs at various scales.
To select the ideal upload scale, simply expand the dropdown menu and explore the available options. We've included common choices for Android, iOS, and web platforms, so you can easily find one that complements your designs seamlessly.
For instance, if your design is sized at 750 x 1334 pixels, you can opt for the @2x scale. On the other hand, if it measures 375 x 667 pixels, the @1x scale would be a suitable choice.

Here are the upload scales at your disposal, enabling you to align them perfectly with your designs:
If you prefer not to manually select an upload scale, our plugin will automatically detect your designs and choose the optimal scale for your designs instead.
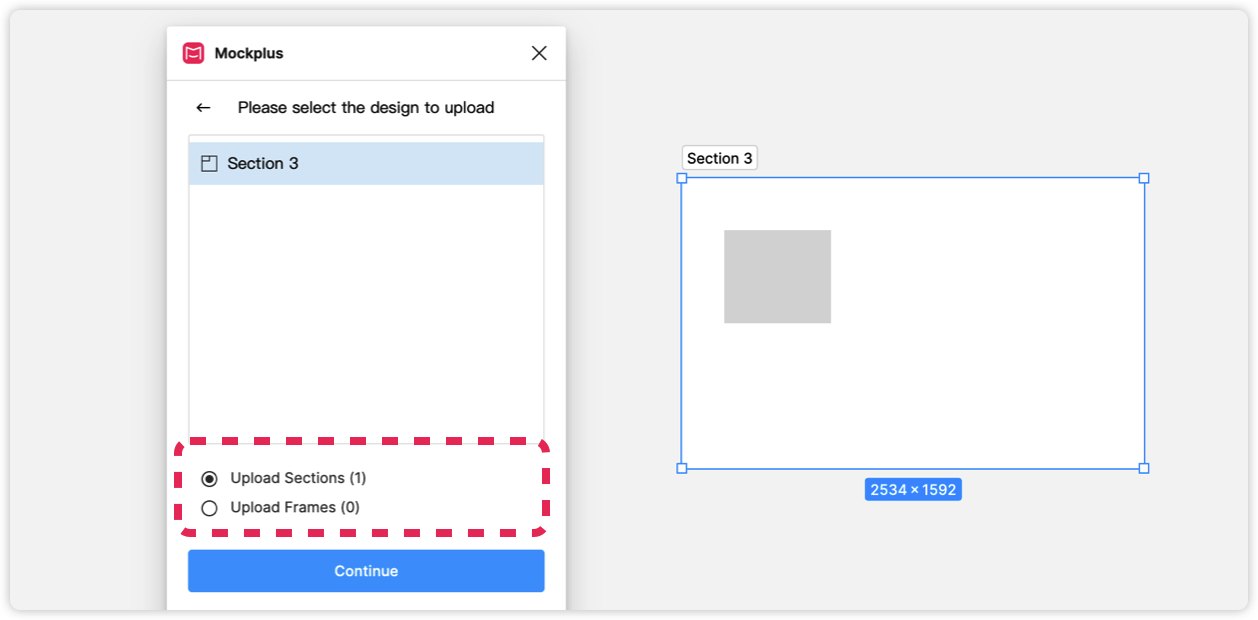
Before uploading all of your designs, you may select an upload scope: Upload all frames and Upload the selected frames.

Upload SectionsWhen selecting "Upload the selected frames" and choosing one or multiple Sections, you have the option to upload either the entire Section or only the Frames within the Section.
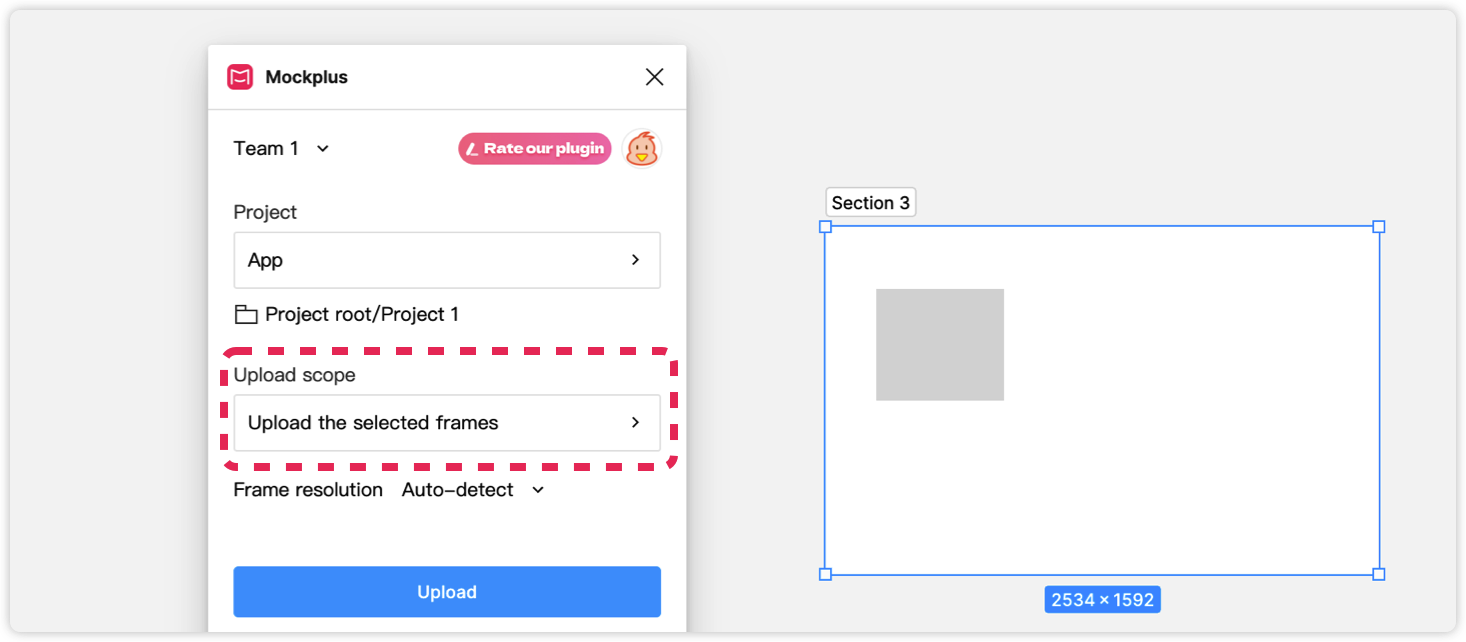
If you choose to "Upload Sections," the entire Section will be uploaded as a whole to our design collaboration platform. (Note: The Section is limited to a size of 10000*15000 px.)
When selecting "Upload Frames," only the Frames contained within the Section will be uploaded to our design collaboration platform, excluding the Section itself.
Upload High-Quality DesignsWhile trying to upload your designs, you can enable the "Upload high-quality designs" option by clicking "More - Settings" in the bottom left corner of the plugin.
When this option is selected, all designs you've uploaded to our web platform will be clearer and of higher quality compared to before.

Upload High-Quality AssetsWhen uploading your designs, you can also upload your assets with a higher quality simply by clicking "More - Settings" in the bottom left corner of the plugin and selecting the "Upload high-quality assets" option there.
And then, our plugin will upload your selected images at all of the corresponding resolutions. This ensures that the highest-quality images (the original images) are available for download on the web platform.
Note: Enabling this option may slow down the upload process.
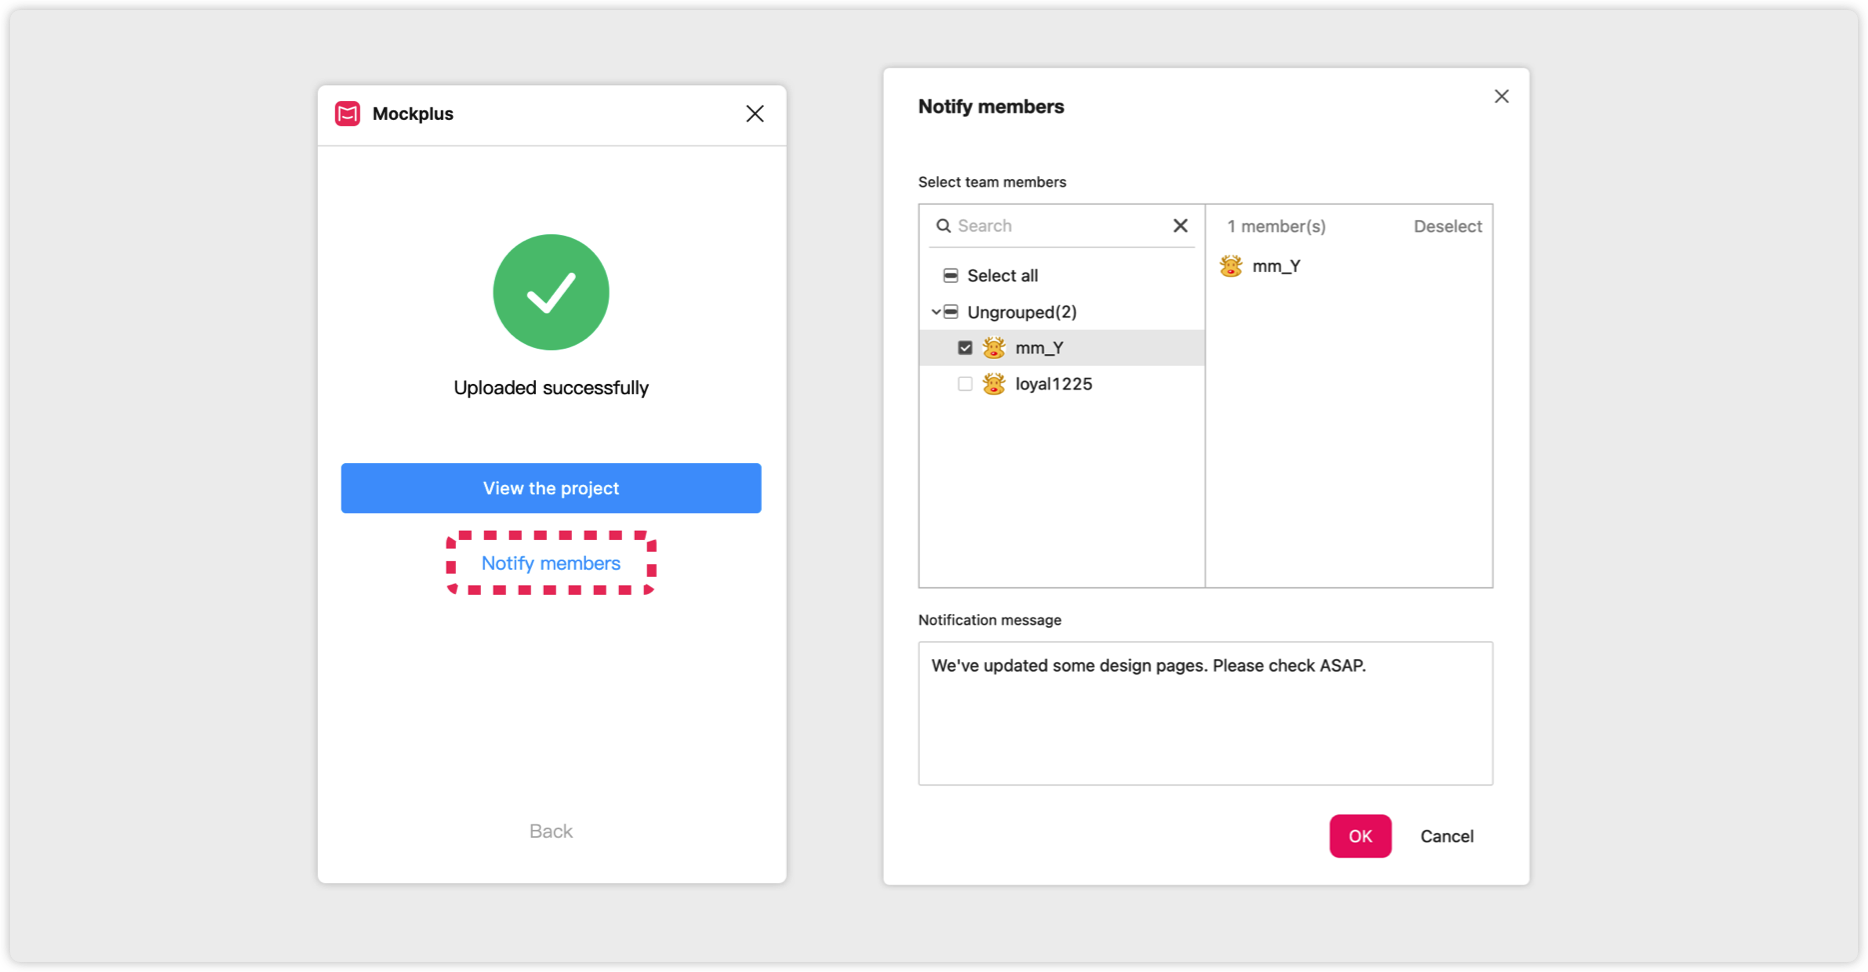
Notify MembersAfter updating your designs in Mockplus Cloud, you can notify your team members so they can check updates as soon as possible. Click “Notify members”, select the members to whom you want to send notifications, and enter a notification message. These members will then be notified in real-time.