Set Project Type
In Mockplus Cloud, there are three ways to change the project type:
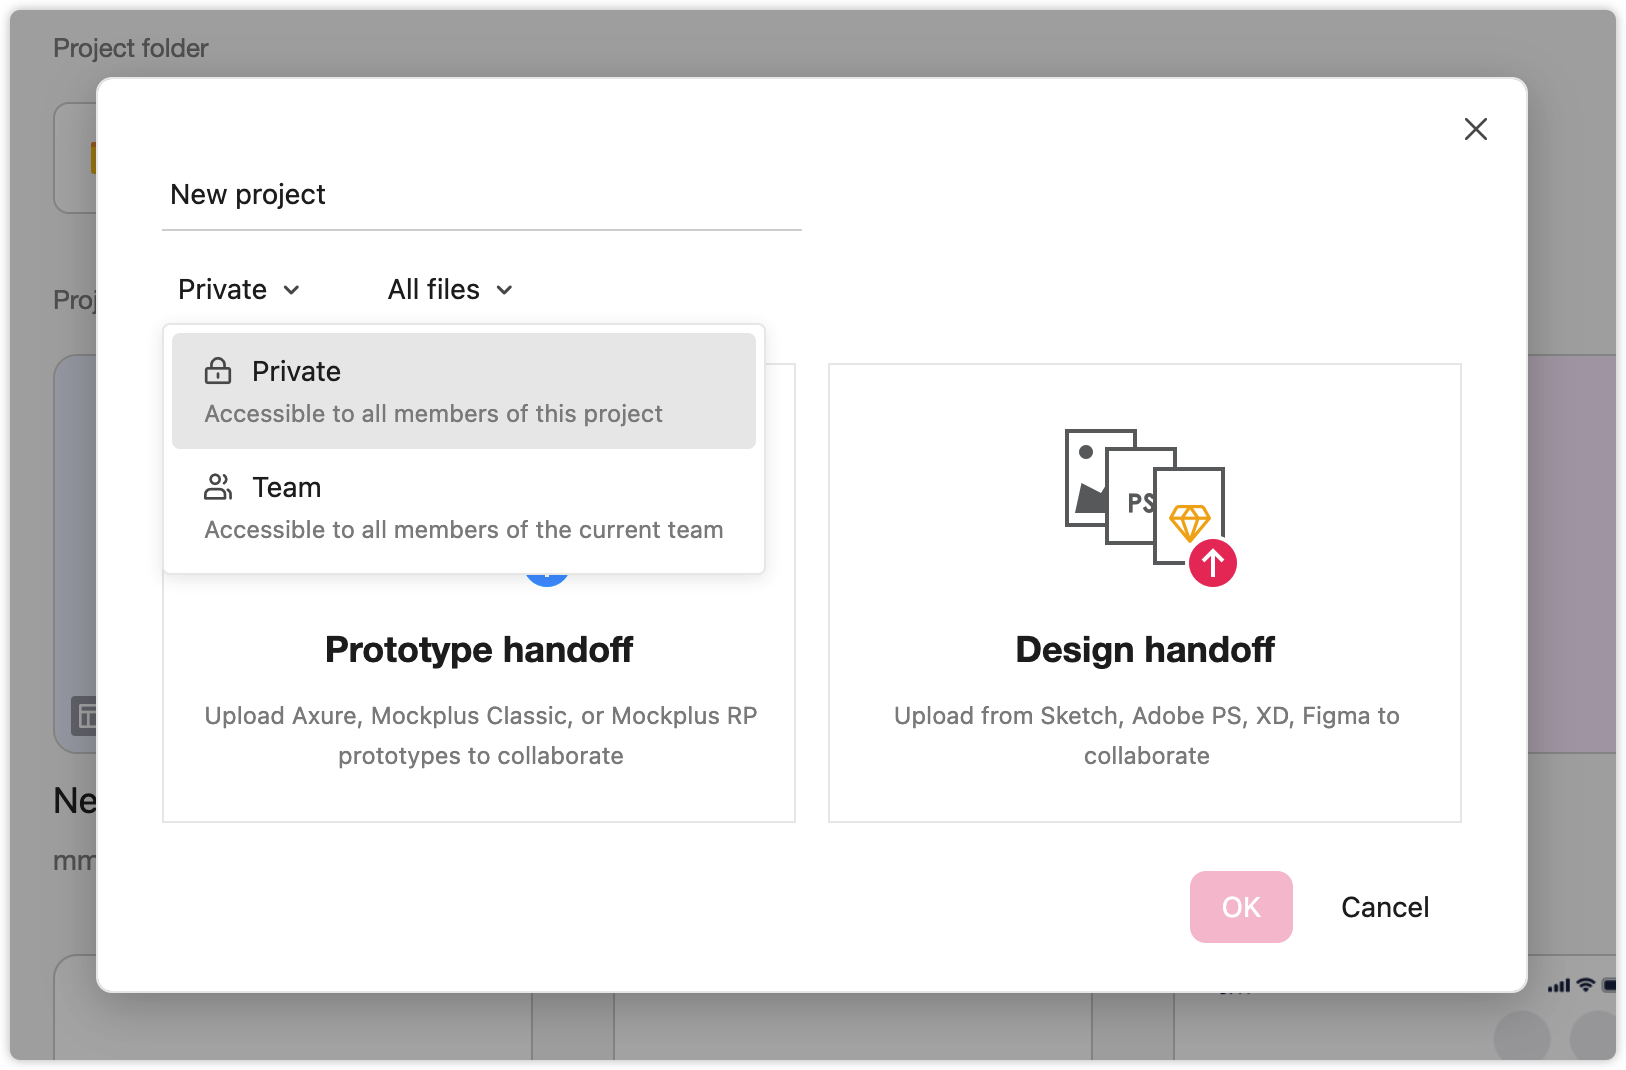
When you create a project, you can choose whether the project is a private project or a team project.
- Private project: the project is only accessible to project members;
- Team project: the project is accessible to all members of the team.
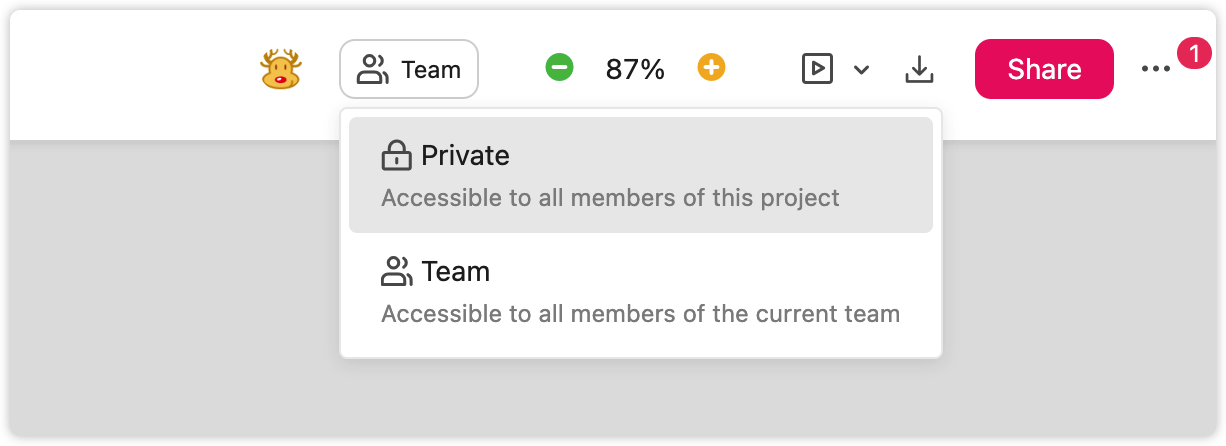
After entering a project, you can switch between these two project types as the image below shows:
(Note that only the project creator, Super Admin and Admin have permissions to set this.)
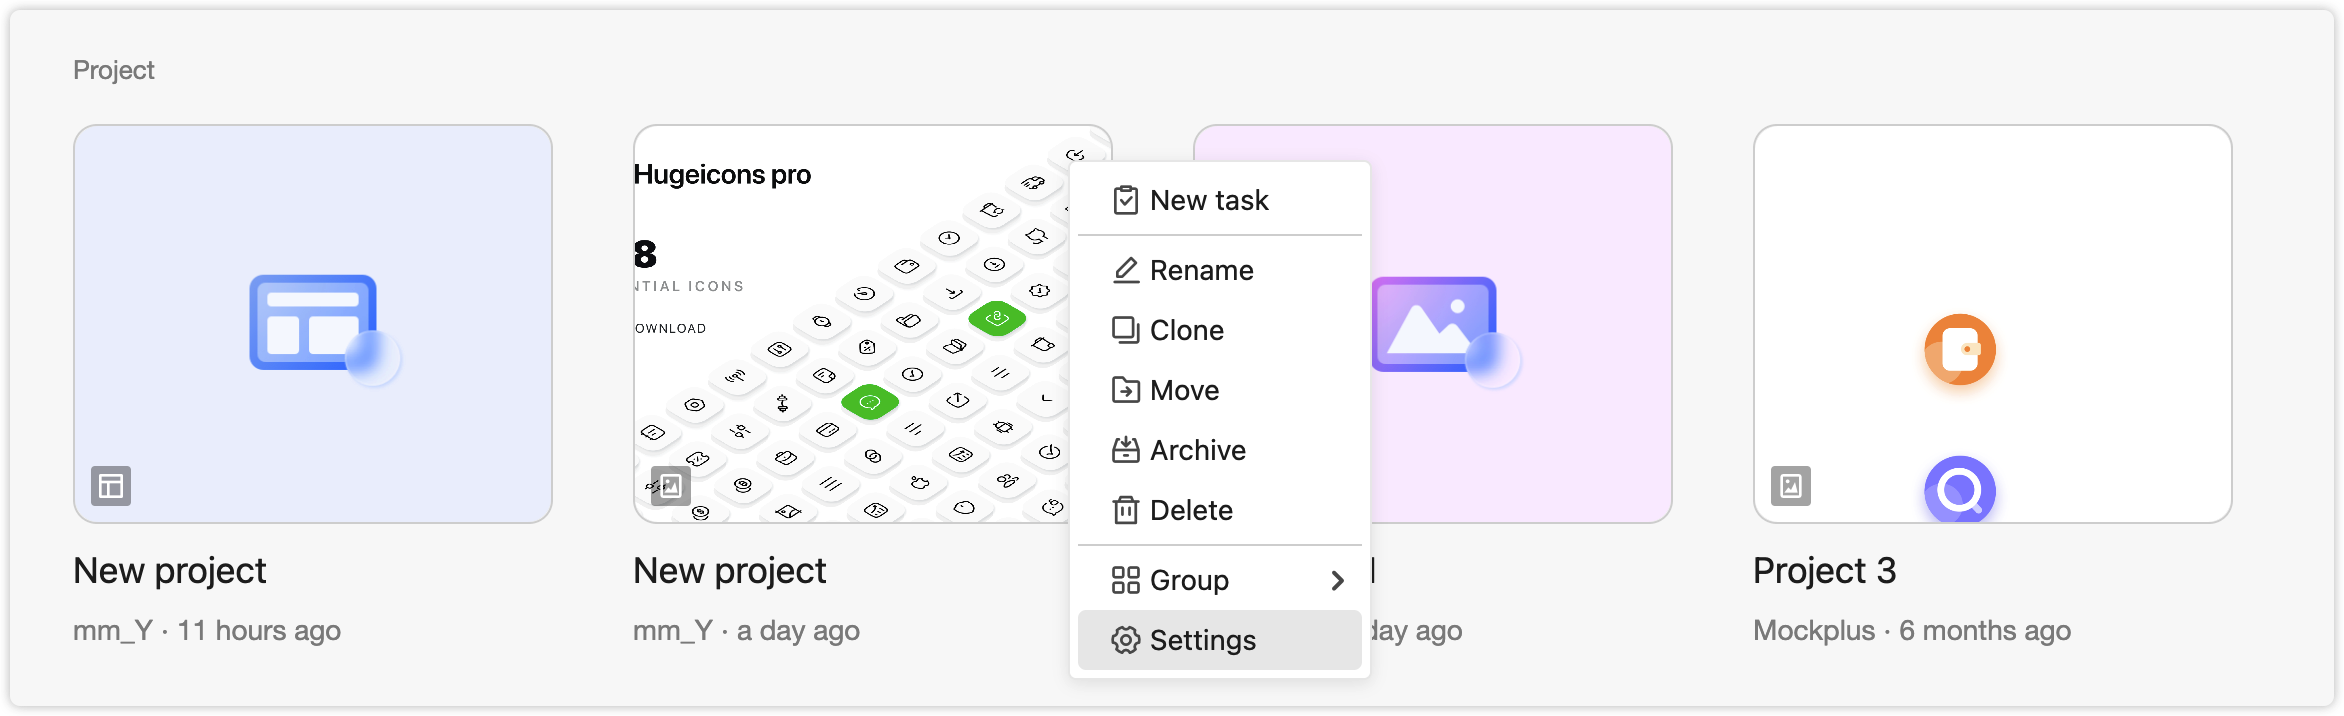
You can click "More" > "Settings" > “Permission” on the upper right corner of the cover to change the project's permission type for the current project.
Check Project Members
Two ways to check project members:
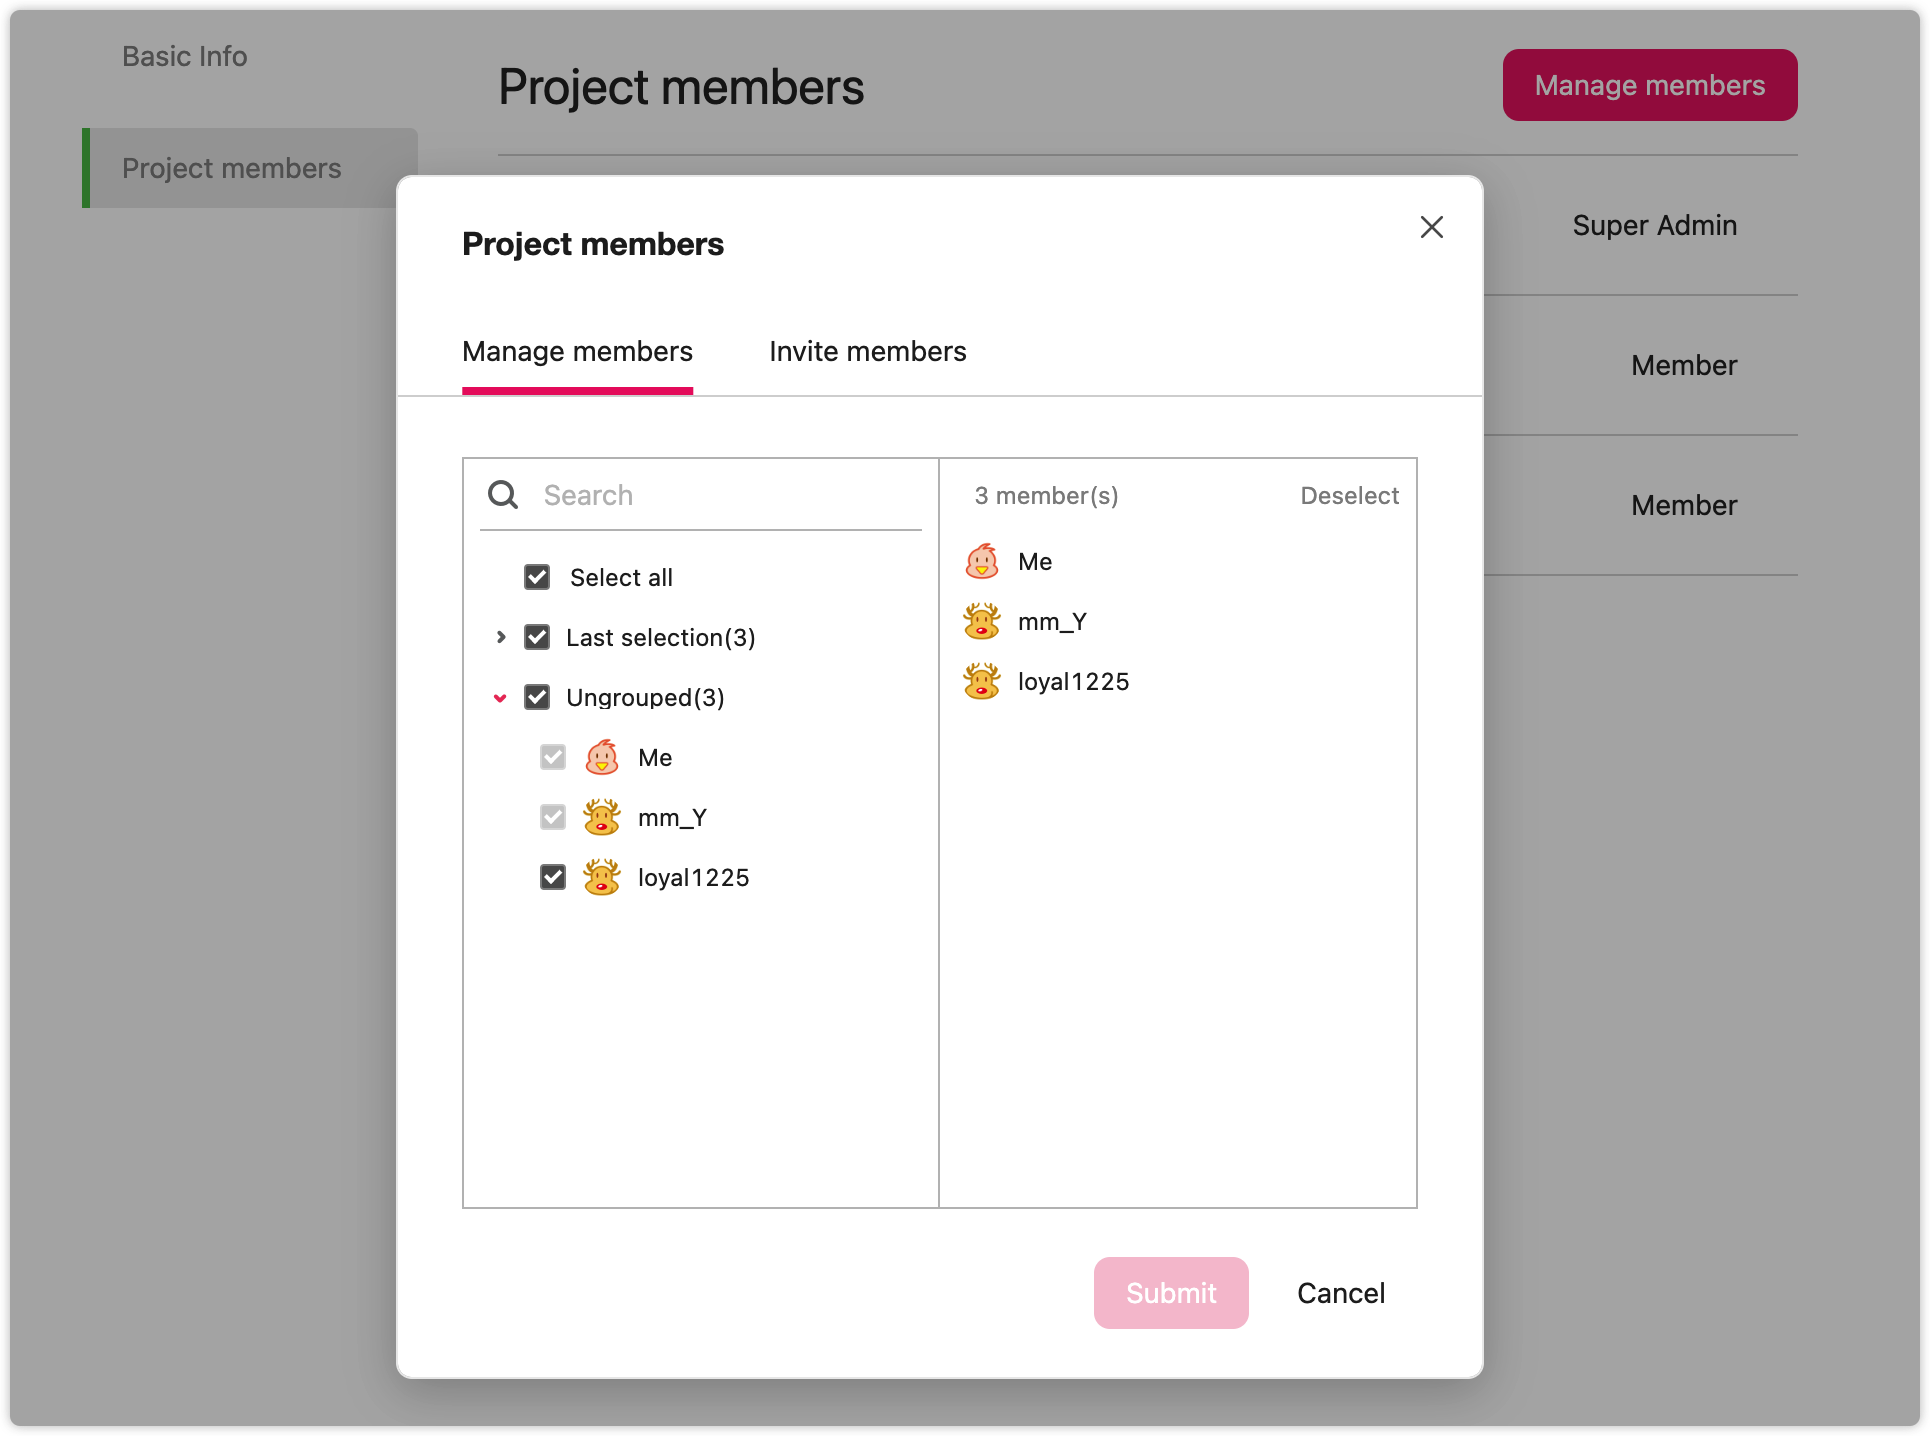
1. Click your avatar in the top-left corner after entering any project. You can then freely set or check the project members on the window that pops out.

2. Click "More" on the cover of any project, choose "Settings" and hit "Project Members".
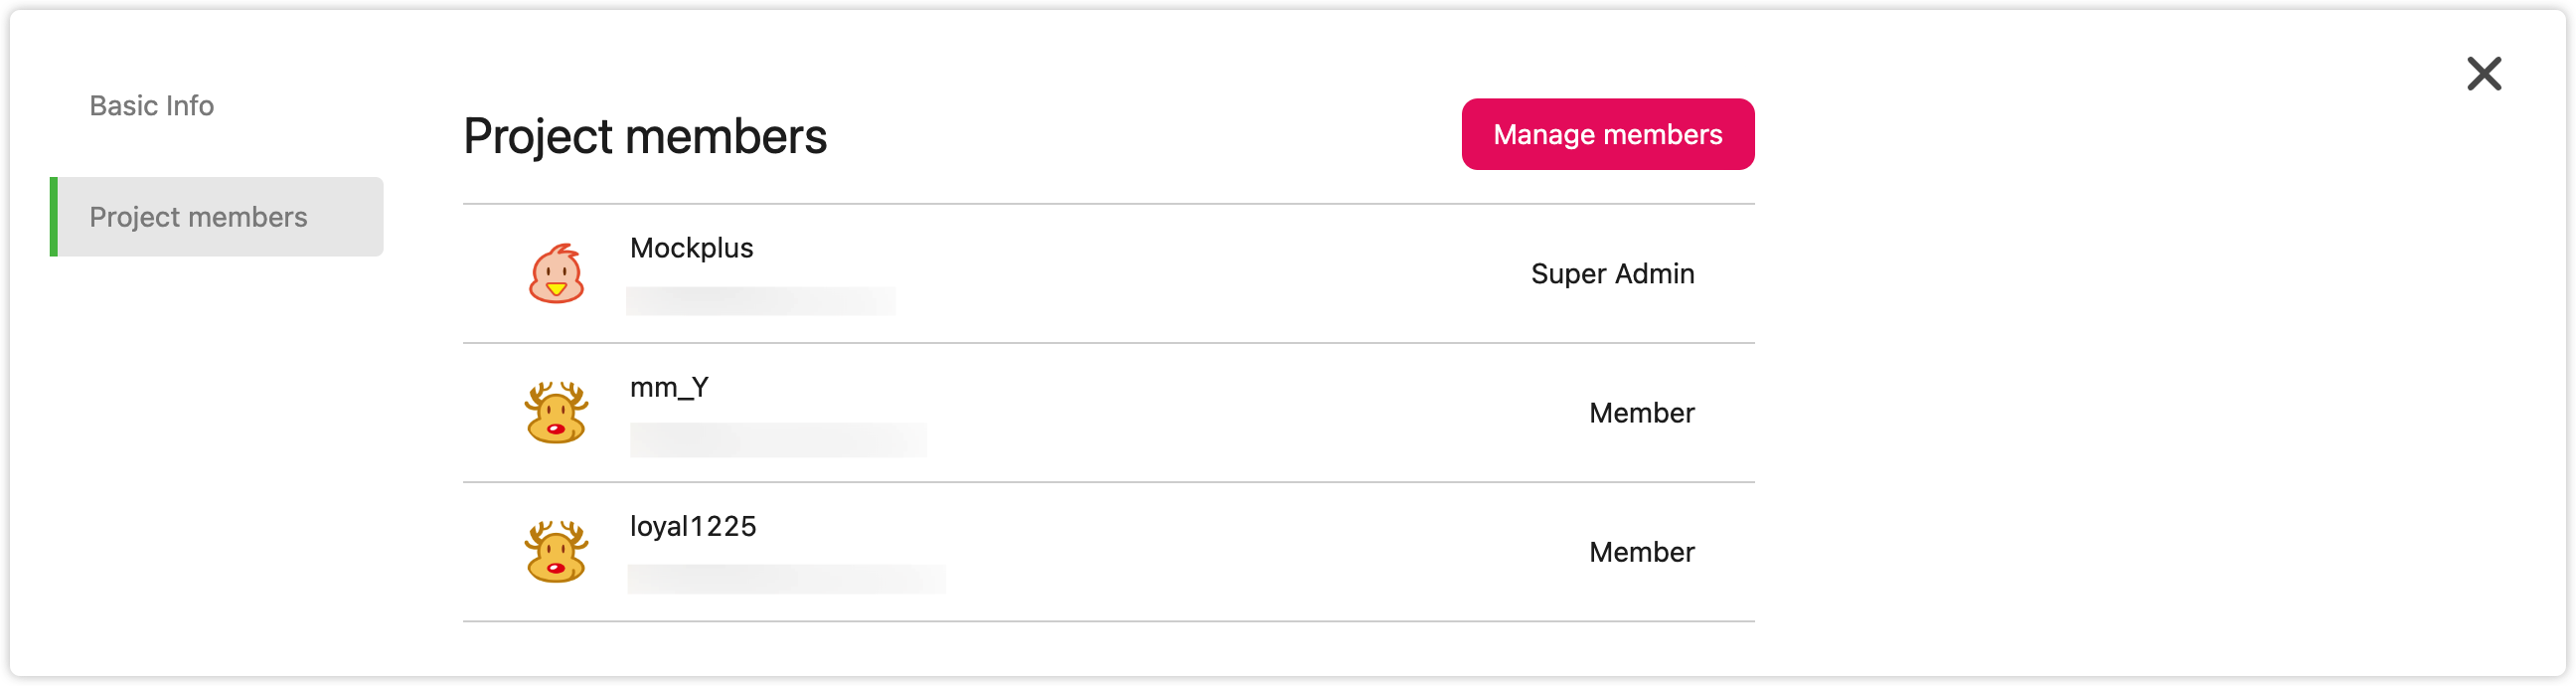
Add/Remove Project Members
- Click "Manage members" > "Project members", you can check and view all the members within the current team.
- Tick the checkboxes to add or remove members.
- If a member is listed on the right side, that means they are already in the project.
- Set accessing rights to projects when inviting a new member.