Group Management
Create & Delete a Group
In Mockplus Cloud, you can group team members for better management. To create or delete a group, follow these steps:
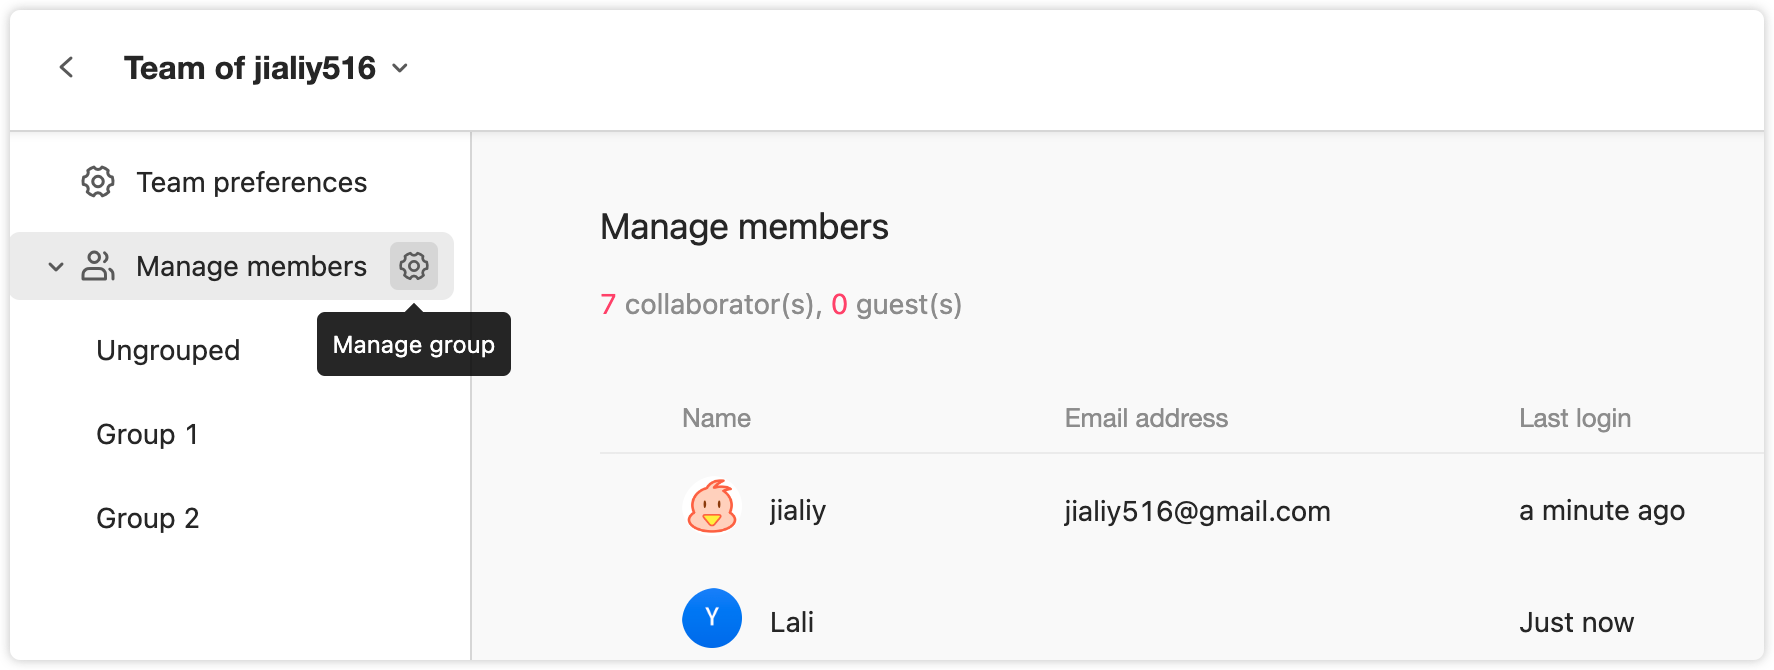
- Click on "Teams" and switch to the "Manage members" tab.
- Hit the "Manage group" icon to add or delete a member group.
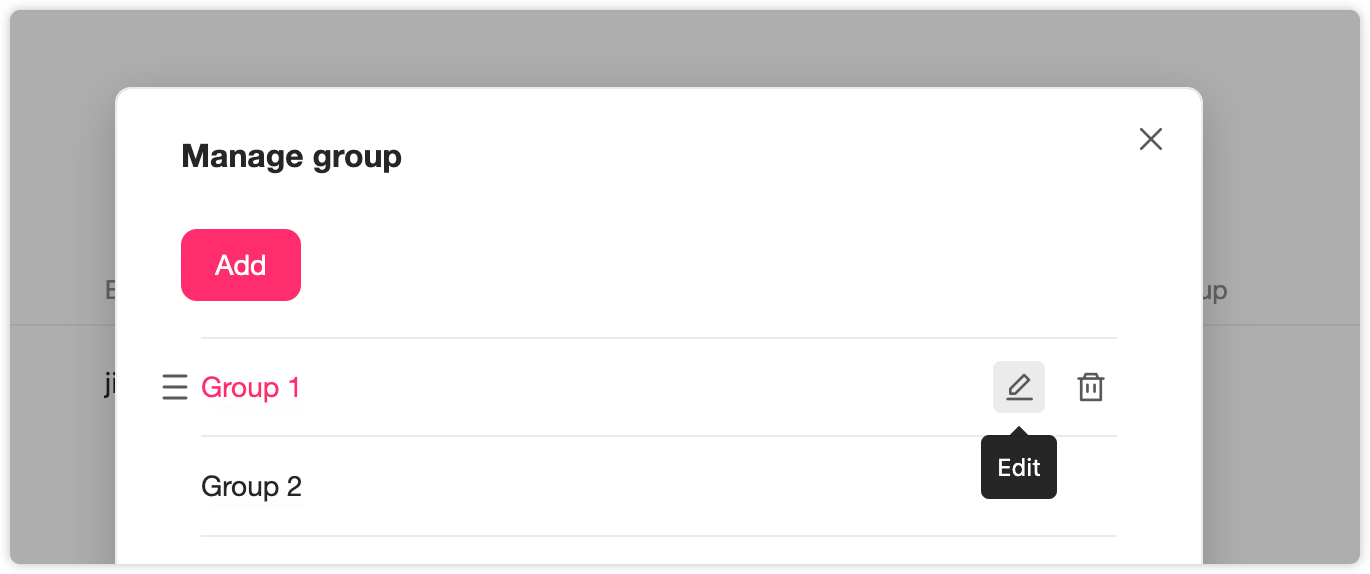
To create a group, click “Add” and enter a group name. You can also rename or delete groups using the options on the right side.
Assign Members to Groups
To assign team members to groups:
- Select the member.
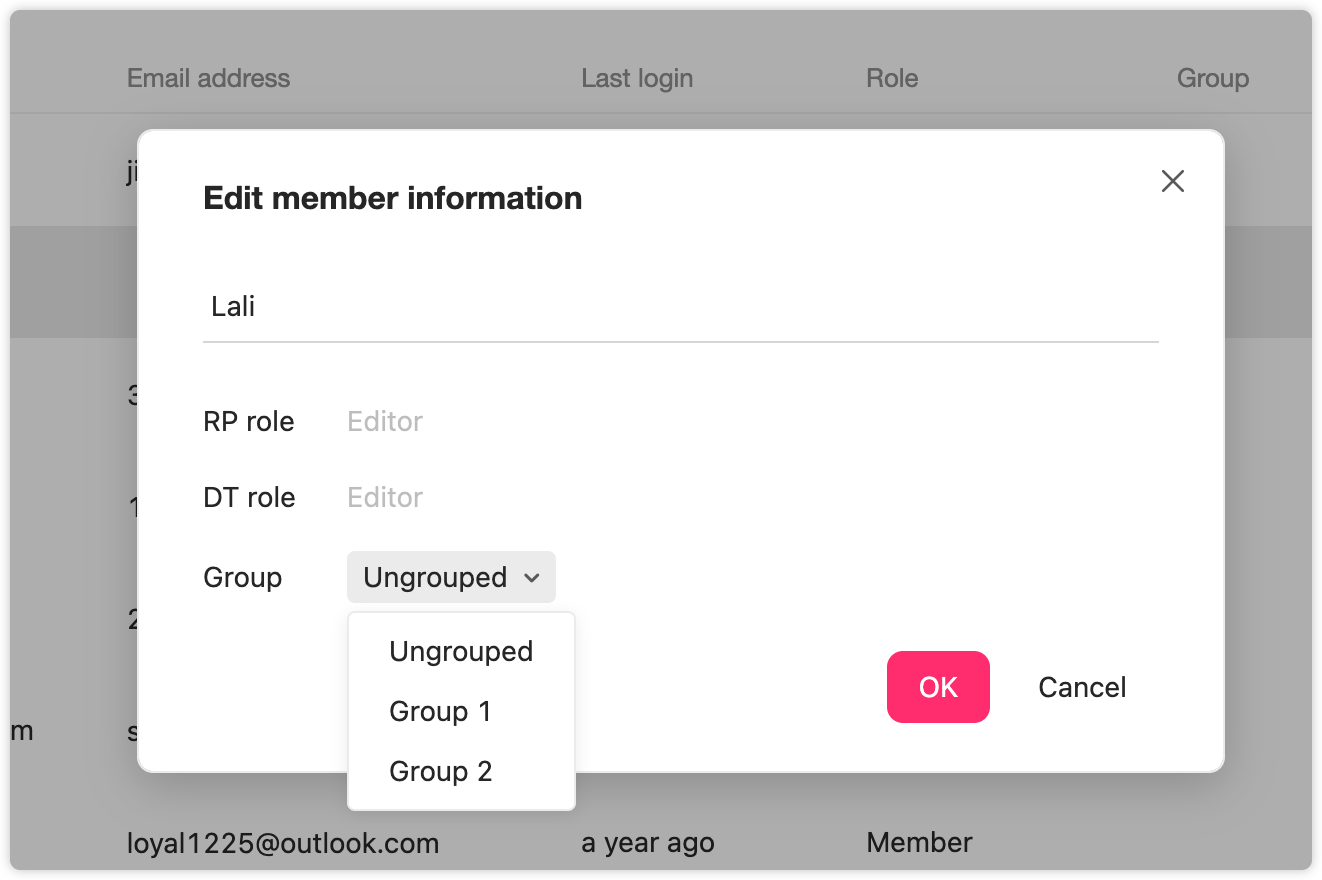
- Click "More," then choose "Edit Member Information" from the drop-down list.
- Select the appropriate group for the member.
Note: Each team member can only be assigned to one group.
Member Management
Invite Members
Inviting new users to join your team in Mockplus Cloud is simple:
- Go to the project homepage.
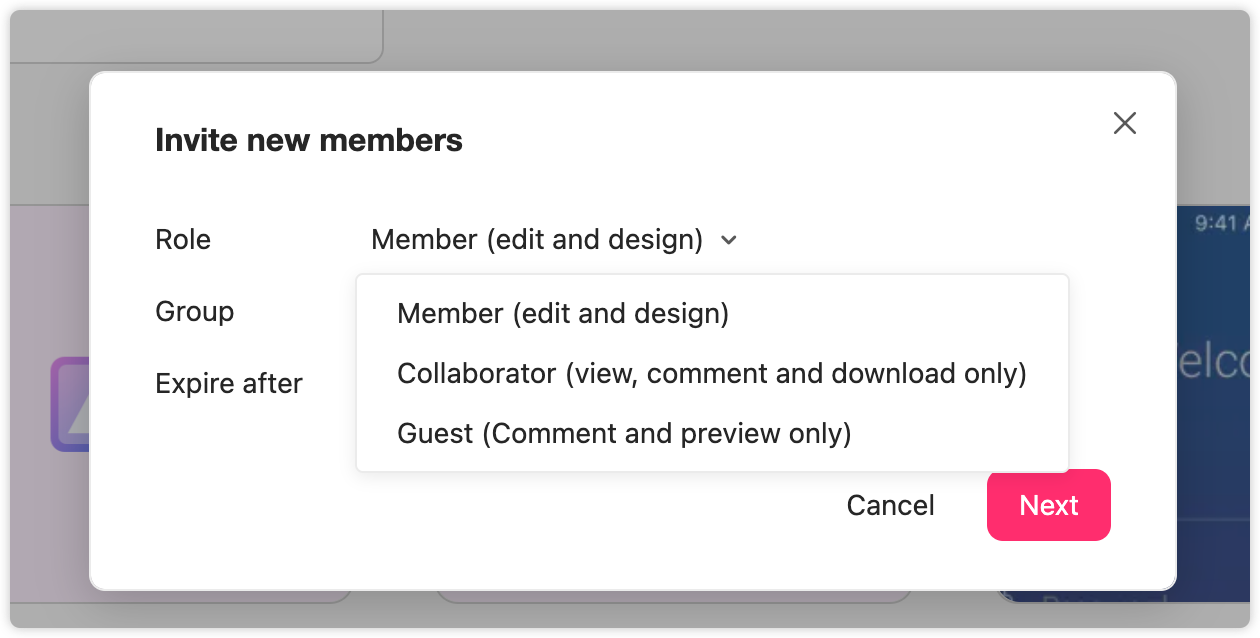
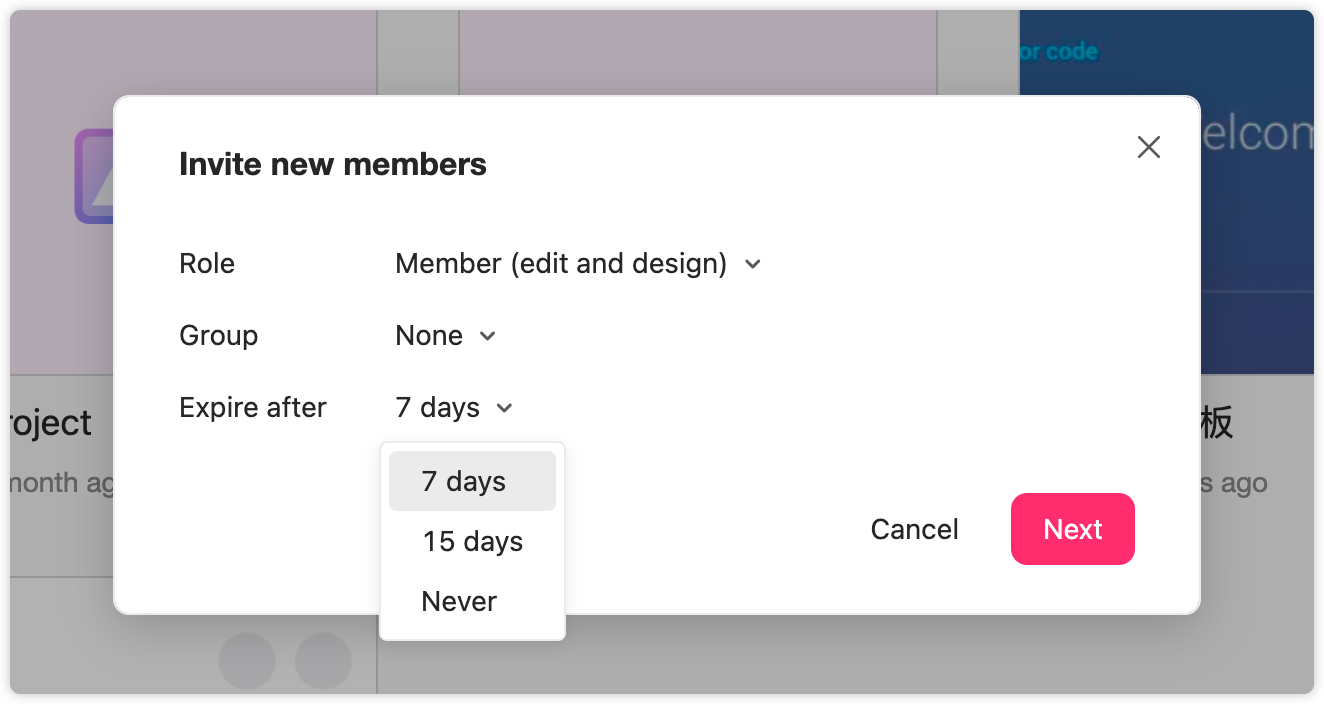
- Click “Invite Member” to open a dialog where you can add new members to groups and projects, and set their roles in advance.

As the below image shows, the dialogue allows you to set a role for the new member.
And now, Mockplus Cloud provides four roles with different access permissions: Admin, Member, Collaborator or Guest. Read more details here: Roles & Permissions.
Also choose a time period, during which your invite link will be valid: 7 days, 15 days, and Never.
Note: To invalidate all previously shared invite links, go to the team management screen and click "Clear invite links" at the bottom left corner.
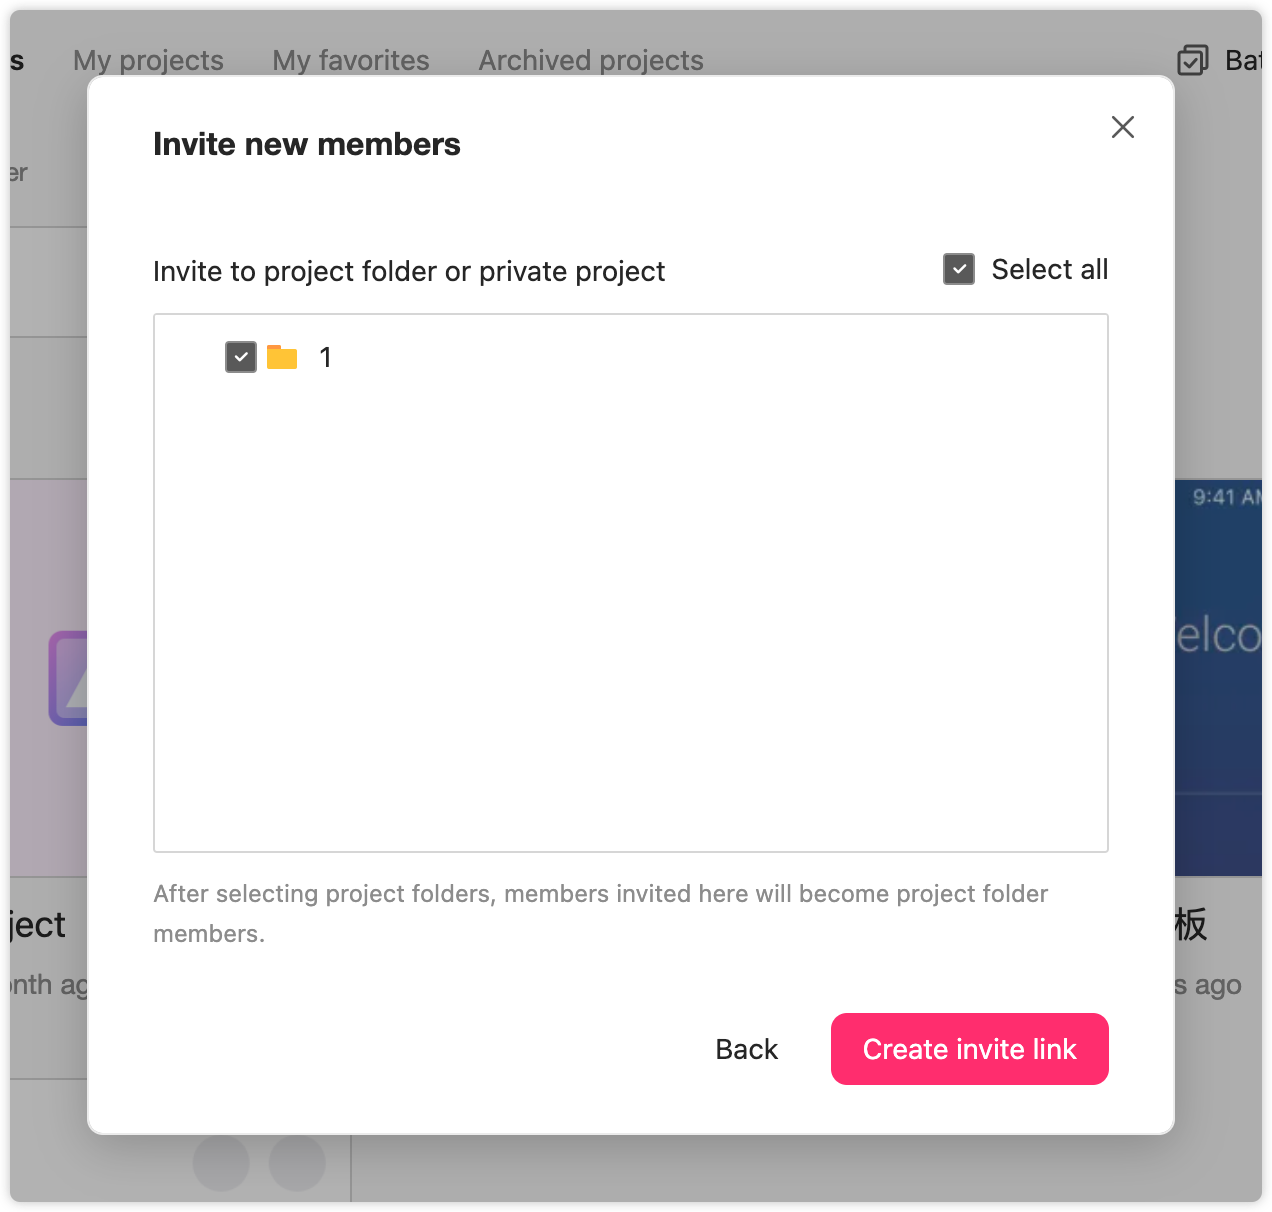
After setting roles, you can select different project folders and personal projects for the new members to join or access. If a project folder is selected, the new member will be added to all projects within that folder.
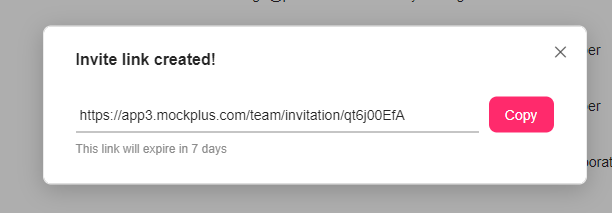
Finally, click “Copy” to copy the invite link and share it with your intended invitees.
Invite Members by Email
If you have Super Admin access, you can add new members directly by entering their email addresses.
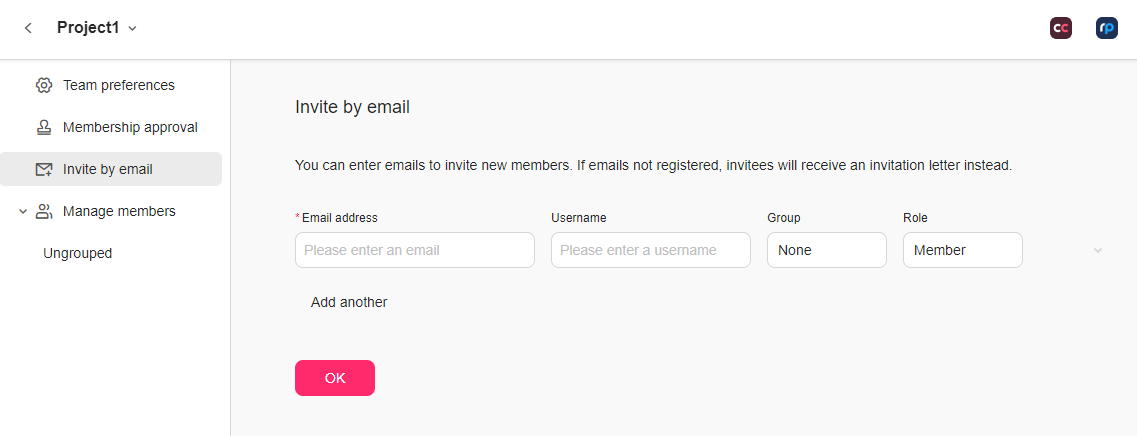
- If the email address is already registered, the member will be added directly.
- If the email address is not registered, an invitation email will be sent with a link to join the team.
Note: This feature is available only to the Super Admin.
Change Roles for Team Members
You can change the roles of existing team members by navigating to "Teams" - "Manage members."
Also use the search bar in the upper right corner to quickly find members.

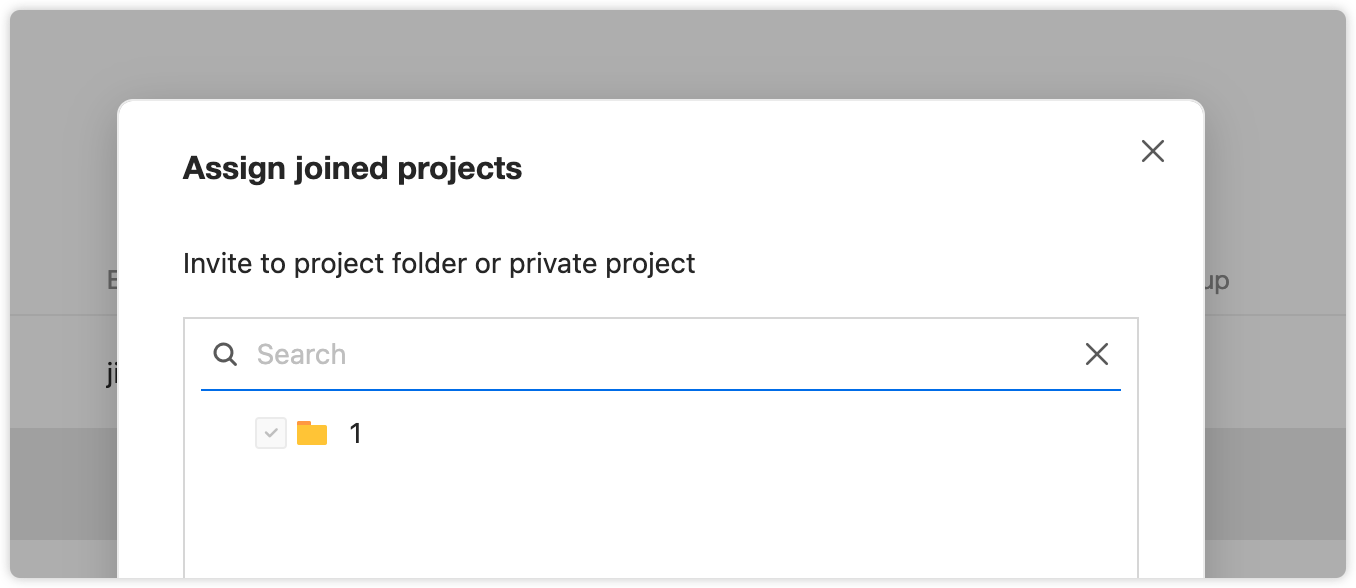
Assign Joined Projects for Members
In the "Manage Members" screen under the "Teams" tab, you can assign members to different groups and projects that they will join and access.
Team Membership Approval
To enhance project security, any new member will need Admin approval to join a team. The new member must request to join and await approval. The Admin will receive a notification and can approve or deny the request.
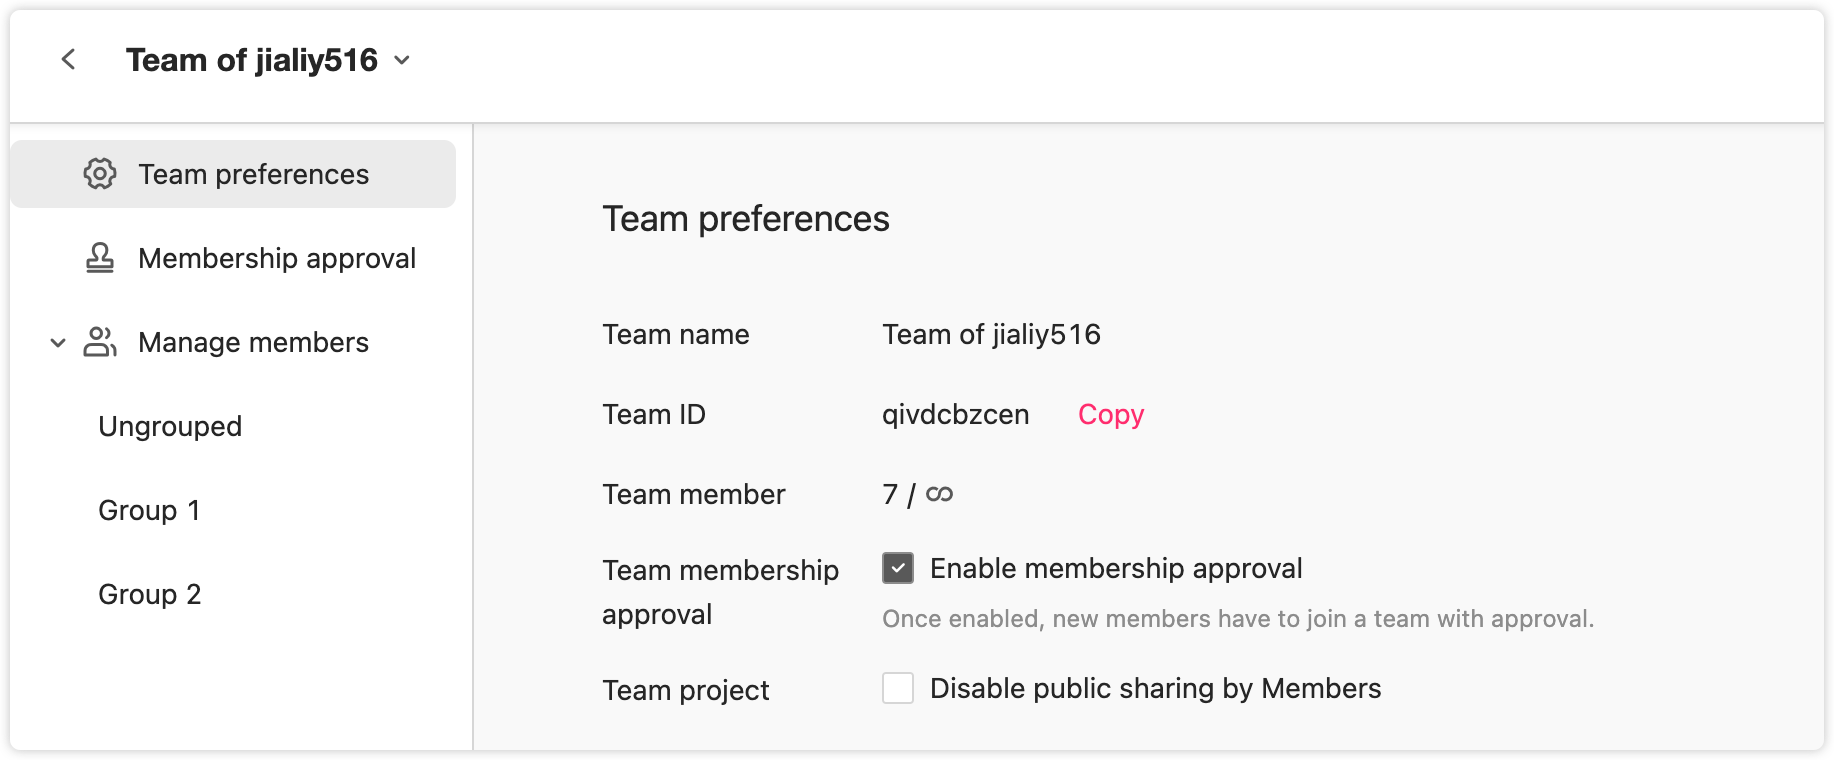

Once approved, the new member can join the team. The Admin can also reject membership requests to keep projects secure.

Clear Invite Links
If you accidentally shared an invite link with someone unintended or have other reasons to revoke it, you can invalidate all shared invite links.
Simply click on "Clear invite links" in the team management screen. 
Note: Once cleared, all previously invite links will be invalidated immediately.
Delete Team Members
To remove a member from the team:
- Click "Teams" to open the "Manage Members" tab.
- Click "More" to remove the member from the team.

Export Member Information
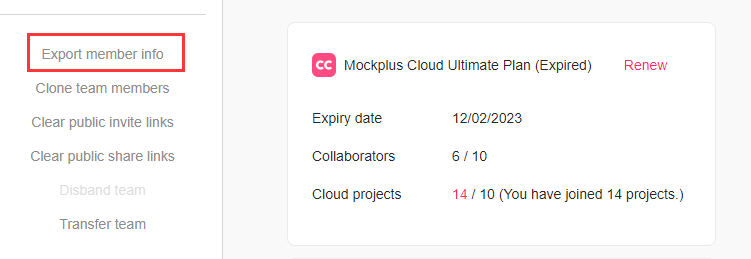
You can export member information under the "Teams" tab by clicking "Export member info" at the bottom left corner. The downloaded file will include details like member names, the groups they belong to, their email addresses, and more.
Note: This feature is available only to Admins or Super Admins with a paid subscription.
Project Member Management
Please check here for more details of Project member management.


