Team Management
Mockplus Design System uses the same team management system as Mockplus Cloud. You can invite new members to join your team, and set different roles and permissions for them to ensure data security. It is super easy to create many teams and manage members from different departments.
Click "Team Management" to learn more details.
Move Design System Projects Across Teams
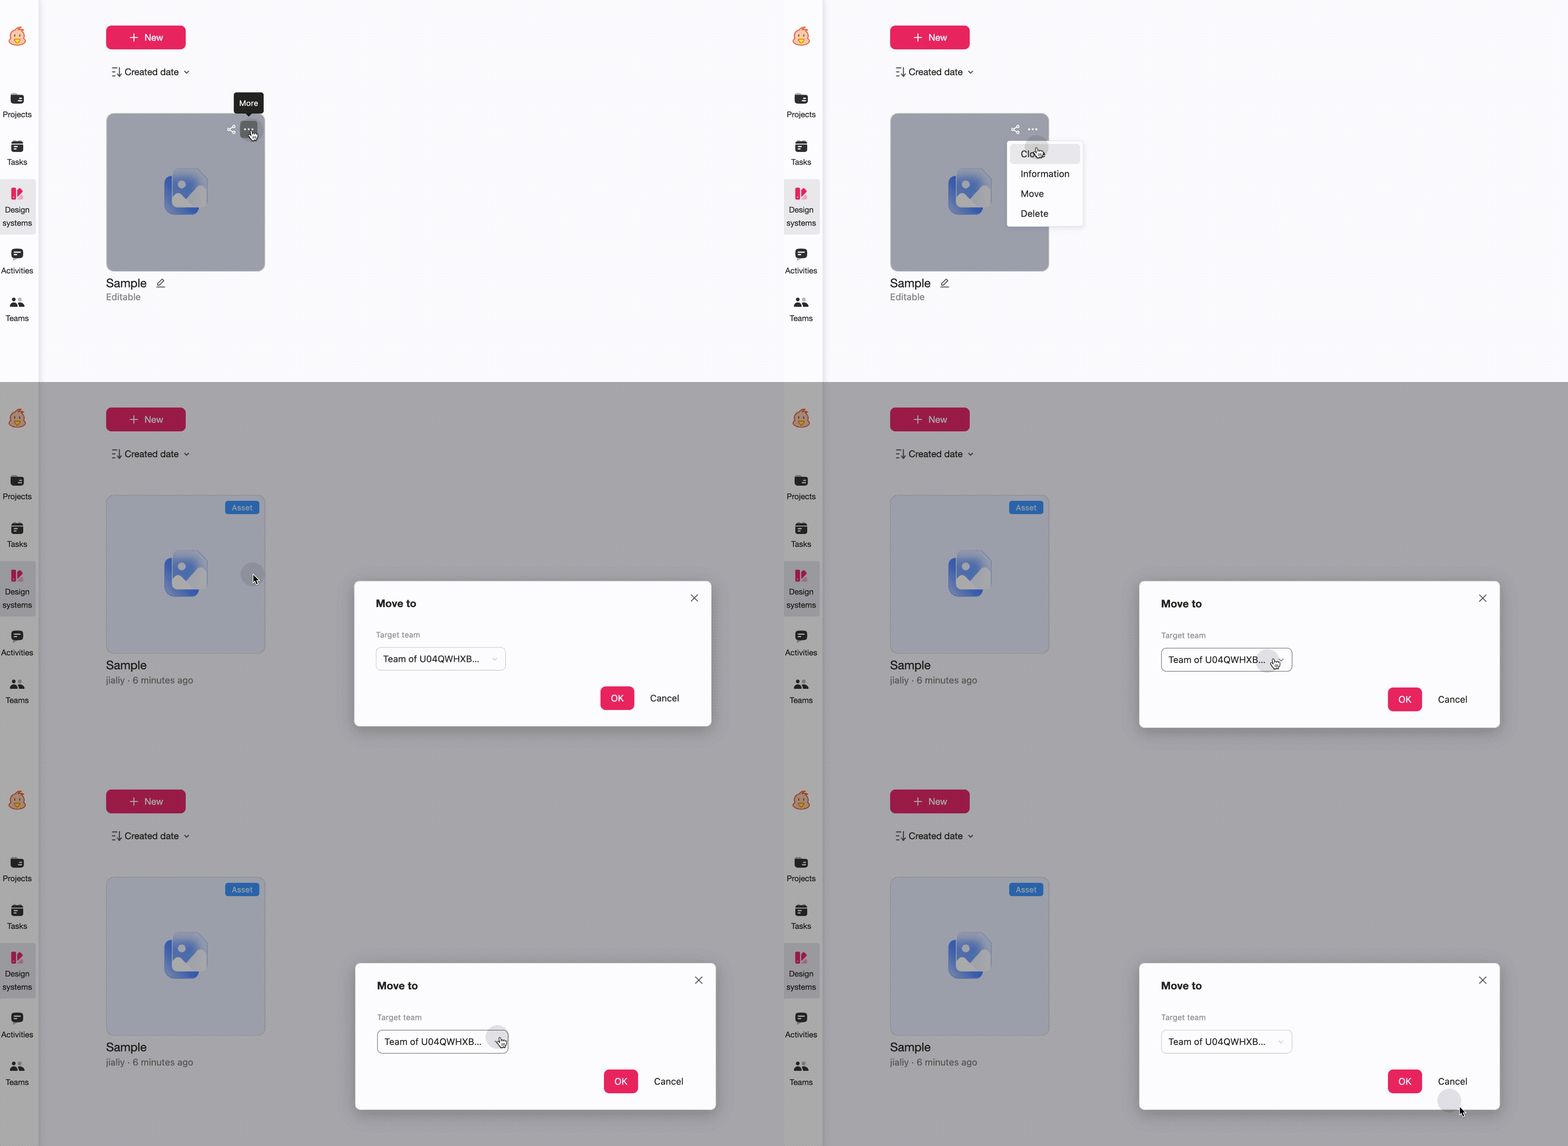
To move design system projects across teams, you need to switch to the "Design systems" tab as below:
And then, click More > Move and select a target team that you want to move the design project to. This moves the DS system instantly to the target team, allowing your entire team to share and reuse DS projects, faster and easier.
Share Design System Project
Mockplus Cloud allows you to share your DS project with your team so that all of your teammates can speak the same language and maintain your brand consistency.Here’s a step-by-step guide on how to share a DS project:Head to the Project Homepage and select the Design System tab.
Click Share
 in the top right corner of the Design System project.
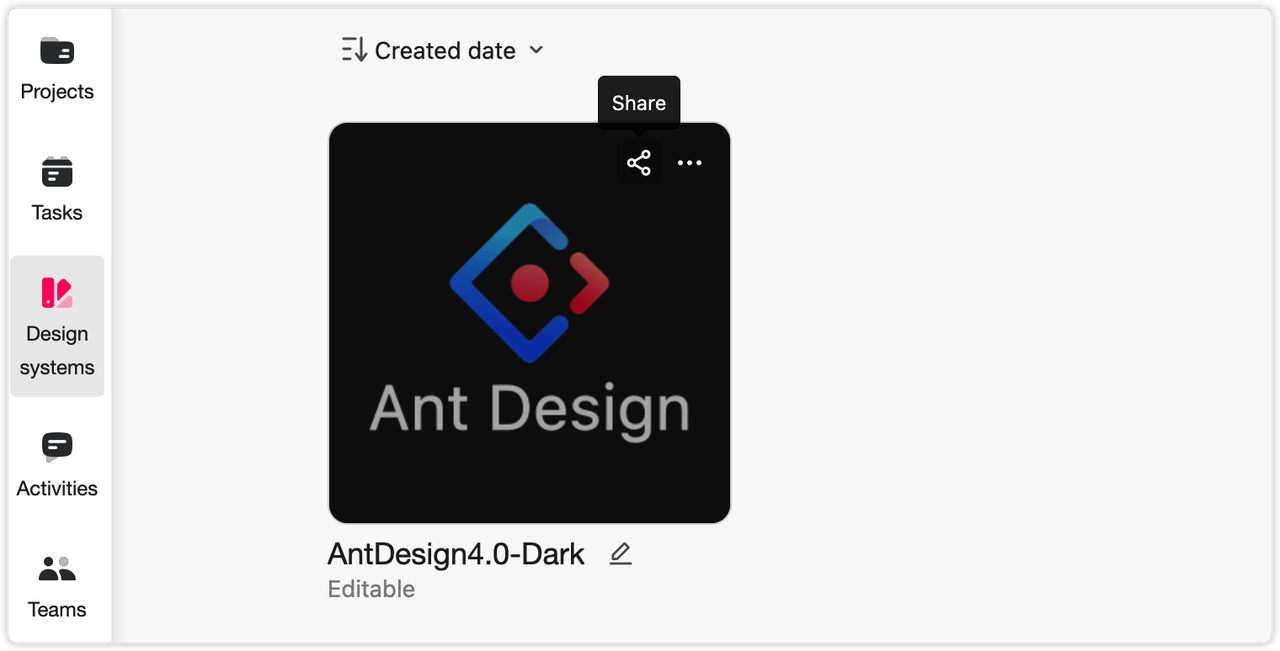
Copy the link from the pop-up window and put a check on the option to invite your partner as a team member.
Send the link to anyone you want to share the project with.
Users with the link can directly enter the project to view it.
Library Member Management
When building and maintaining the design system with your team, you can add, remove, and manage any design system library members. You can have full control of who can view, edit and update the assets. All library members can share the same design system.
Add/Remove Library Members
To change library members, click "More" > "Information":
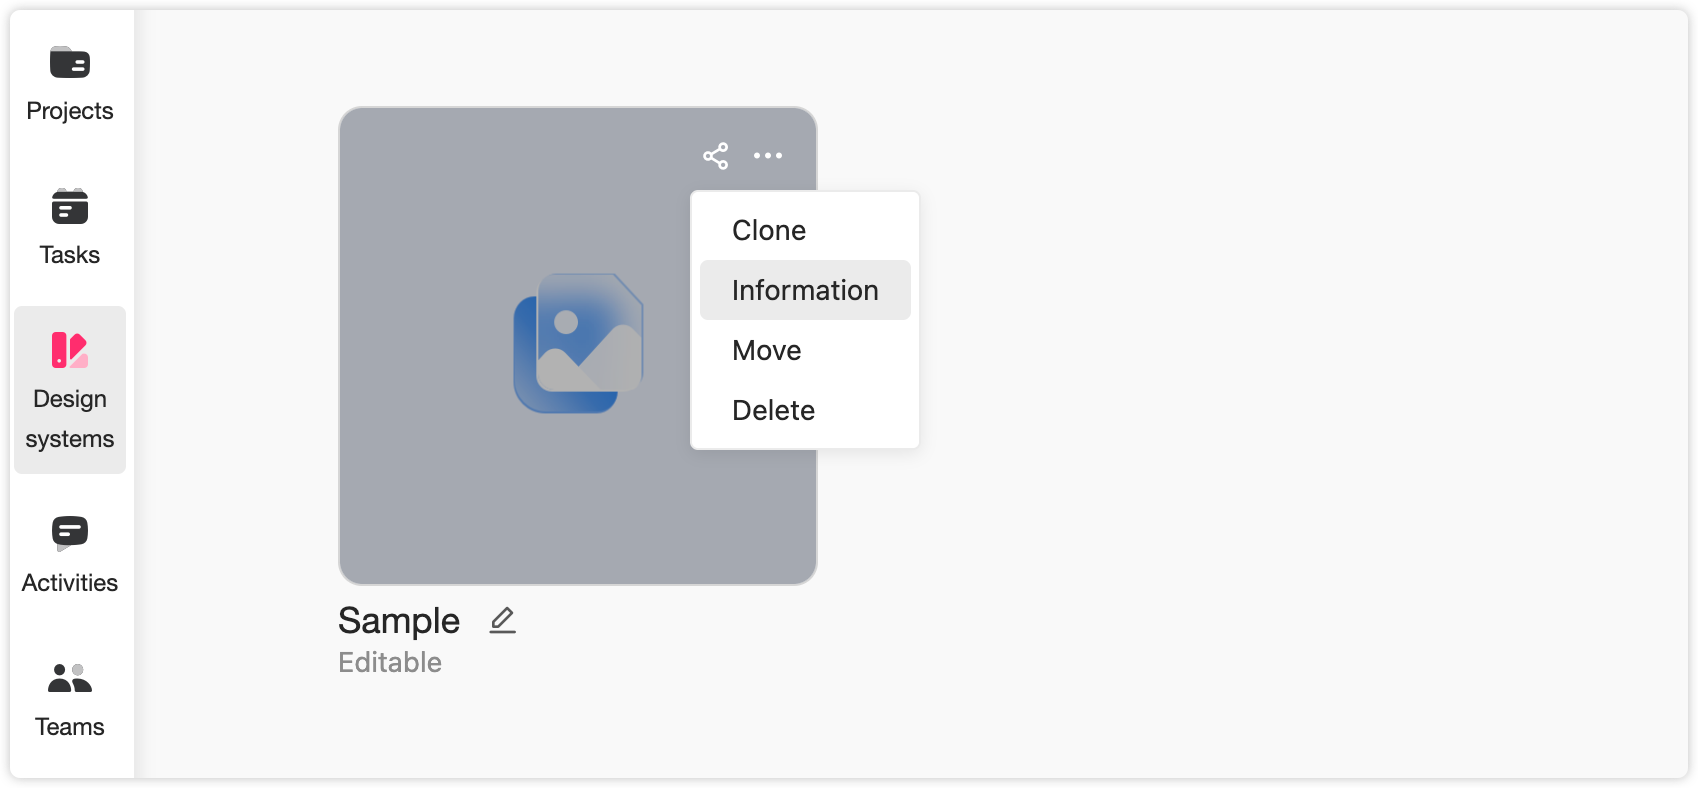
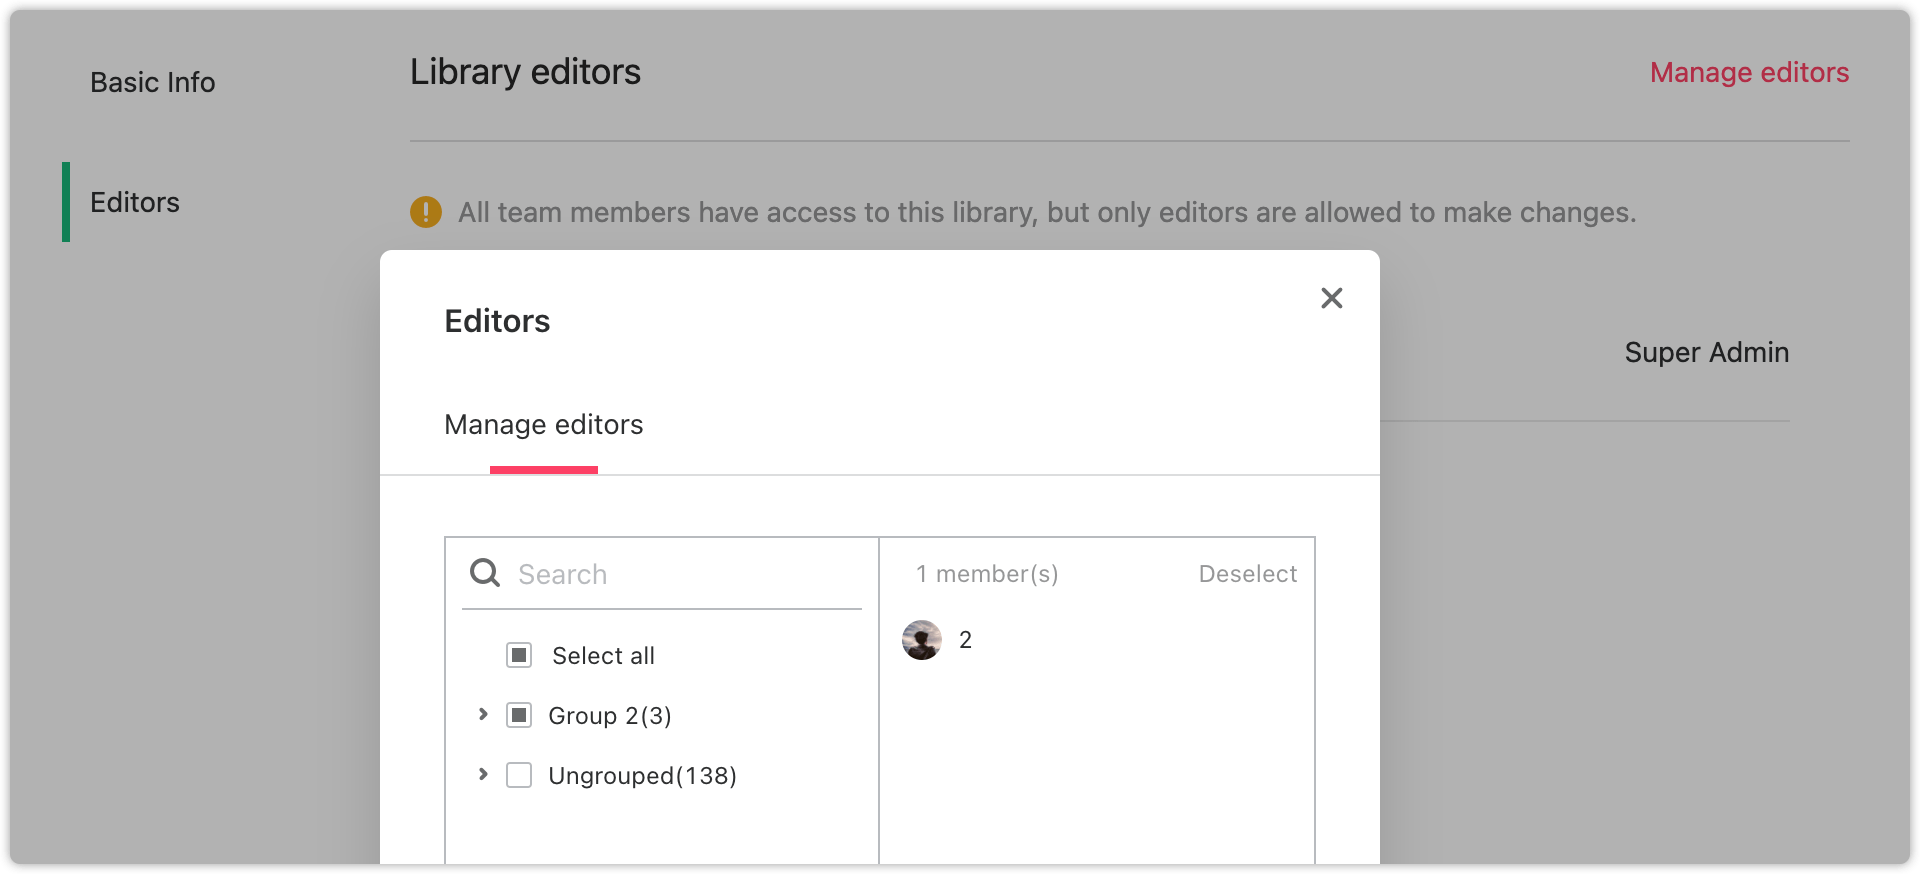
Switch to the "Editors" tab and click "Manage editors" in the upper right corner. You will see all members of the current design system library in the pop-out window.

Click on the avatars to add or remove a member.
Roles and Permissions
Mockplus Design System offers four roles to help users manage members, including "Super Admin", "Admin", "Member" and "Collaborator". For security purposes, different roles are assigned with different permissions.
Except for the collaborators, all the rest members get permissions to create a new design library.
Editing
You can edit the library you create. As with the libraries created by other team members, you need to become an editor first and get permission to edit the assets. Apart from the library creators, both "Super Admin" and "Admin" have the right to set a member as an editor of any library.
Manage Library Editors
To manage library editors, click "More" > "Information":
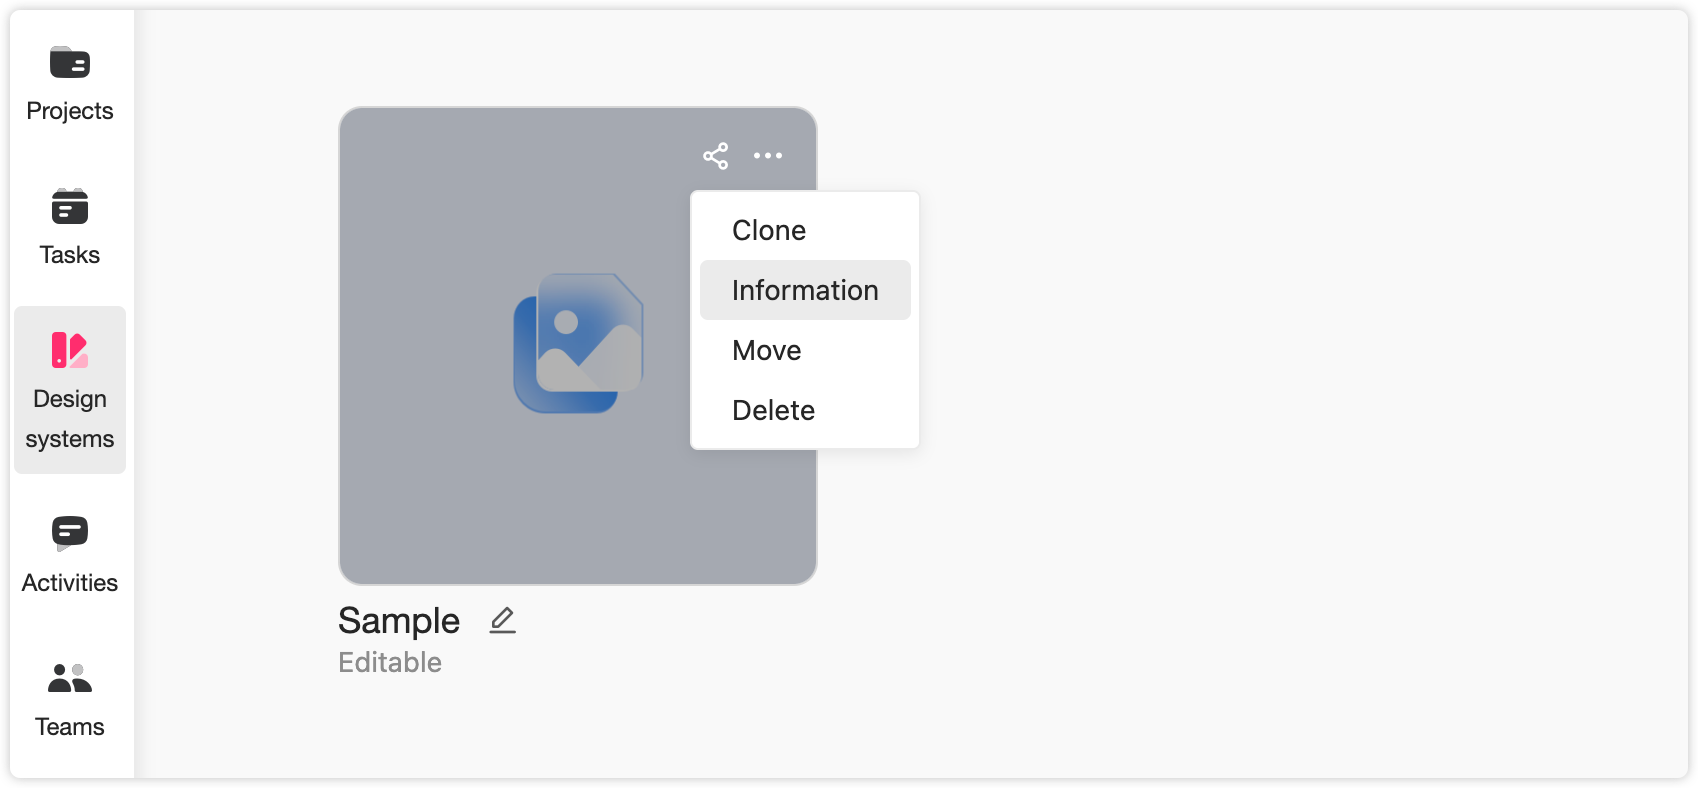
Switch to the "Editors" tab and click "Manage editors" in the upper right corner. And then, click the avatar of the members in the pop-up window to add them as editors. Once added, they can access and edit the asset details.

Read-Only
When you don't have permission to edit a library, a "Read-only" label will appear on the cover. The same label will also show up next to the project name when you open the library.
Whenever you see the "Read-only" label, it indicates that you only have permission to view the library.


