Method 1: Using the Dynamic Panel
The Dynamic Panel component is a container where you can put different pieces of content into and switch between them when simulating your web or mobile app prototype. It's ideal for creating a content switching effect within any part of your design.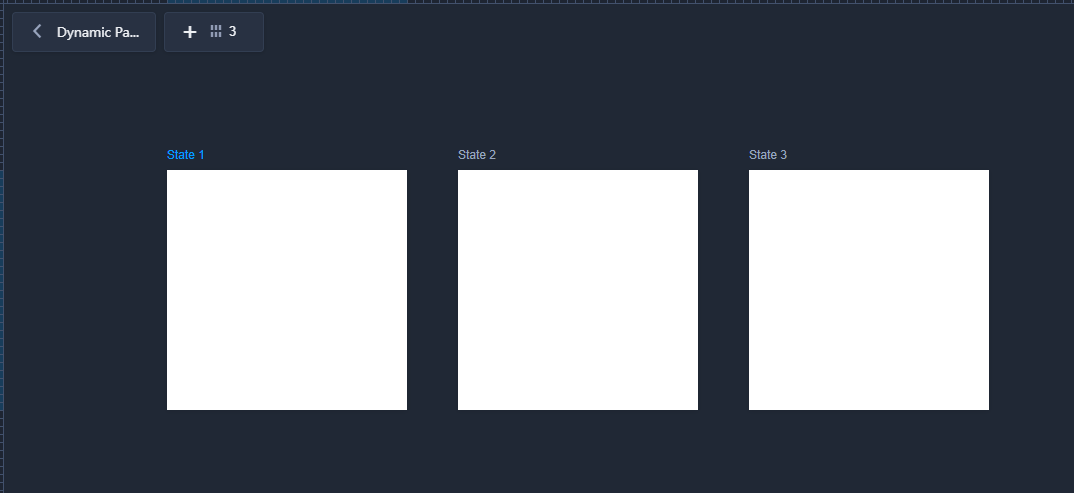
Method 2: Using the Content Panel
The Content Panel component is another container helping to create a content switching effect. In need of using some sub-artboards to create dynamic content, the Content Panel requires you to follow different steps to create a content switching effect:Let’s go through it step by step:
Step 1: Choose components
First, you need to drag a Content Panel and a Tab Bar onto the artboard.
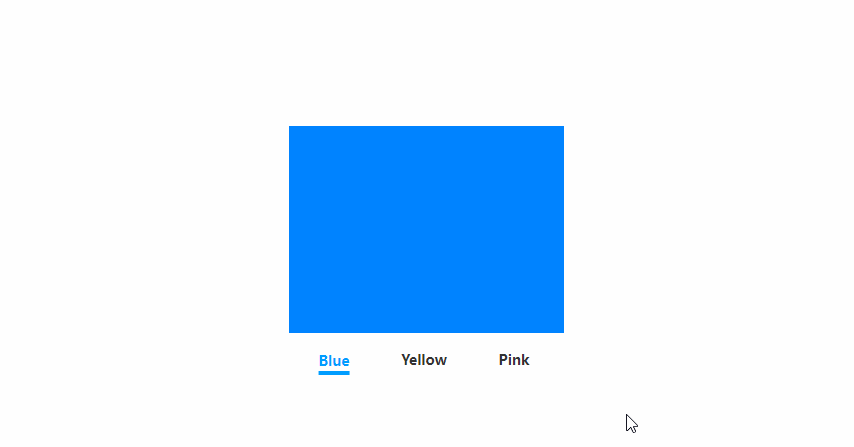
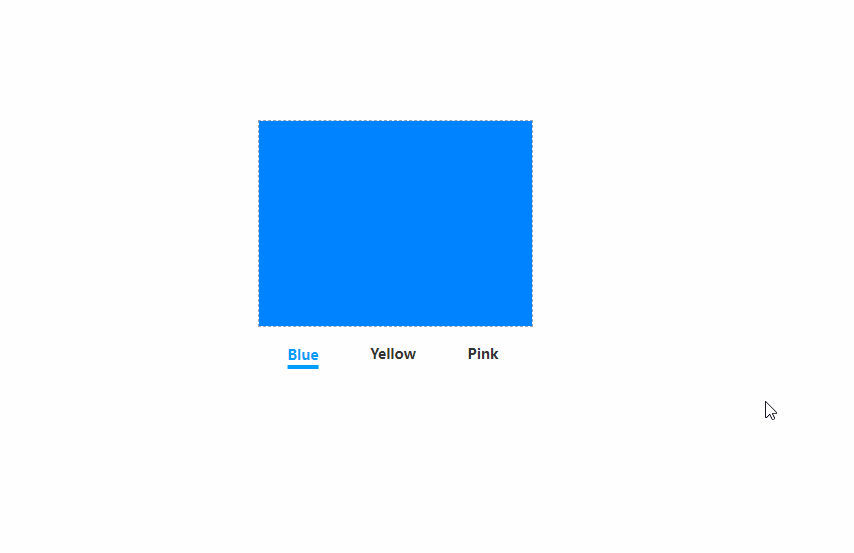
Then, create three sub-artboards and add images to each of them separately.
Step 2: Link the Content Panel and the sub-artboards together
Drag the link point of the Content Panel to each of the three sub-artboards separately.
Step 3: Link the Content Panel and the Tab Bar together
To create separate interactions, double click the Tab Bar and then, one by one, drag the link point of each tab to the Content Panel. Finally, choose the "Switch content" command and select the sub-artboards you want to link to these tabs in the right panel.
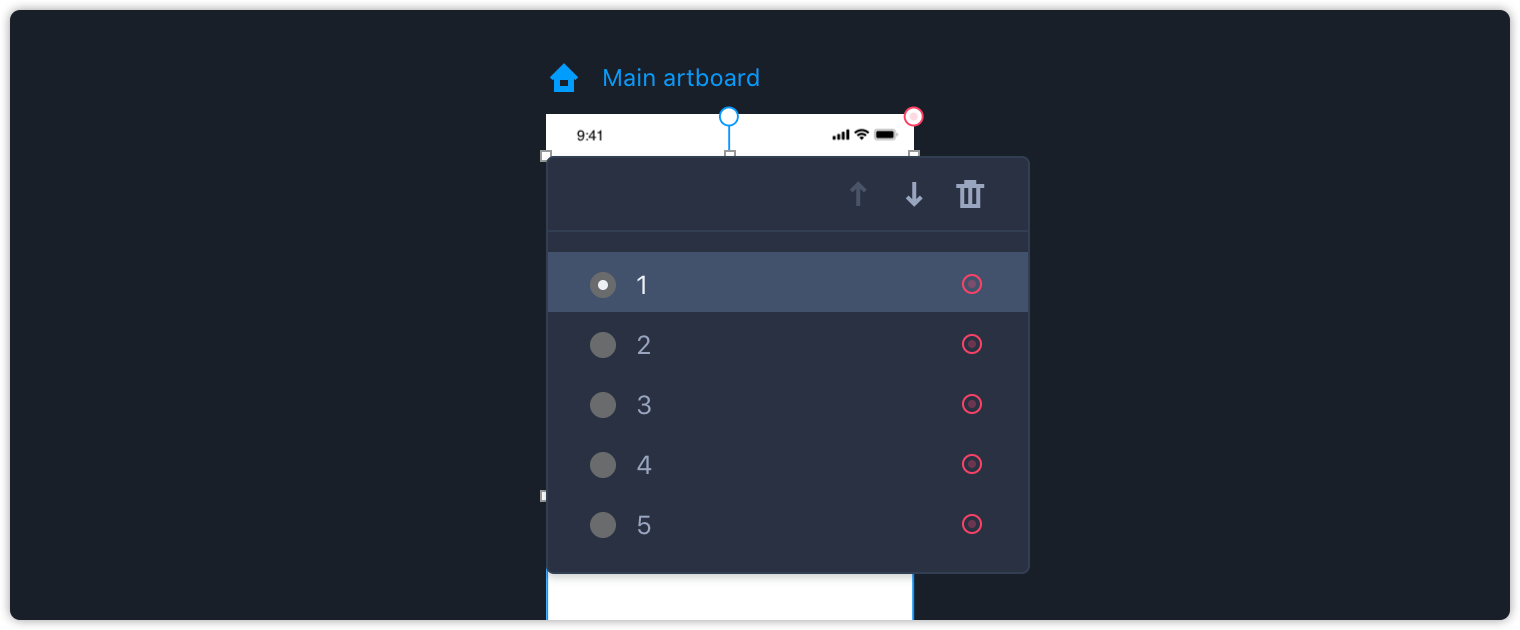
Other features
When the Content Panel is selected, pressing "Enter" activates a panel with all relevant sub-artboards listed. Here you can adjust the order of these sub-artboards with drag-and-drop or the up and down arrows. To delete them, just select them and click “Delete” in the upper right corner.