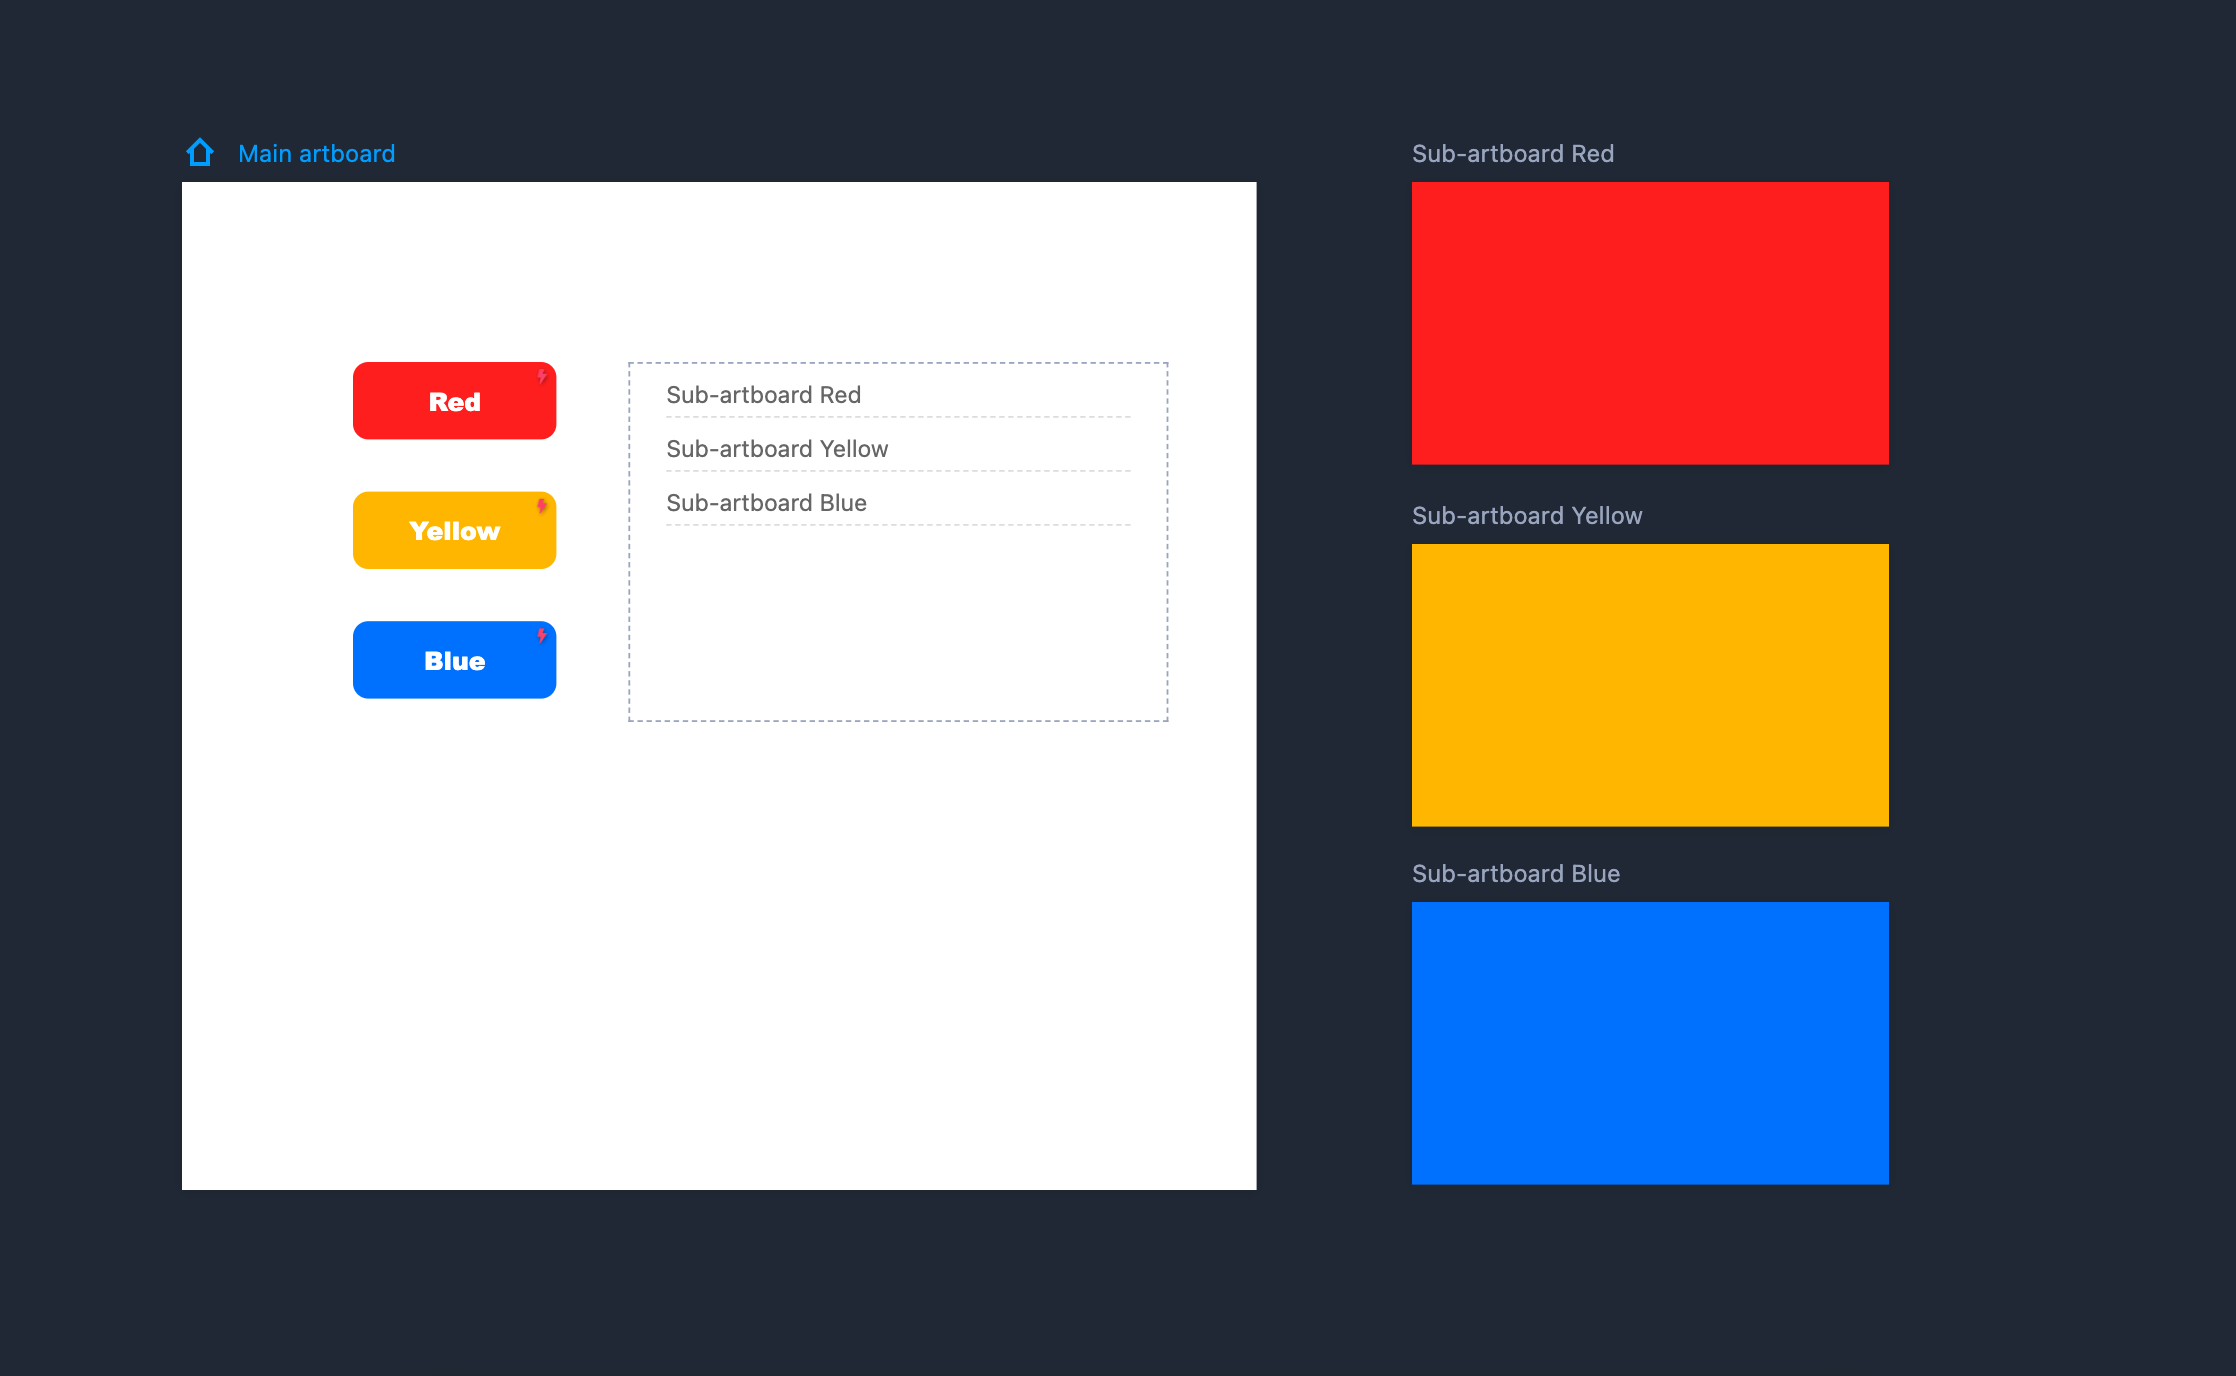
In Mockplus RP, it is easy to use Main and Sub-artboards to present dialogue or dynamic contents.
Differences between Main & Sub-Artboards
- Main artboard: The Main artboard will be the first artboard generated automatically on the workspace when you create a new page. Each page has only one main artboard to present the main design elements and content.
- Sub-artboard: The sub-artboards are manually-created artboards. You can add as many sub-artboards as you need to a page. Used together with "Content Panel” or other elements, sub-artboards can help you present very complex interactions or dynamic content.
Note:
- Only the main artboard will be shown in the Preview mode. The content on sub-artboards is not presented.
- The sub-artboards can be used for achieving specific effects, but creating too many sub-artboards might affect the performance.

Create Sub-Artboards
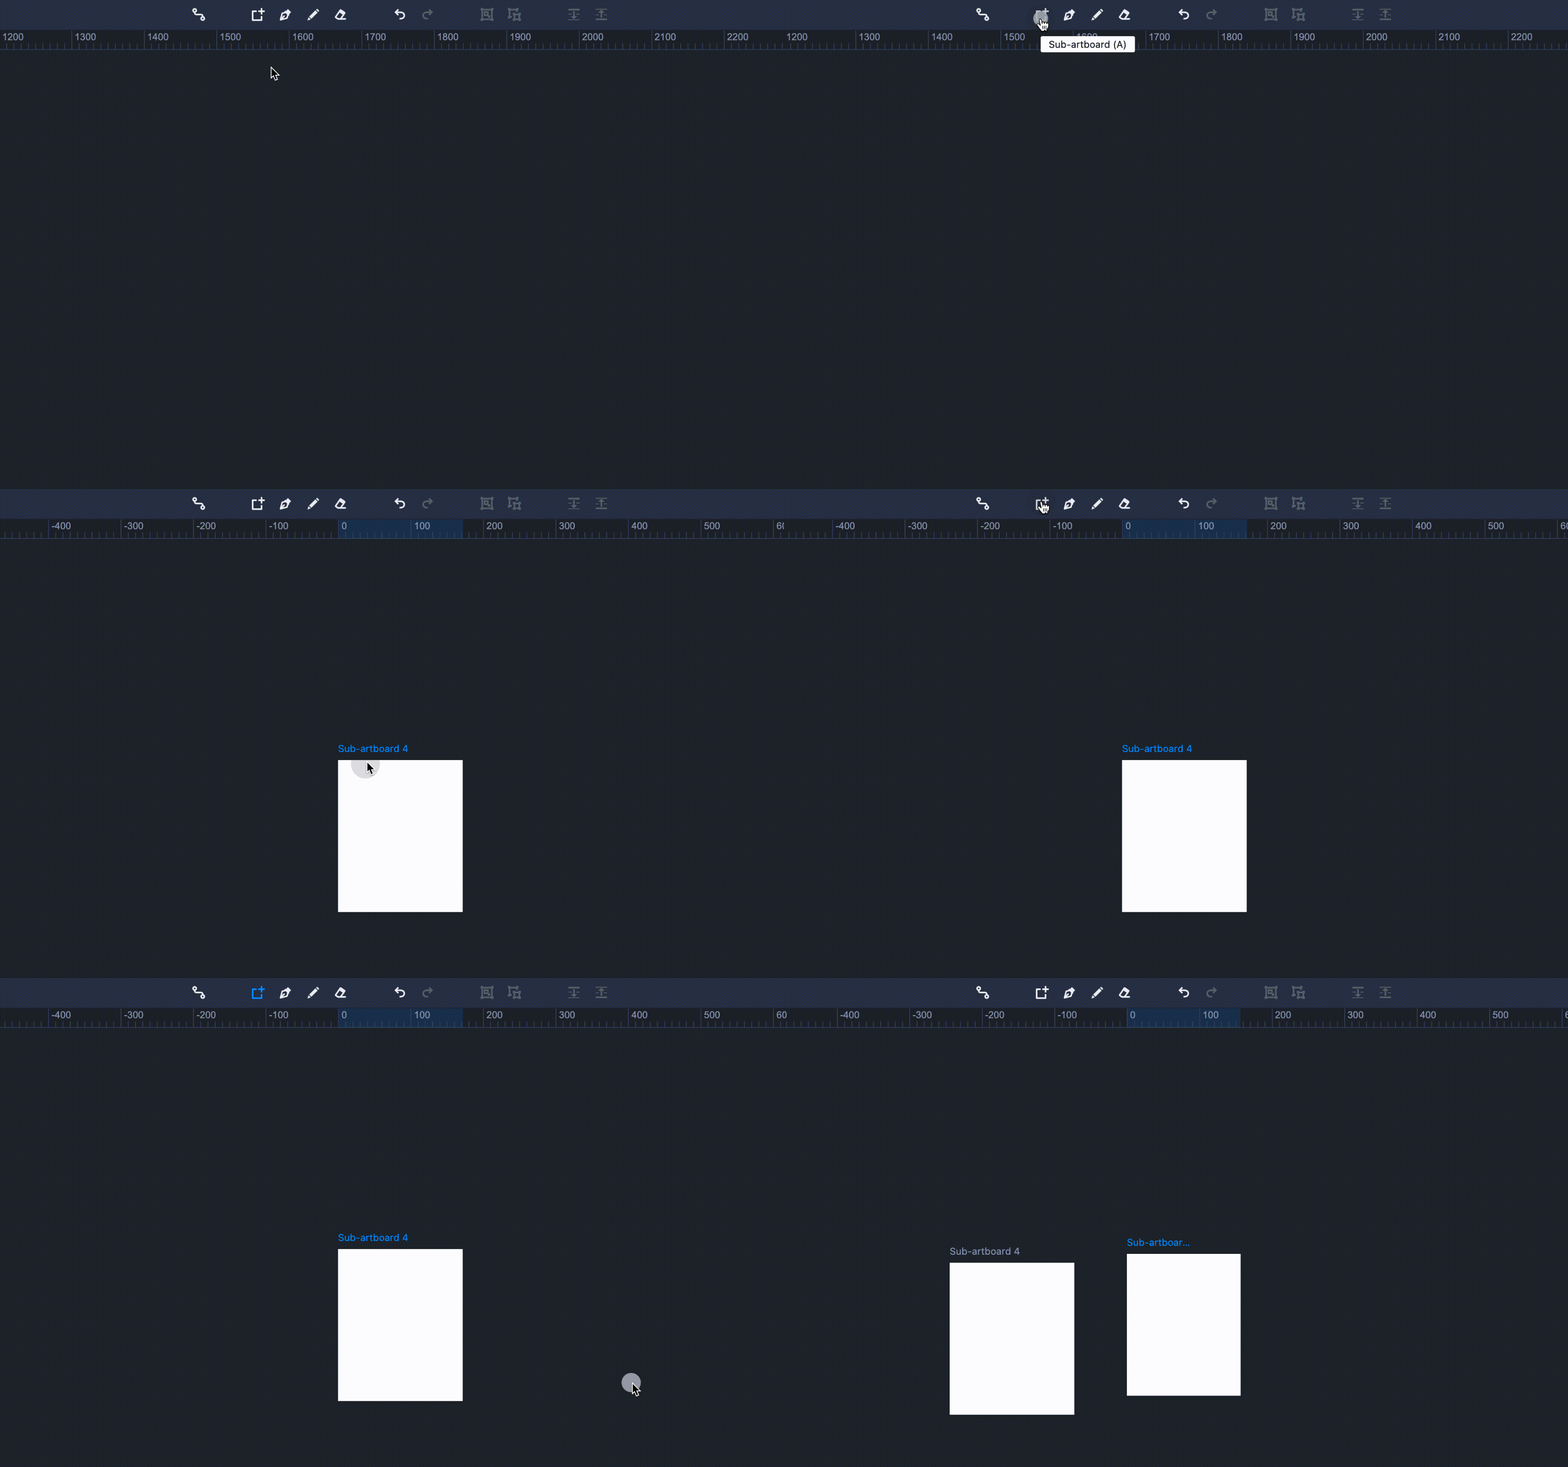
You can create a new sub-artboard in two ways:
Click on "Add sub-artboard" on the top toolbar and click or draw a rectangle on the workspace with your mouse.
Click on the "A" key and draw a rectangle on the workspace with your mouse.

Rename Artboards
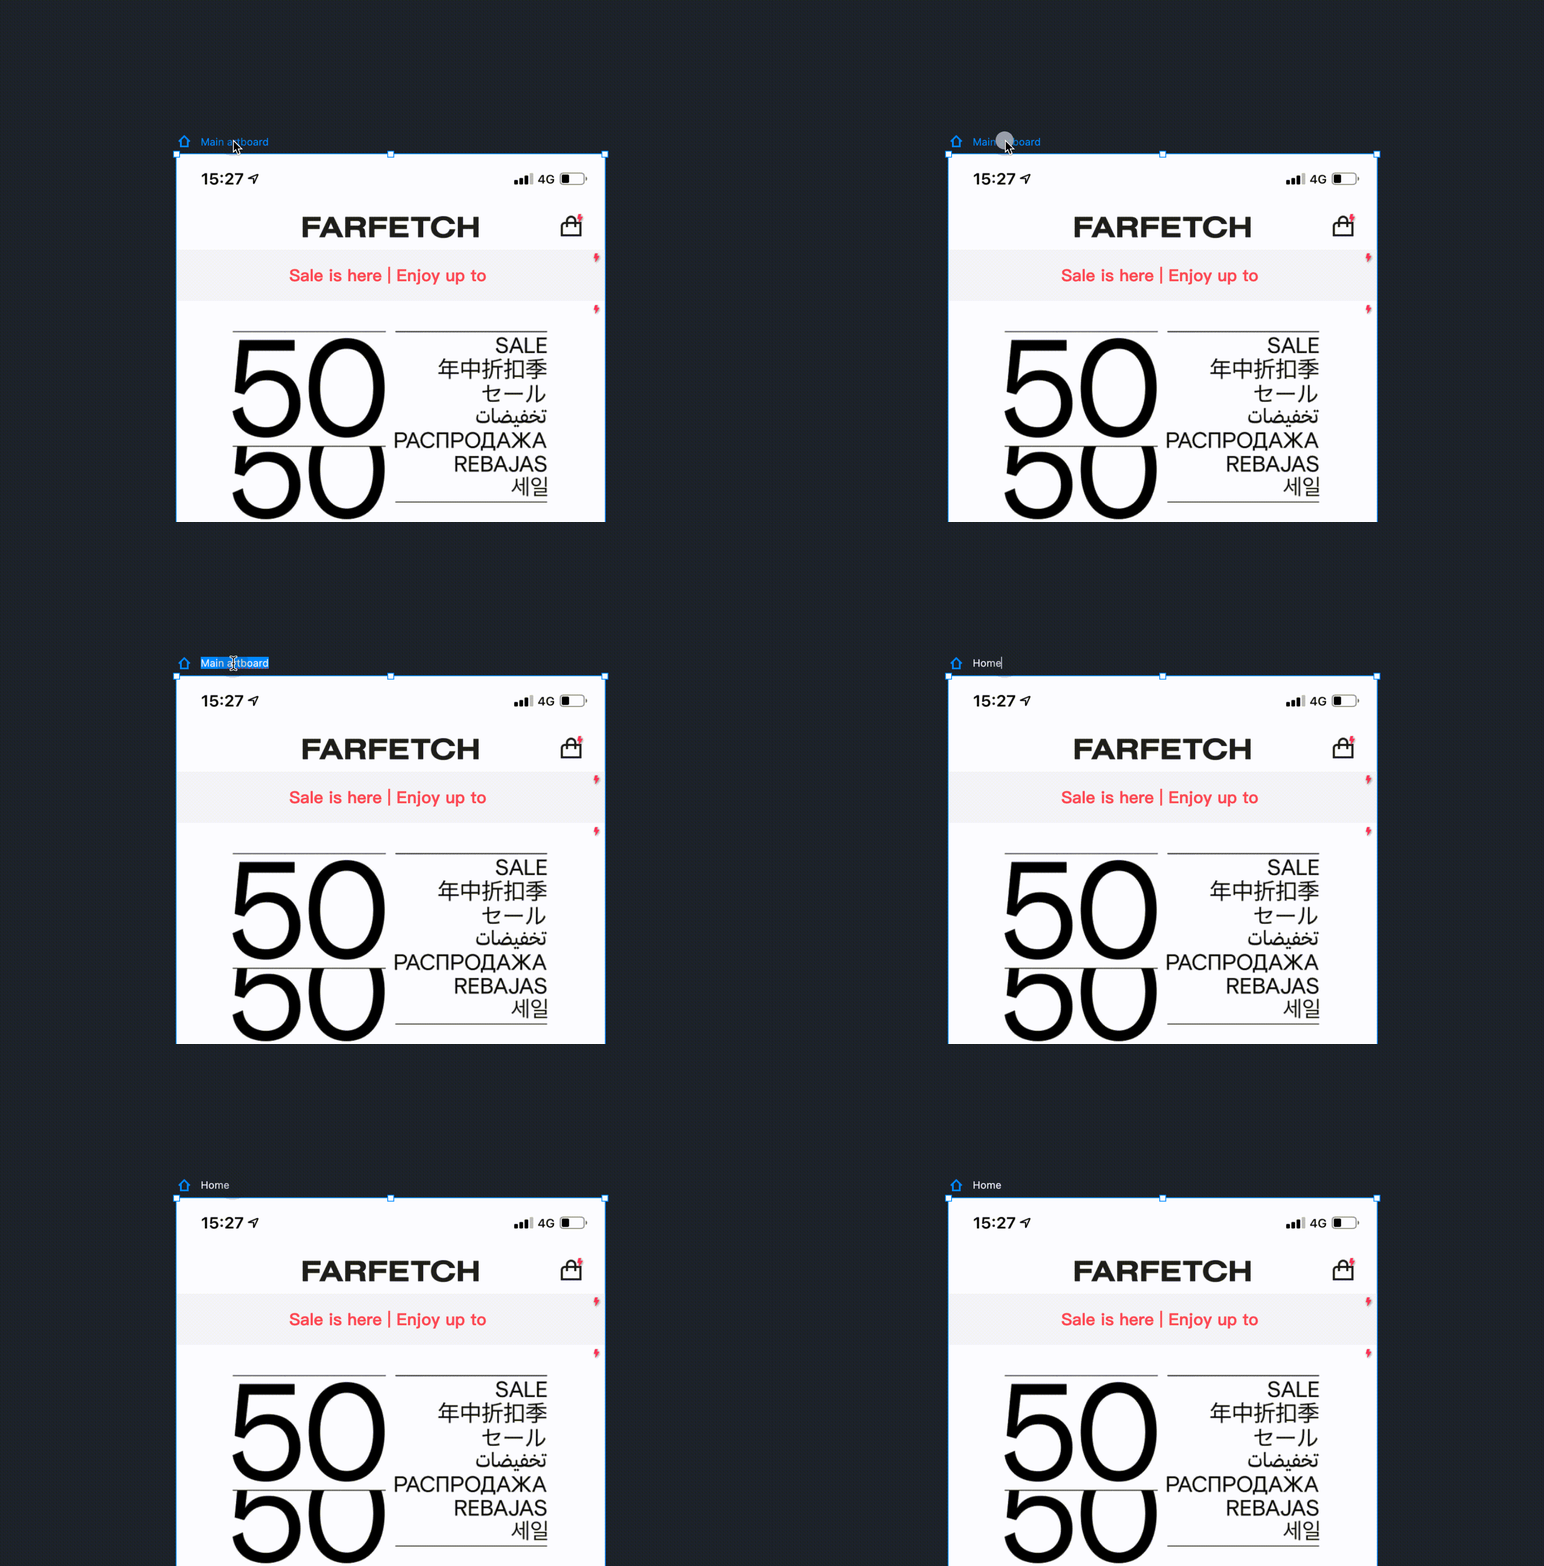
The name of an artboard is shown in its upper-left corner. You can double-click to rename it.

Export Artboard as Image
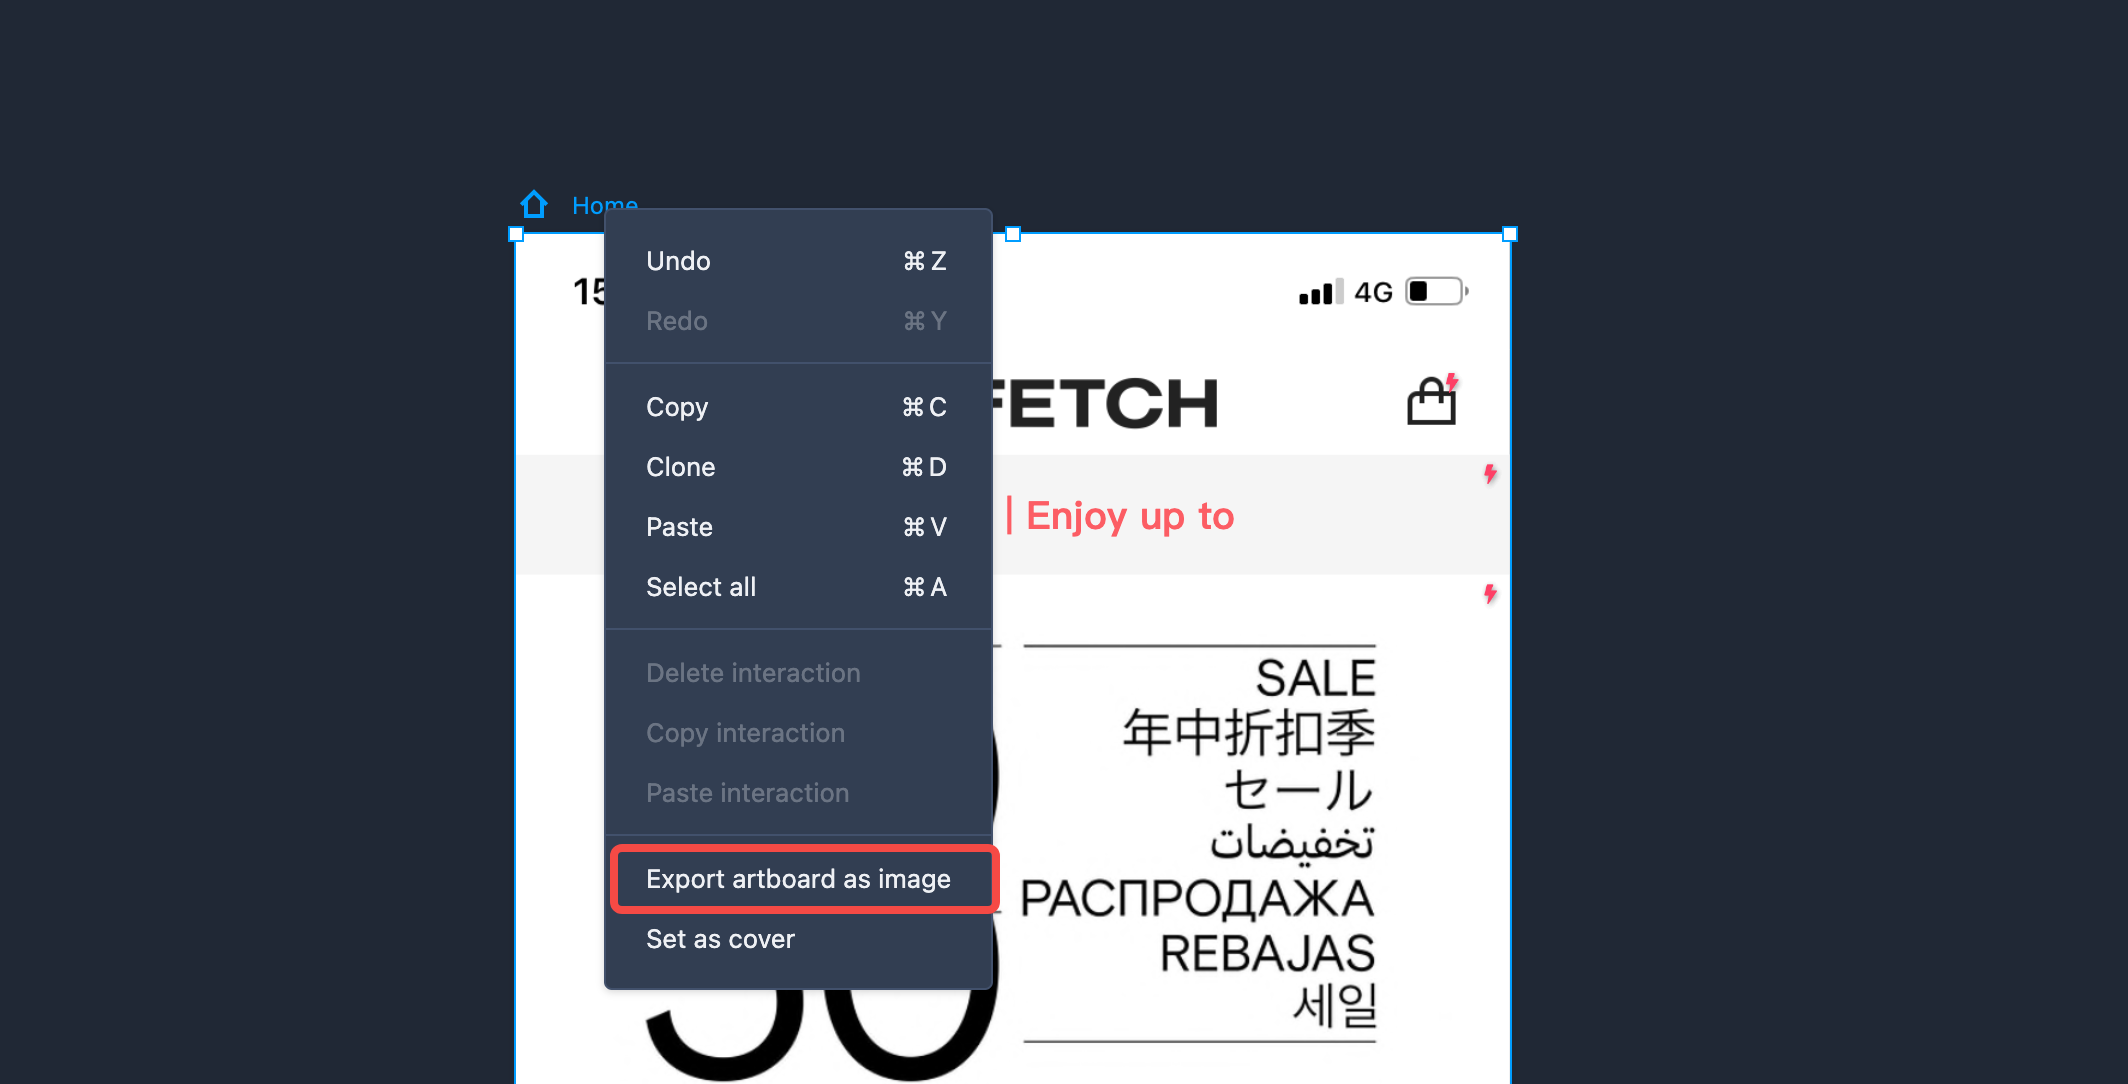
To download an artboard as an image file, you can right click any blank spot of the artboard, then choose "Export artboard as image" from the drop-down list.

Artboard List
The Artboard list feature allows you to quickly locate the artboard you need and add interactions to it.
Head to the top toolbar and click the Artboard list icon to show this list, where you can:
- Click the name of any artboard to quickly locate the one you need;
- Drag the link point of any component to the name of any artboard, quickly making the artboard interactive;
- Hover the name of any artboard, and you will see the Delete and Rename buttons and then you can get it deleted or renamed.
Note: The main artboard can not be deleted.


