


 Mockplus Classic

Mockplus Classic enables you to manage your teams and collaborate on projects easily. The permissions required to access the team collaboration feature vary depending on your account type. This tutorial is about the differences setting between the Individual edition accounts and Team/Enterprise edition accounts.
For Individual accounts:
Step 1 - Create collaboration project
You've got two ways to create a collaboration project:
- Create it on the Home page
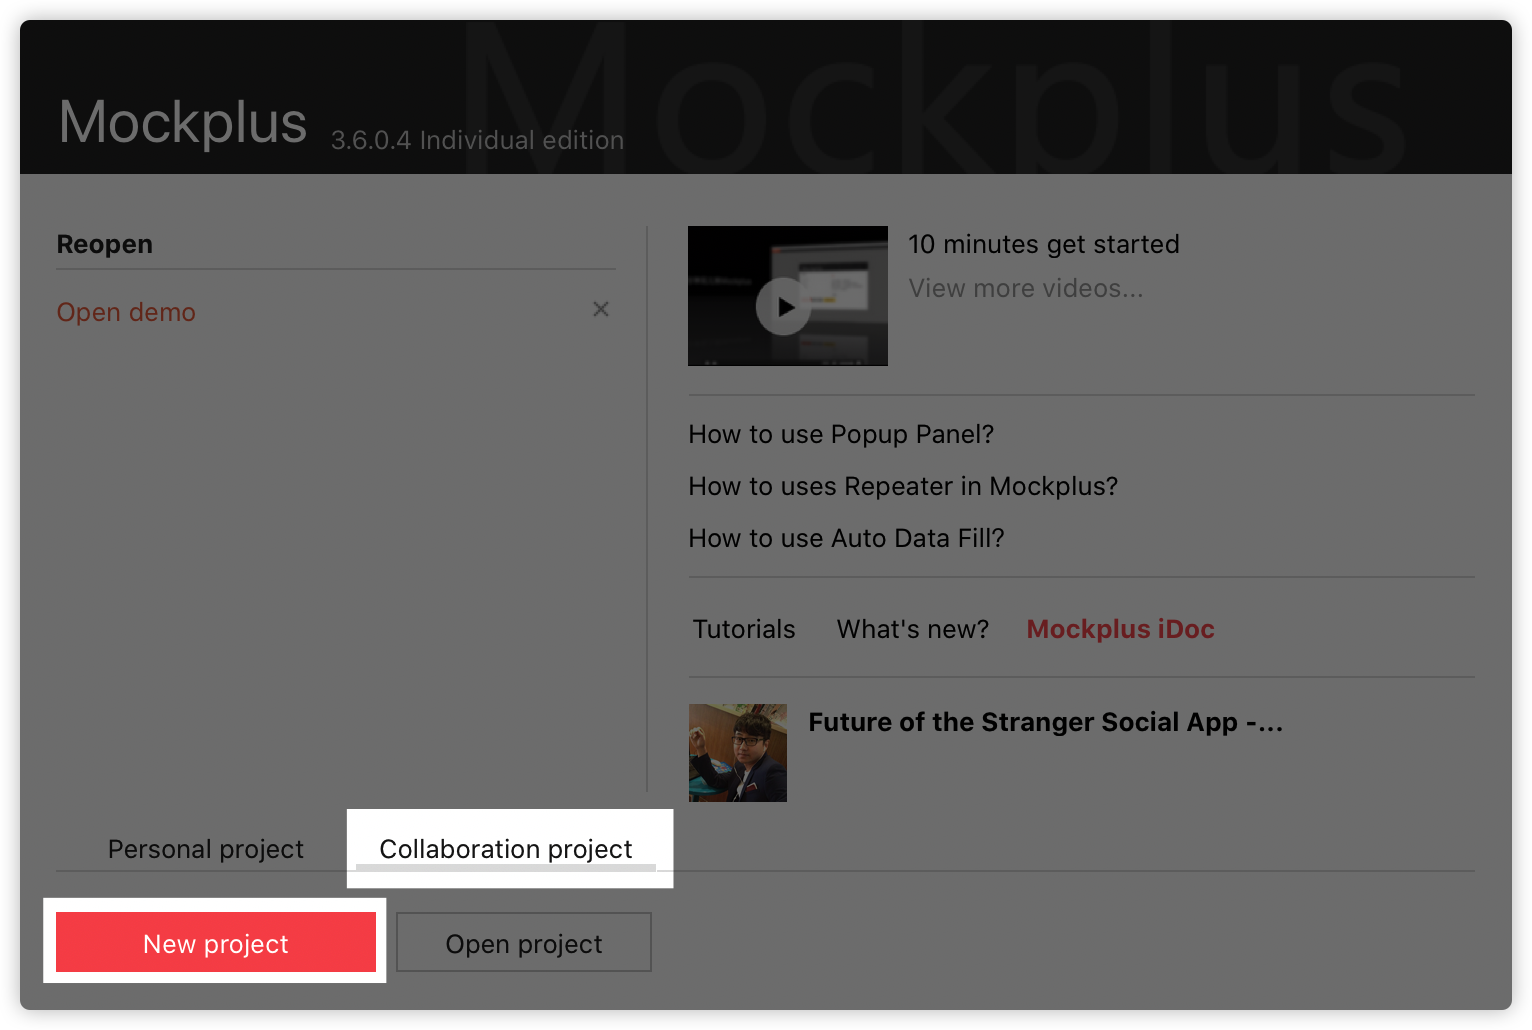
- Create it using Main menu
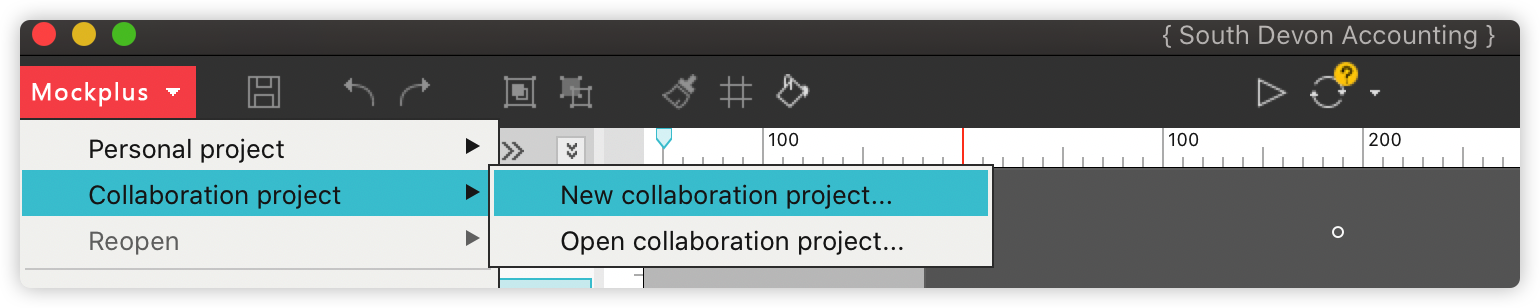
Now, your new collaboration project is created, and you can drag and drop components to the workspace to start designing.
Step 2 - Sync to the Cloud
After finishing your design, you can click here to sync the project to the Cloud.

Step 3 - Add project member
Before your team members can access your project, you need to send invitations to your team members so they can enter the project.

Enter their email accounts:
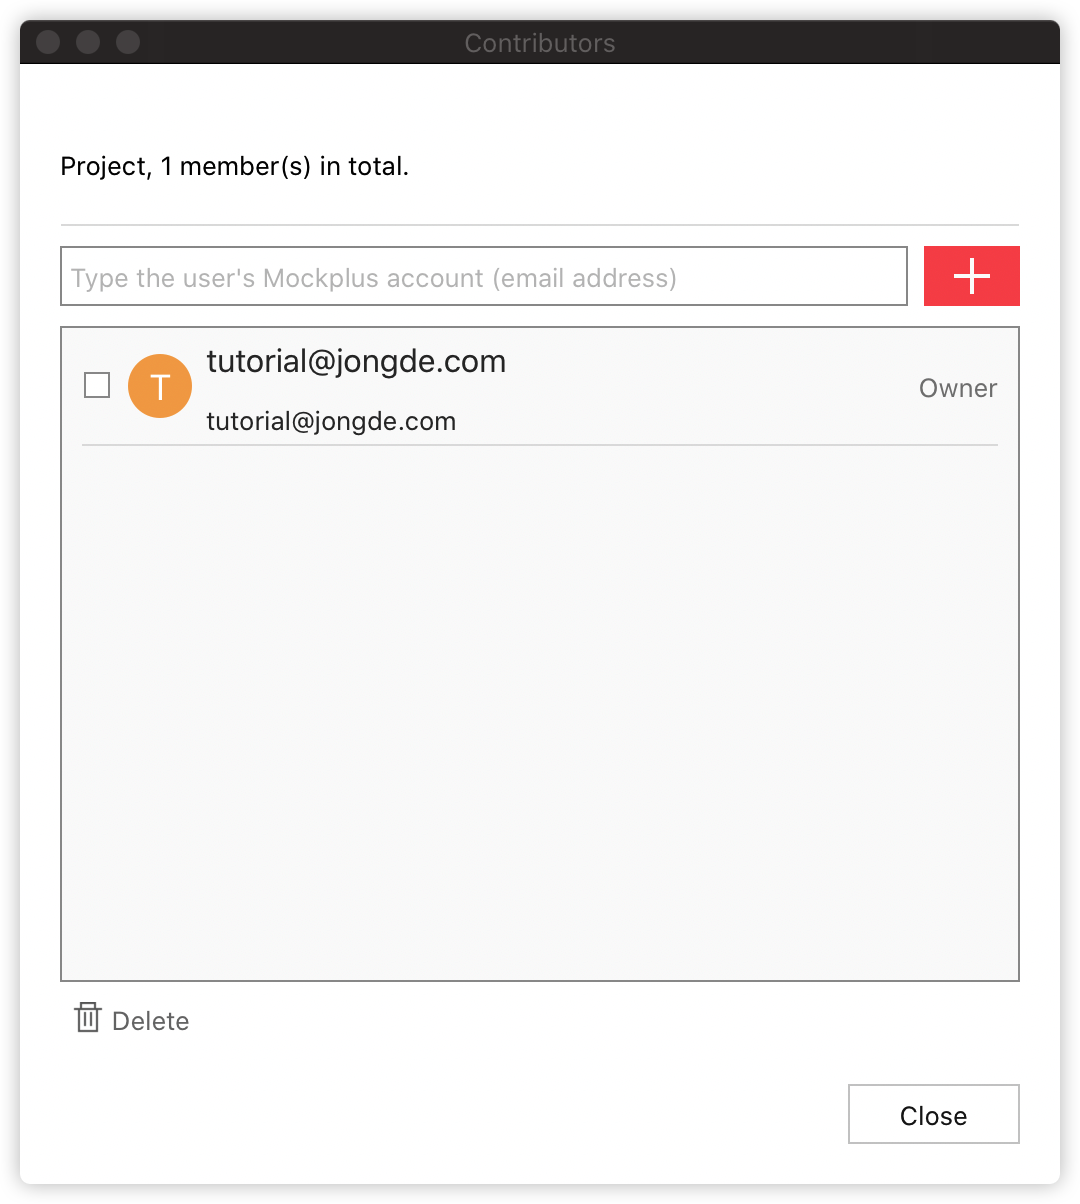
Please note:
Users you add here must have an existing Individual or higher edition account to collaborate on this project in real-time.
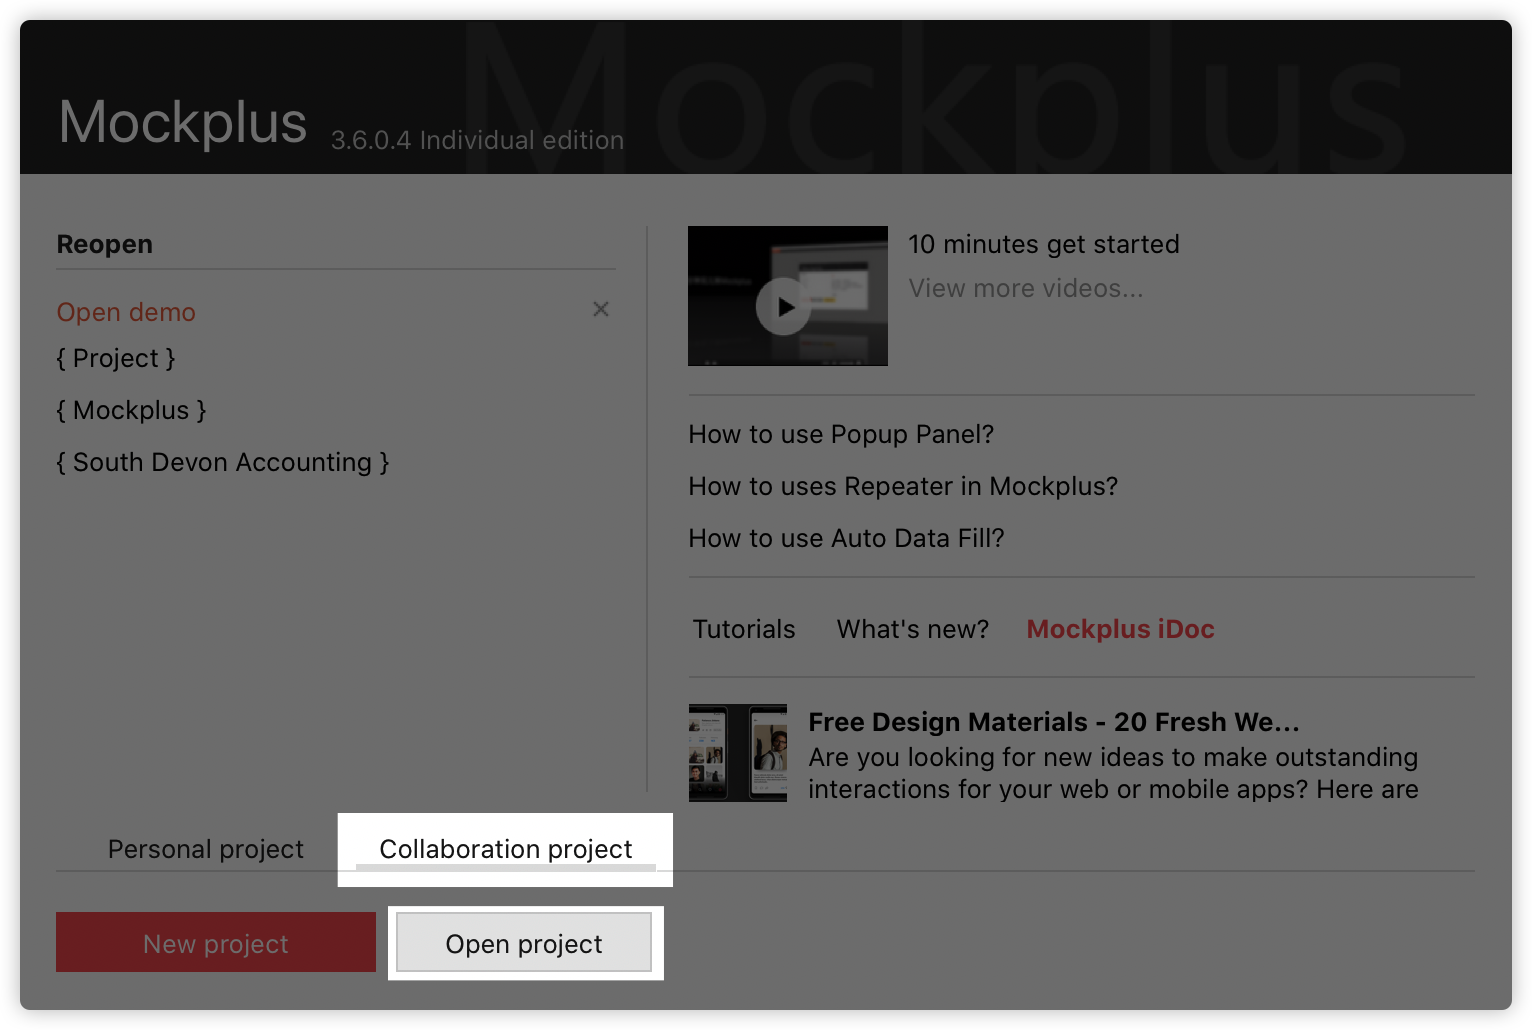
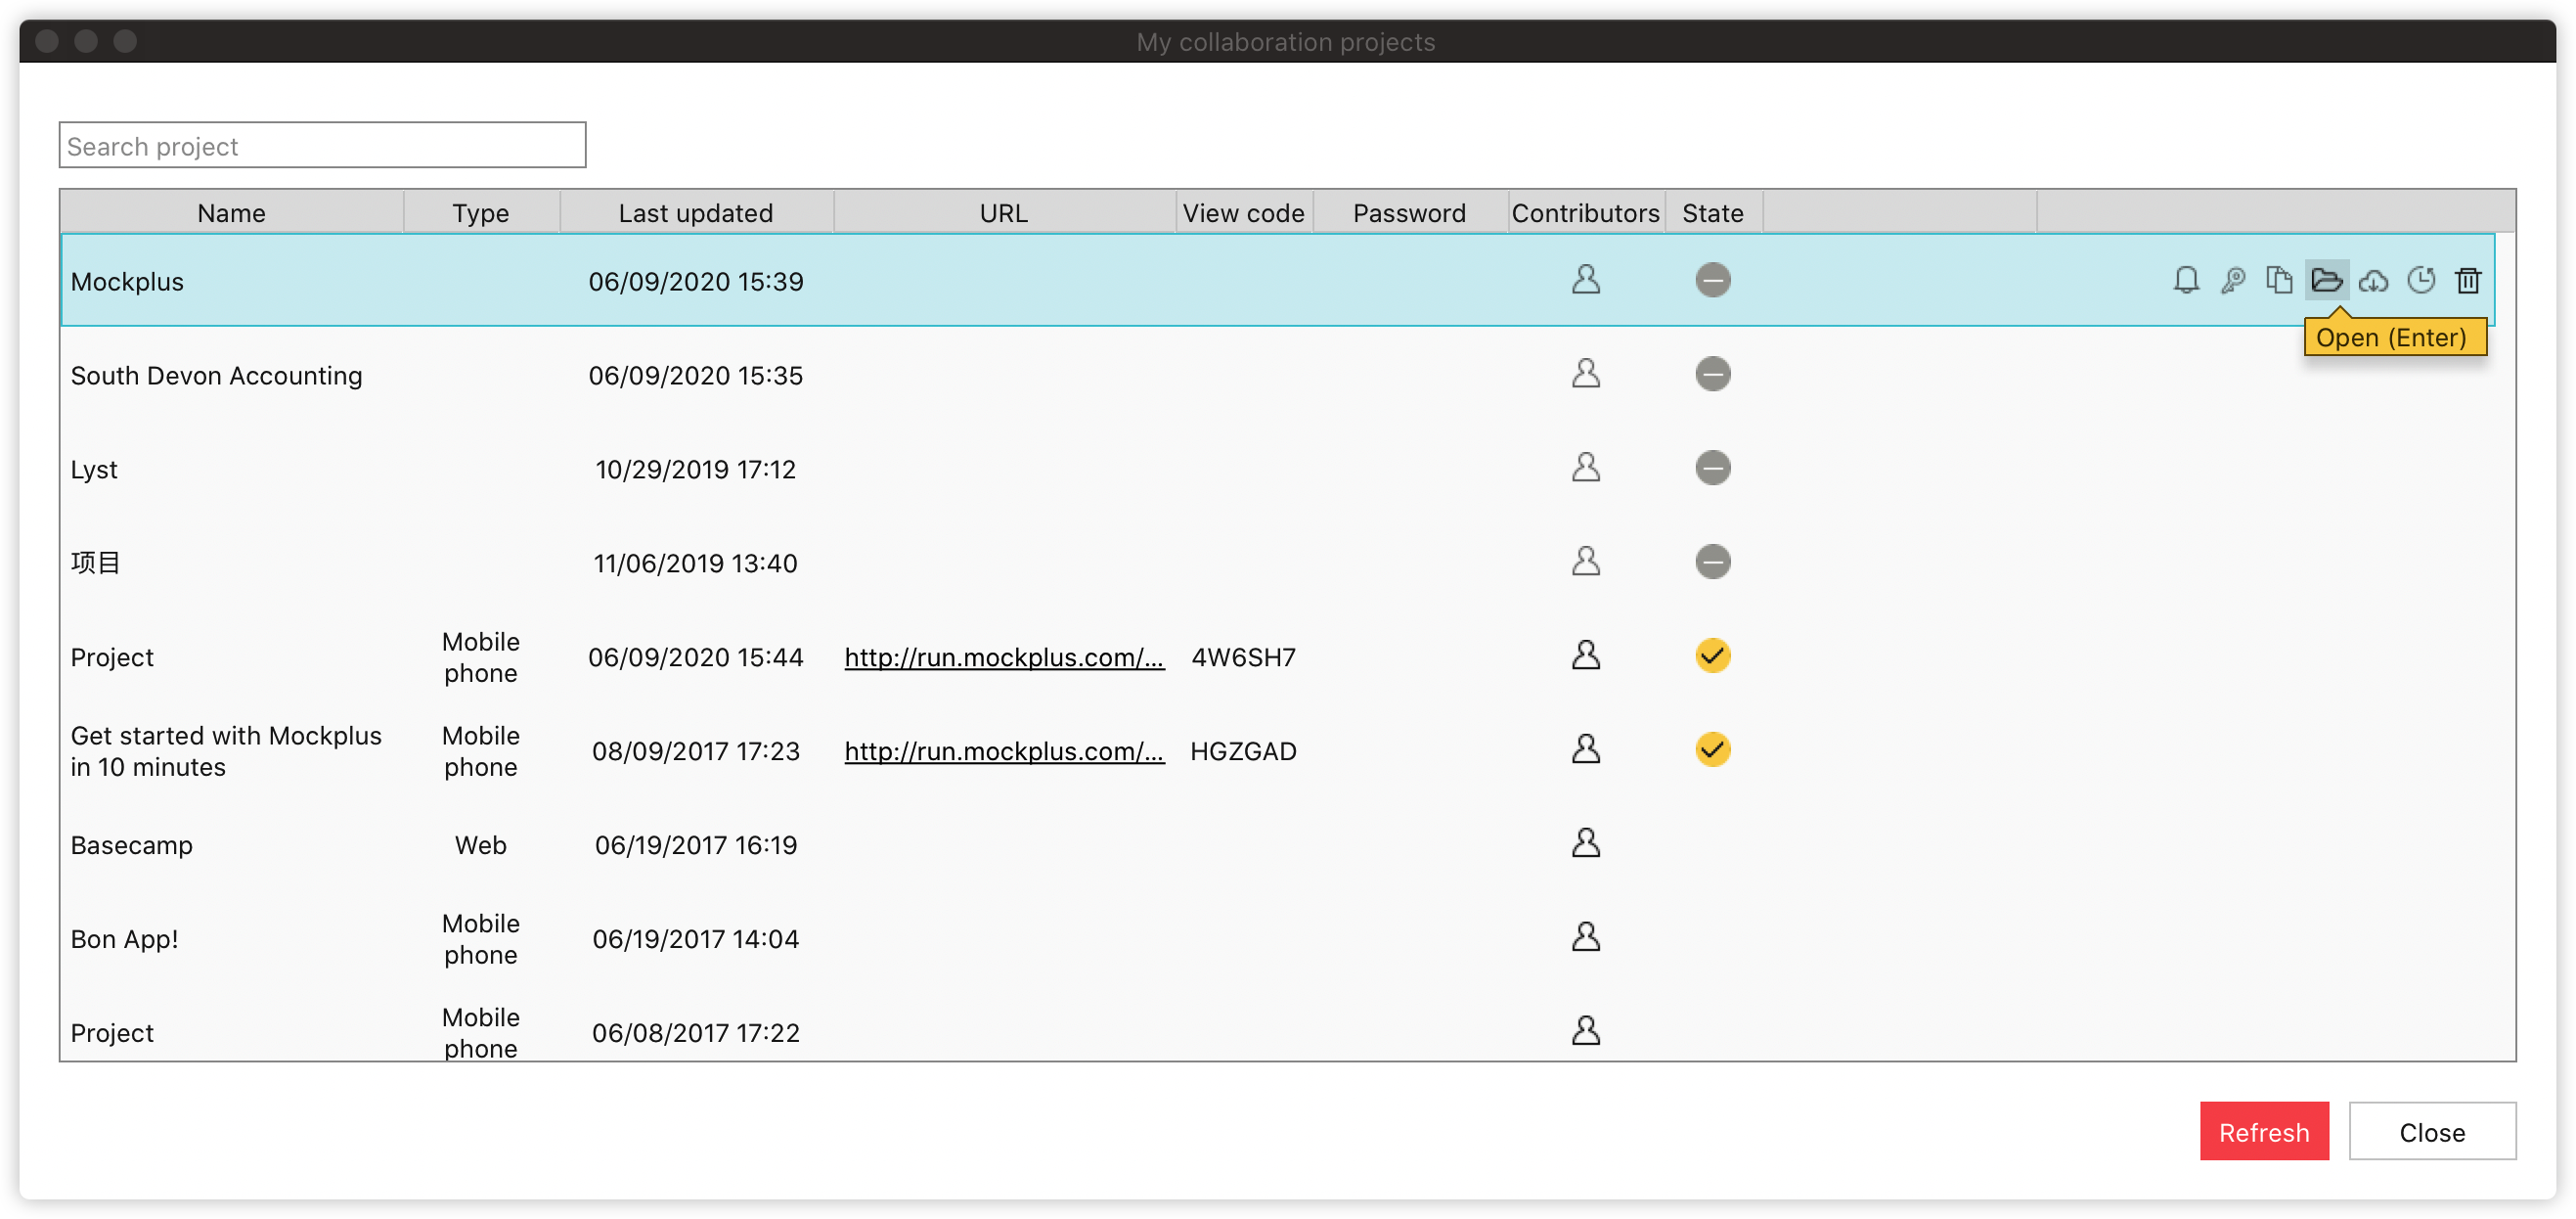
After receiving the invitation, they will be able to see the collaboration project:
Step 4 - Collaborate on projects in real-time
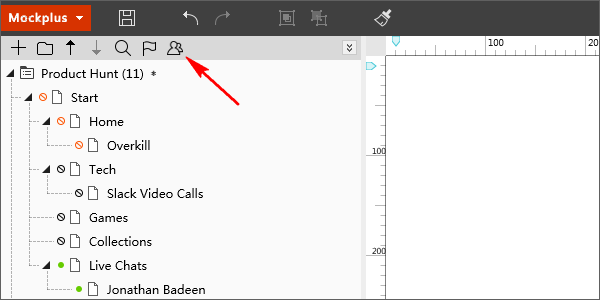
Mockplus Classic uses a color indicator to display the current editing status of the page:
- Red: this page is being edited by other users.
You can hover on the red icon to see who is editing it, moreover, you can edit the page when the current editor clicks on the icon to release the editing permission (you will know it when its color changes to black).
- Black: click to edit the page.
Click on the icon to enter the editing mode.
- Green: you are editing the page.
Others can't edit the page until you release it by clicking on the icon.
Remember to always release pages when you finish editing, otherwise your teammates won’t be able to access it.
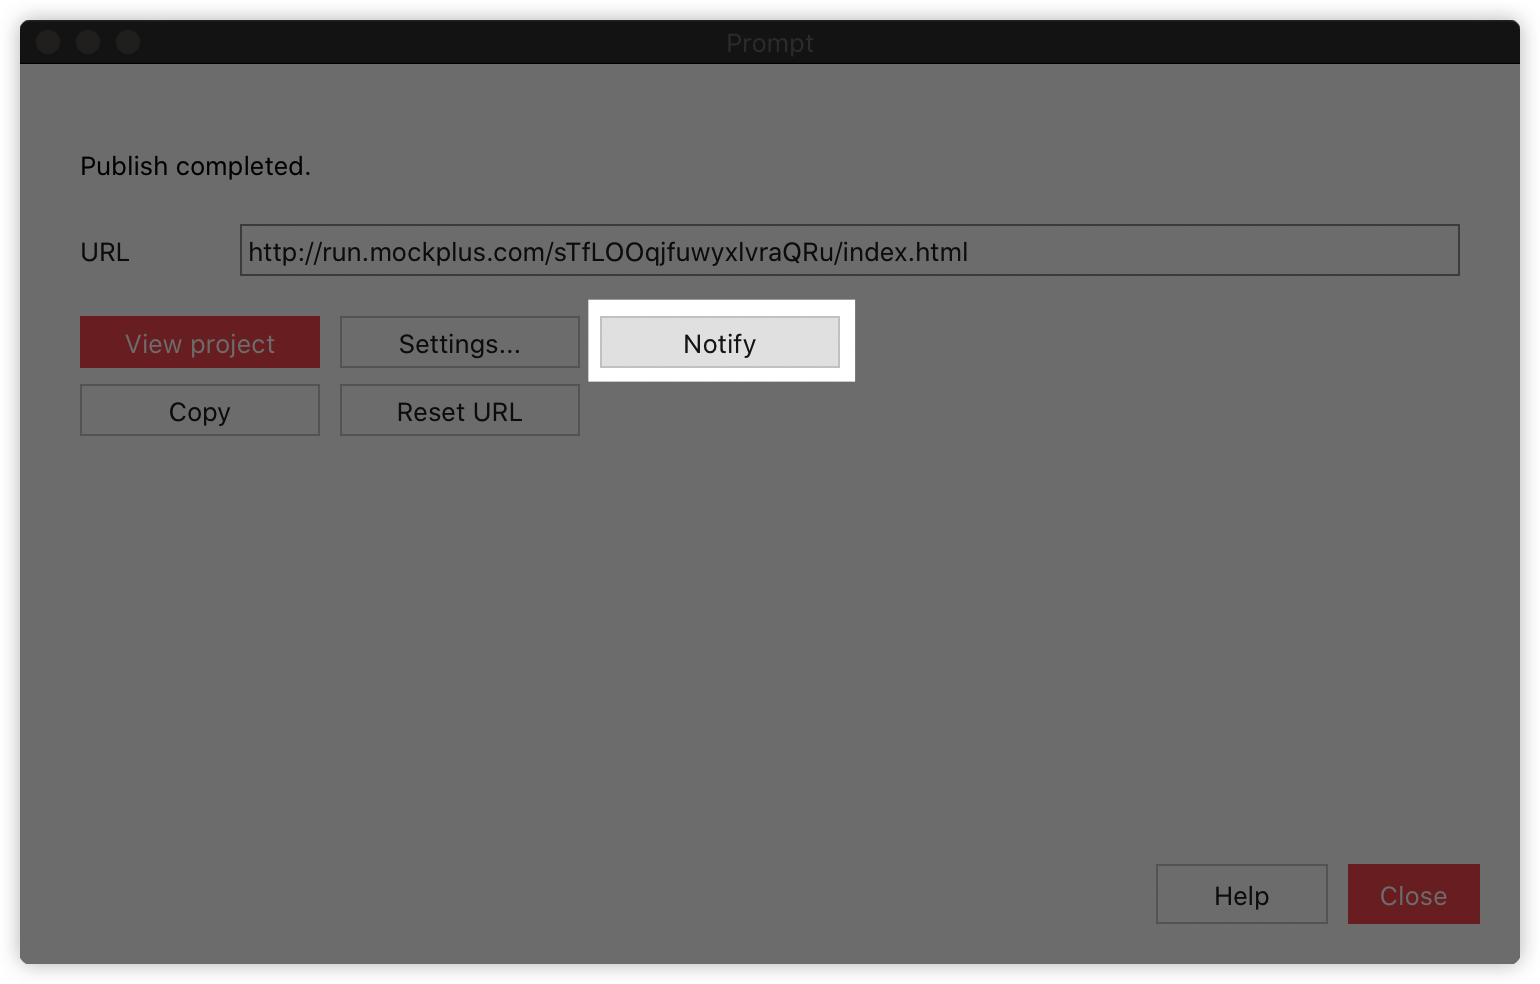
Step 5 - Publish and share projects
After finishing your project, you can publish and share the project:


Notify your team members when there is any modification:

Step 6 - Review and leave feedback
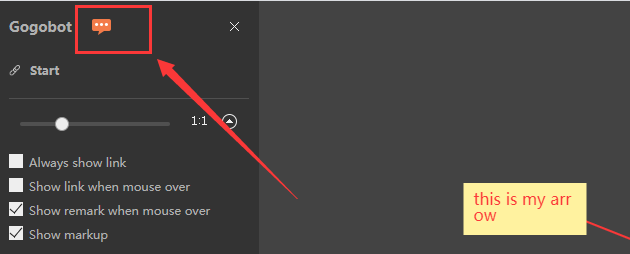
After receiving the share link, your team members, clients or other involved people can review the project and leave feedback by adding marks and comments on pages directly.
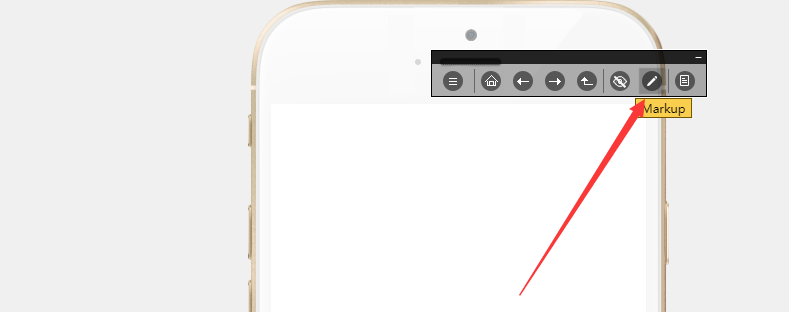
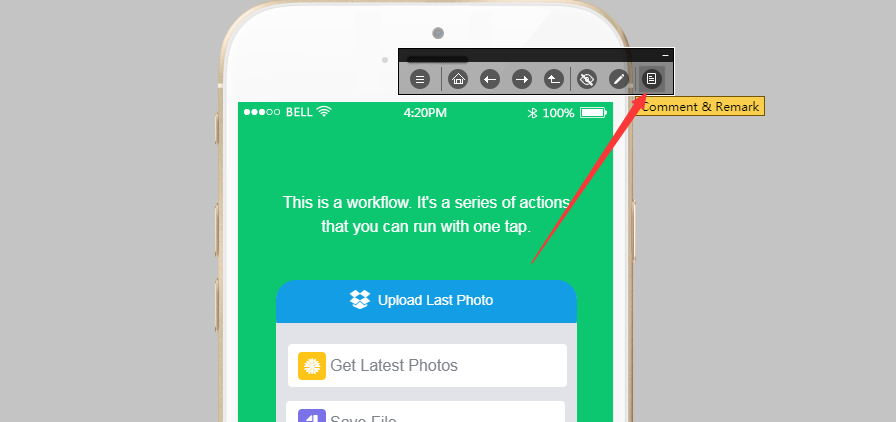
In previewing mode, click "Markup". This will take you to the markup mode.
Choose the tool that works best in your situation.
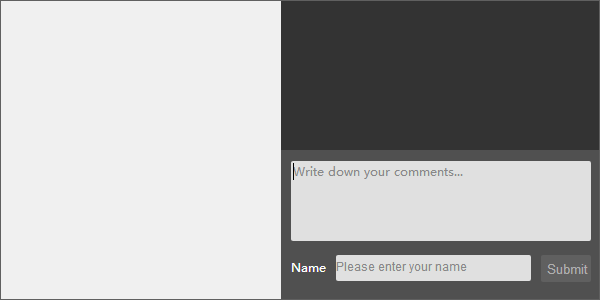
You can also go back to the Preview mode and write a comment.
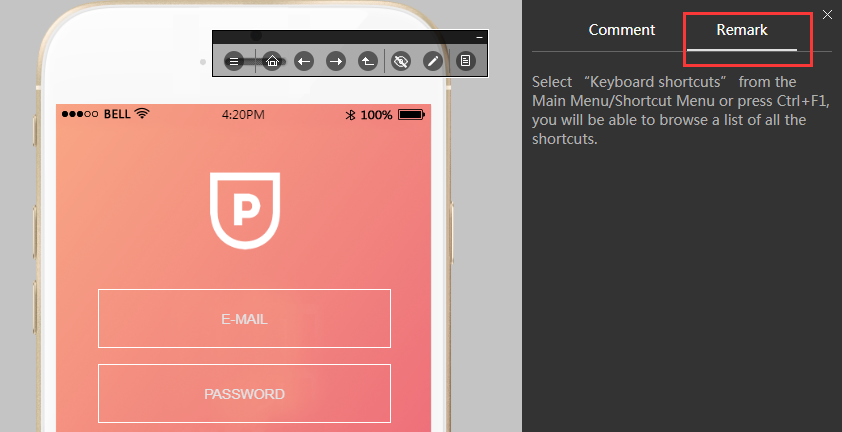
Next to Comment tab, you can view all remarks of the current page.
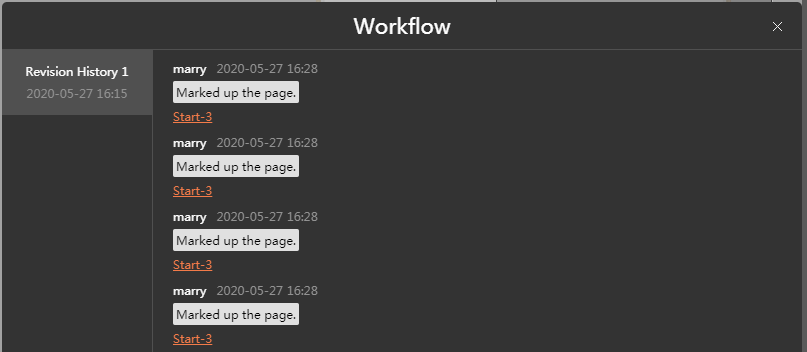
Here you can view all comments and marks notifications (sorted by revisions) here:
Watch Video Tutorial:
For Team/Enterprise accounts:
If you've got a Team or Enterprise edition account, you can use more collaboration features to manage your teams and projects.
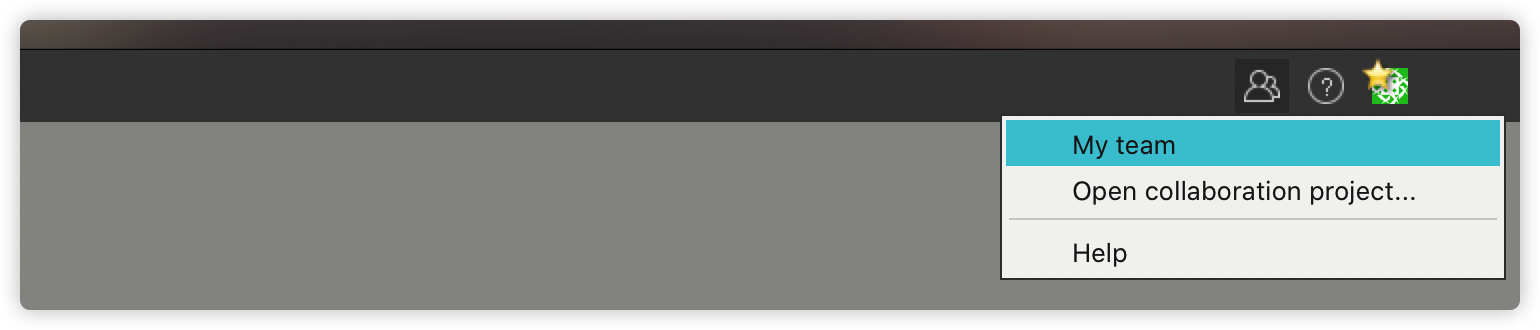
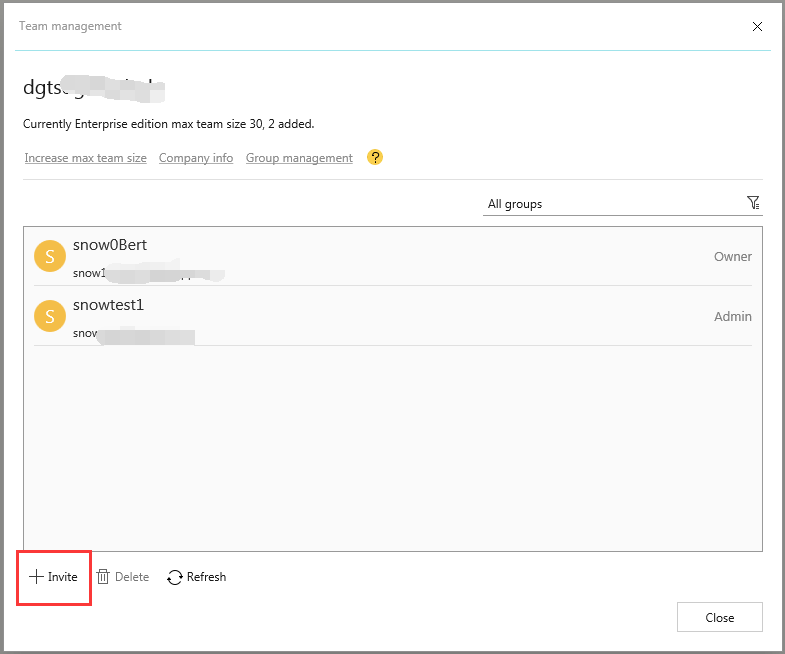
Invite team members
Click here to invite a new team member:
Copy and share the invitation link with the users you want to invite:

They can click this invitation link to join your team:
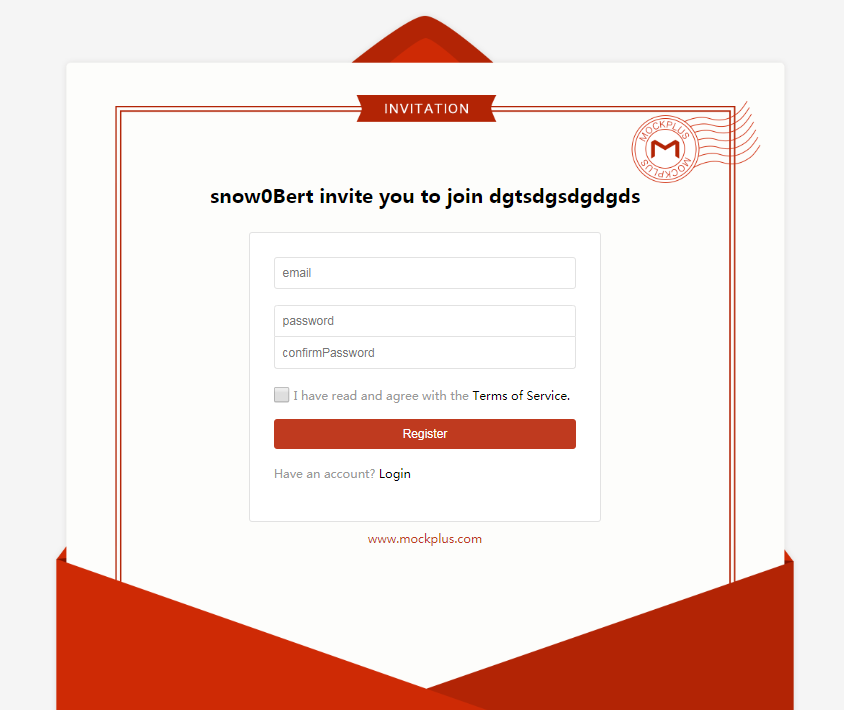
Please note:
In order to join your project, a user must have an existing Mockplus account yet, otherwise they need to register one.
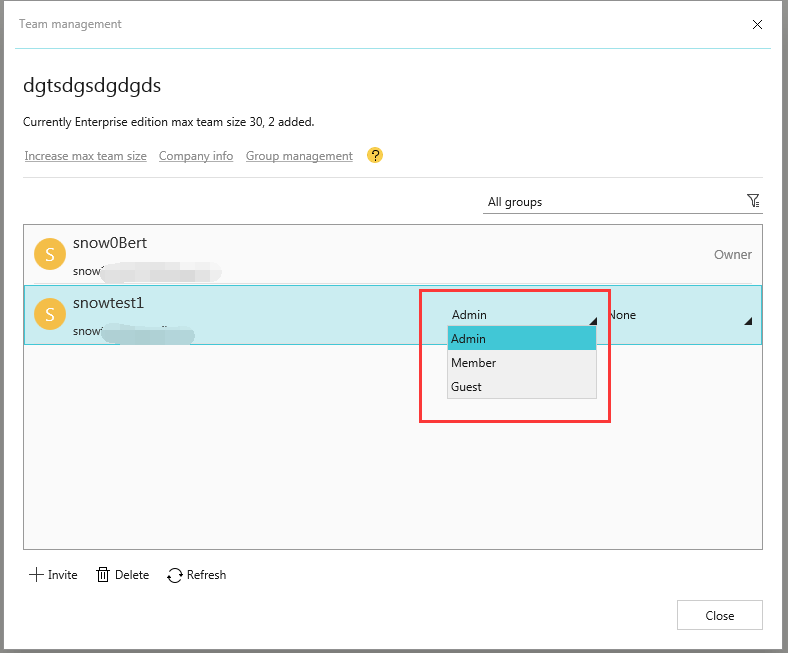
Set roles & permissions
Mockplus Classic enables you to assign your teammates four roles, including Owner, Admin, Member and Guest. These roles define whether a user can create, edit, delete or access projects. Check out Roles and Permissions.
After you’ve added new team members, the Admin needs to set roles for them as follows:
Create groups to manage team members
You can create multiple groups and organize your team members in different ones for better management:
Add/remove/transfer team members
For better team management, you can add, remove or transfer any team member.
For example, when a user from your team no longer works at your company, you can remove his account and invite a new user instead.
Here, we've introduced only part of the features that a Team or Enterprise edition account can access. You can check more details here: https://help.mockplus.com/p/91