Mockplus Classic

Cloud Sync is a newly-released feature in Mockplus Classic 2.0.8 and the later versions. You can seamlessly sync and share files from different places. (Please note that Cloud Sync here doesn’t mean to upload projects to the web for editing. Projects created by the Mockplus Classic desktop version can’t be uploaded to the web version for editing.)
Synchronize Your Projects
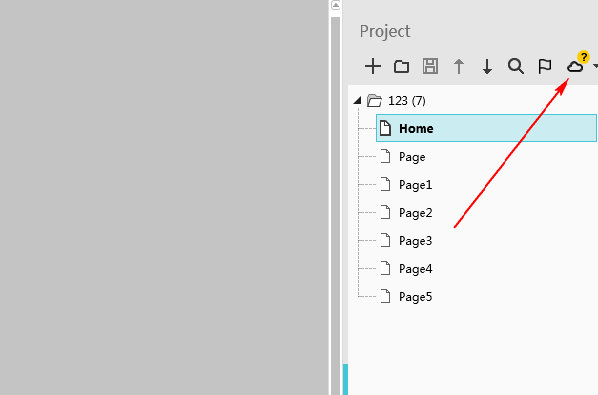
1. For example, after creating your prototypes in your office, click the “Cloud sync” icon at the top-right corner of your Mockplus Classic window.
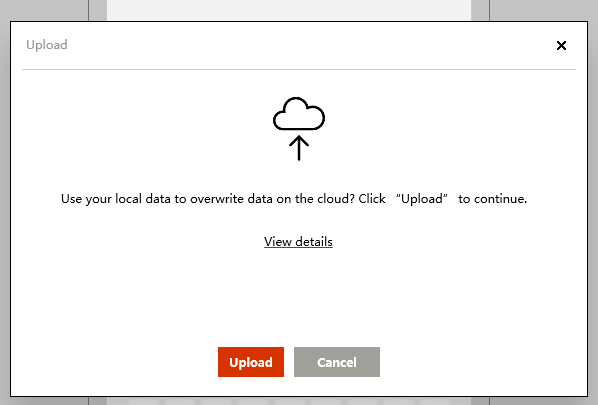
2.Click “Upload” on the popup window.
3.After arriving home, turn on your PC and open Mockplus Classic: Click “Mockplus” menu -> File -> “My cloud projects” -> Select the project you have uploaded from your office -> Click Download to work on your project from home.
4.If you have edited the project, Mockplus Classic will prompt you automatically to synchronize your project. Please follow the on-screen instructions to continue. Of course, you can also synchronize your project by clicking the “Cloud sync” icon at the top-right corner of your Mockplus Classic window.
Manage Your Cloud Projects
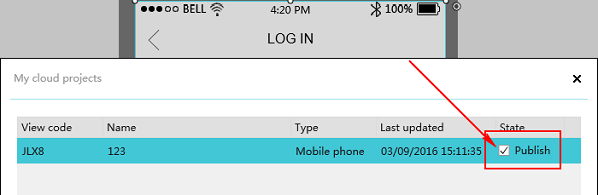
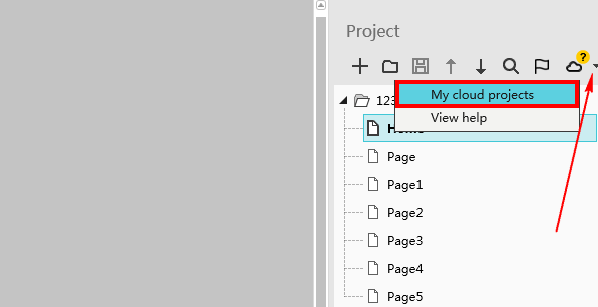
1.Click the small arrow icon right beside the “Cloud sync” icon and choose “My cloud projects” shown as follows:
2.In the popup dialog box, you can manage your uploaded cloud projects. If you want to unpublish your project, please uncheck the right corresponding check-box.