


Who can use this feature?
Supported on any team or plan
Anyone who have an editing permission to a design file can access this.
How to add Auto Layout?
Simply select the frame or layers to which you want to add Auto Layout. The Auto Layout setting section will appear on the right panel. Just click the plus icon to add one and change the settings.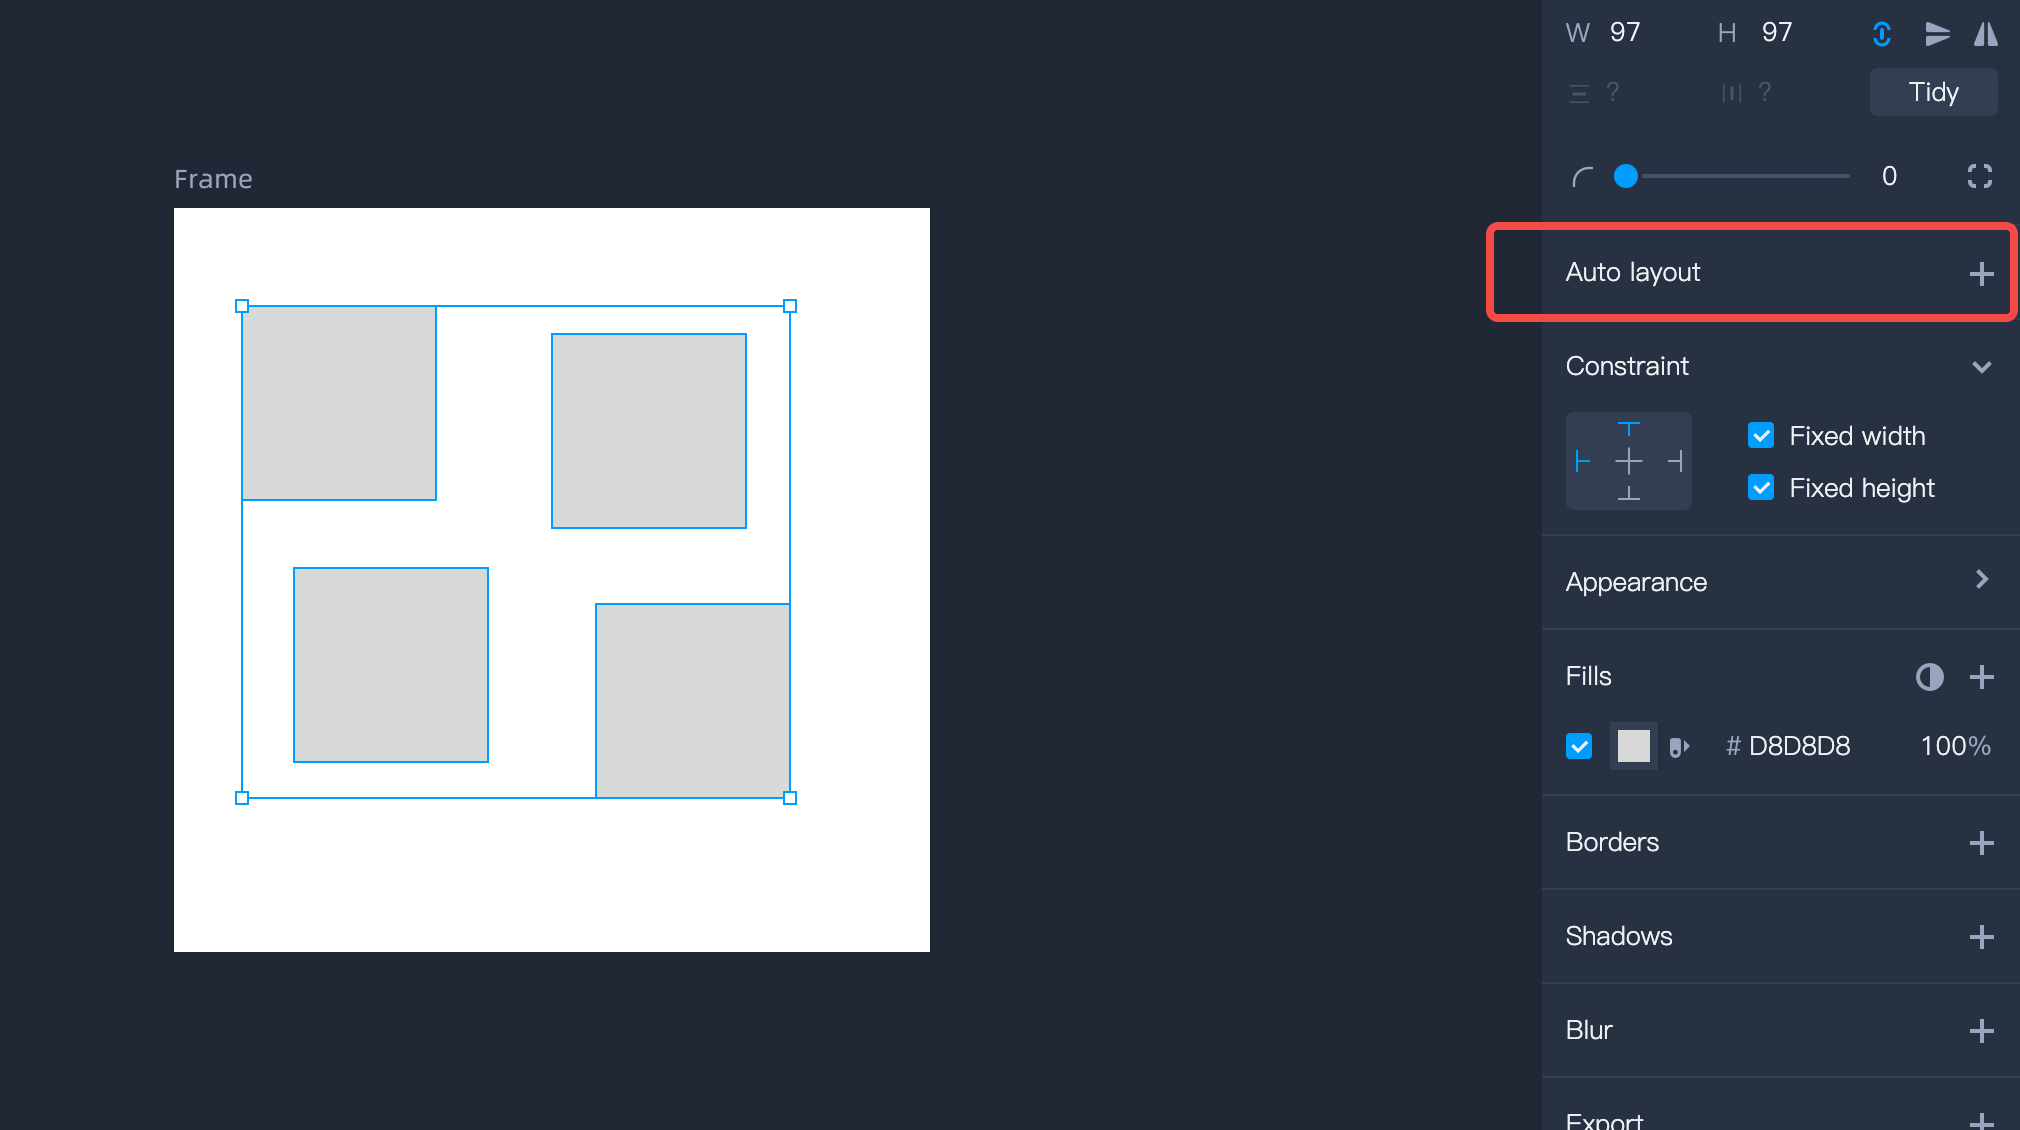 Note: Ensure that you have a frame or multiple layers selected to make the Auto Layout section visible on the right Properties panel. Otherwise, you can only access it through the right-click menu or by using shortcuts.
Auto Layout Settings
When you add Auto Layout to your frame or layers, you can adjust various settings:
Direction
This option tends to set whether the inner layers or objects to order or align with each other vertically or horizontally. Even when adding, removing, or rearranging objects or layers, the alignment will follow the same direction.Distribution
This helps to set how to align the child layers and objects within the container. Once activated, all of them are taken as a whole, adjusting the position automatically based on the their positions in the container.Gap between layers
The spacing between inner layers and objects can be manually adjusted either in the right Properties panel or by simply dragging the controllers in the workspace with your mouse.Padding
The fixed padding within the frame affects the scope of the direction and distribution of the Auto Layout. So, you can add a uniform top, right, bottom, and left padding to the frame or directly set them individually:Uniform padding: Input one or two numbers (separated by a comma for different padding on each side
Individual padding: Set the fixed padding for the frame individually.
Advanced settings
You can also set the stacking order of the selected frame or layers, easily choosing to display the last layer at the top or bottom.Auto Layout Response Methods
When adding Auto Layout to your designs, you may choose a response method, vertically or horizontally, to make the selected content automatically response to changes made in the inner content and size.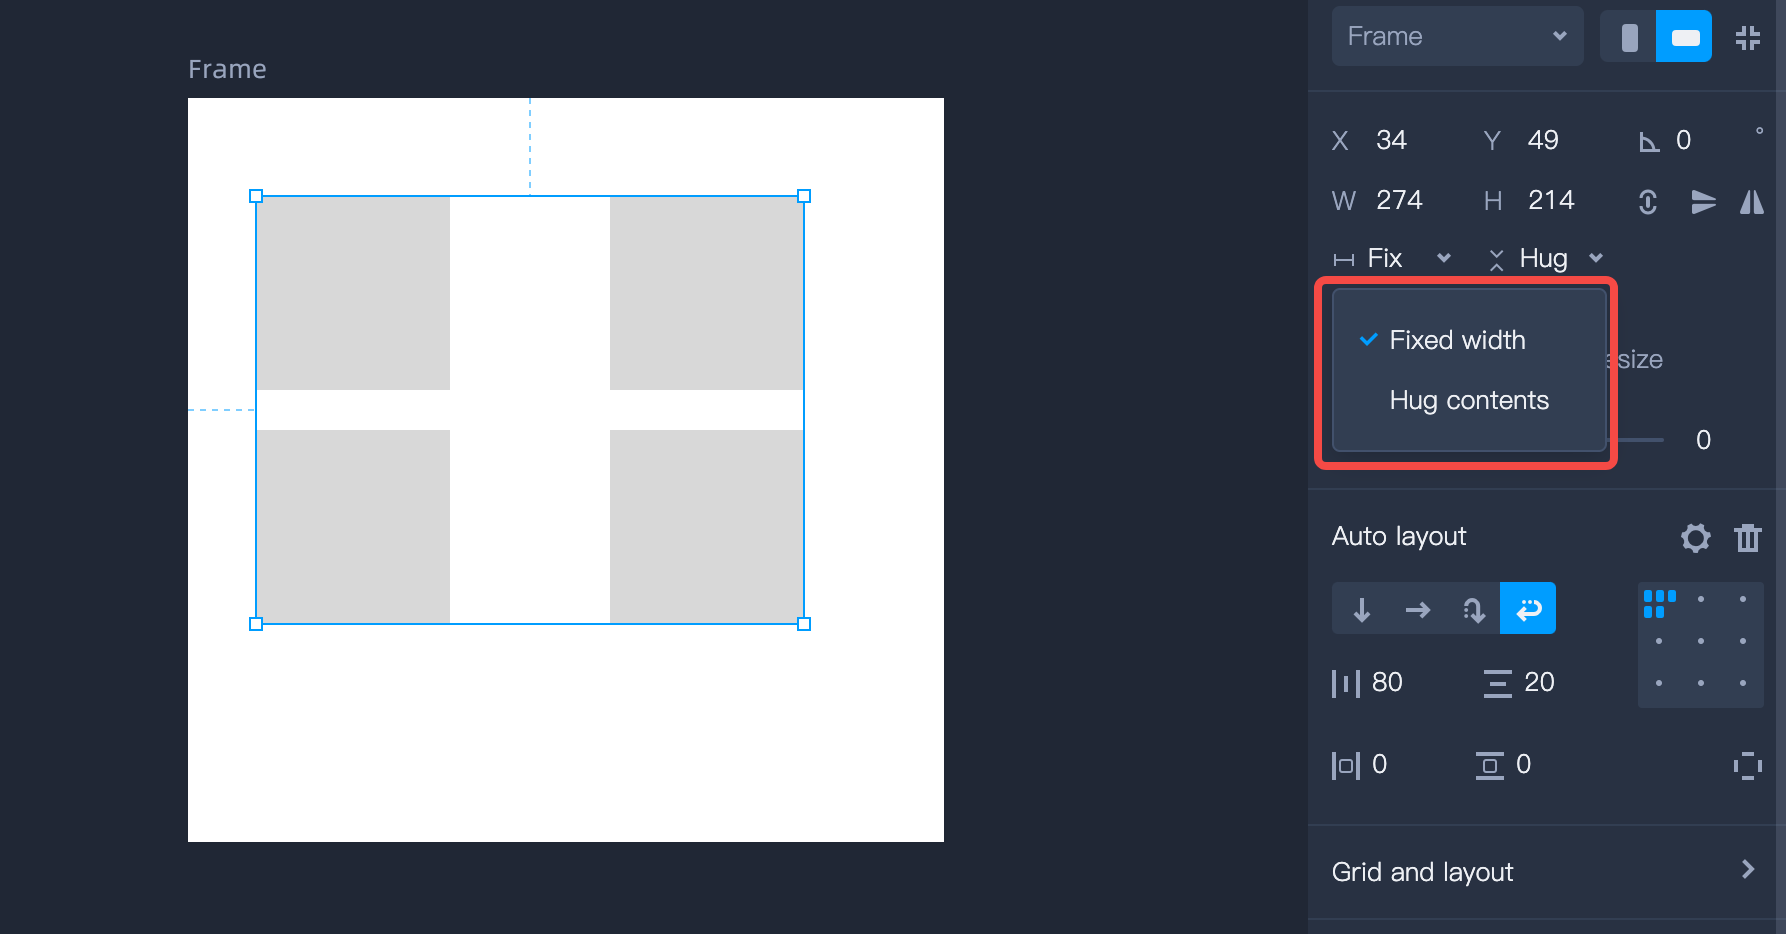
Fixed Width/Height: The container size remains fixed and is not affected by the content size changes.
Hug contents: The container will resize itself according to its child objects, automatically adjusting its width and height based on the position and size of layers within the container.
Fixed Width/Height: The height and width of the child element remain fixed and are not affected by the parent container size.
Fill Container: Automatically stretch to the width and/or height of their parent container. If multiple child objects are set to fill the container, they would be evenly distributed.
Absolute Position
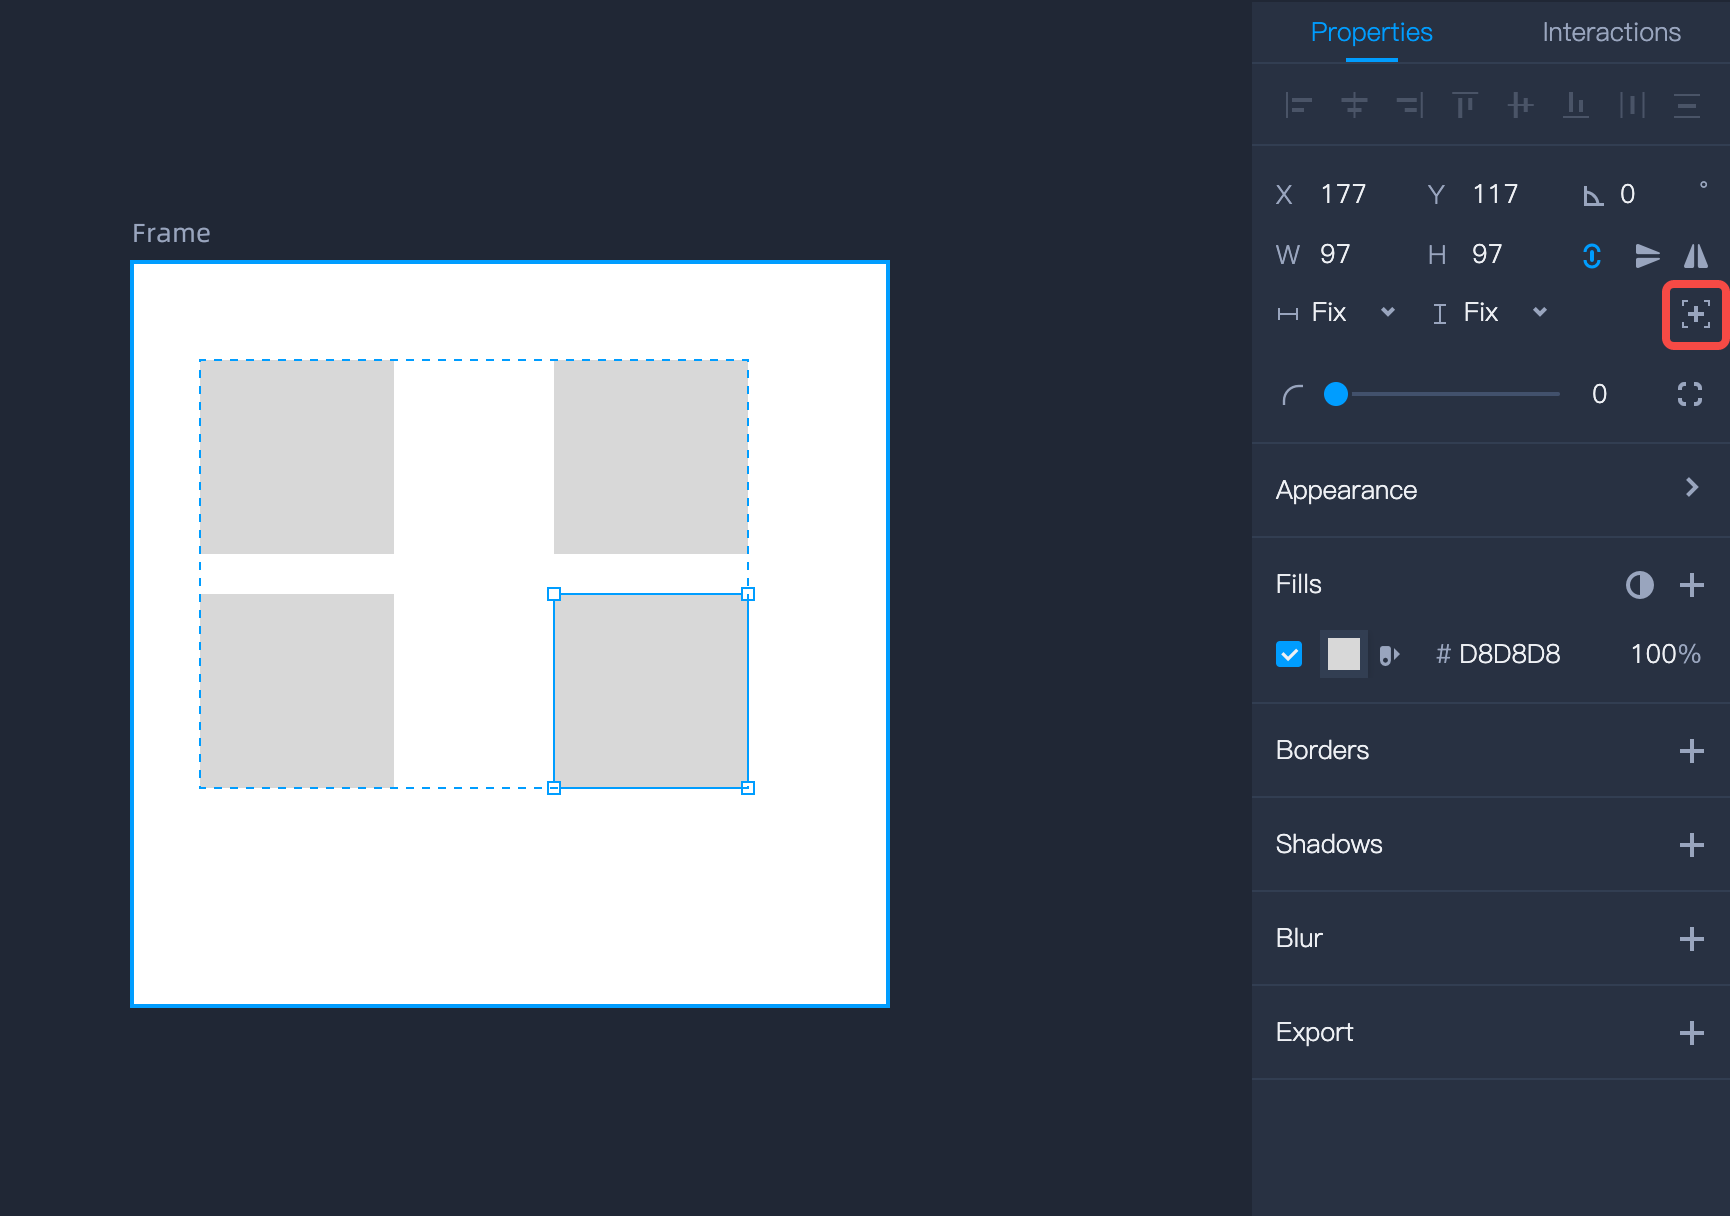
The element is visually placed on top according to the current stacking rules and can be manually adjusted on the layer panel.
You cannot set response methods for this object.
You can manually adjust the coordinates of this object.
The remaining child objects in the container need to recalculate their positions.
Absolute-positioned child objects can still have constraint settings.