


Mockplus DT has quite a straightforward interface, with everything displayed in the panels and menu bars. However, if you’re new to Mockplus DT, here’s a detailed overview of the UI to help you understand and get started.
Mockplus DT has 3 menu bars for you with all the tools you need:
- Left menu bar
- Layers and assets panel
- Top toolbar
- Right menu bar
Left Menu Bar
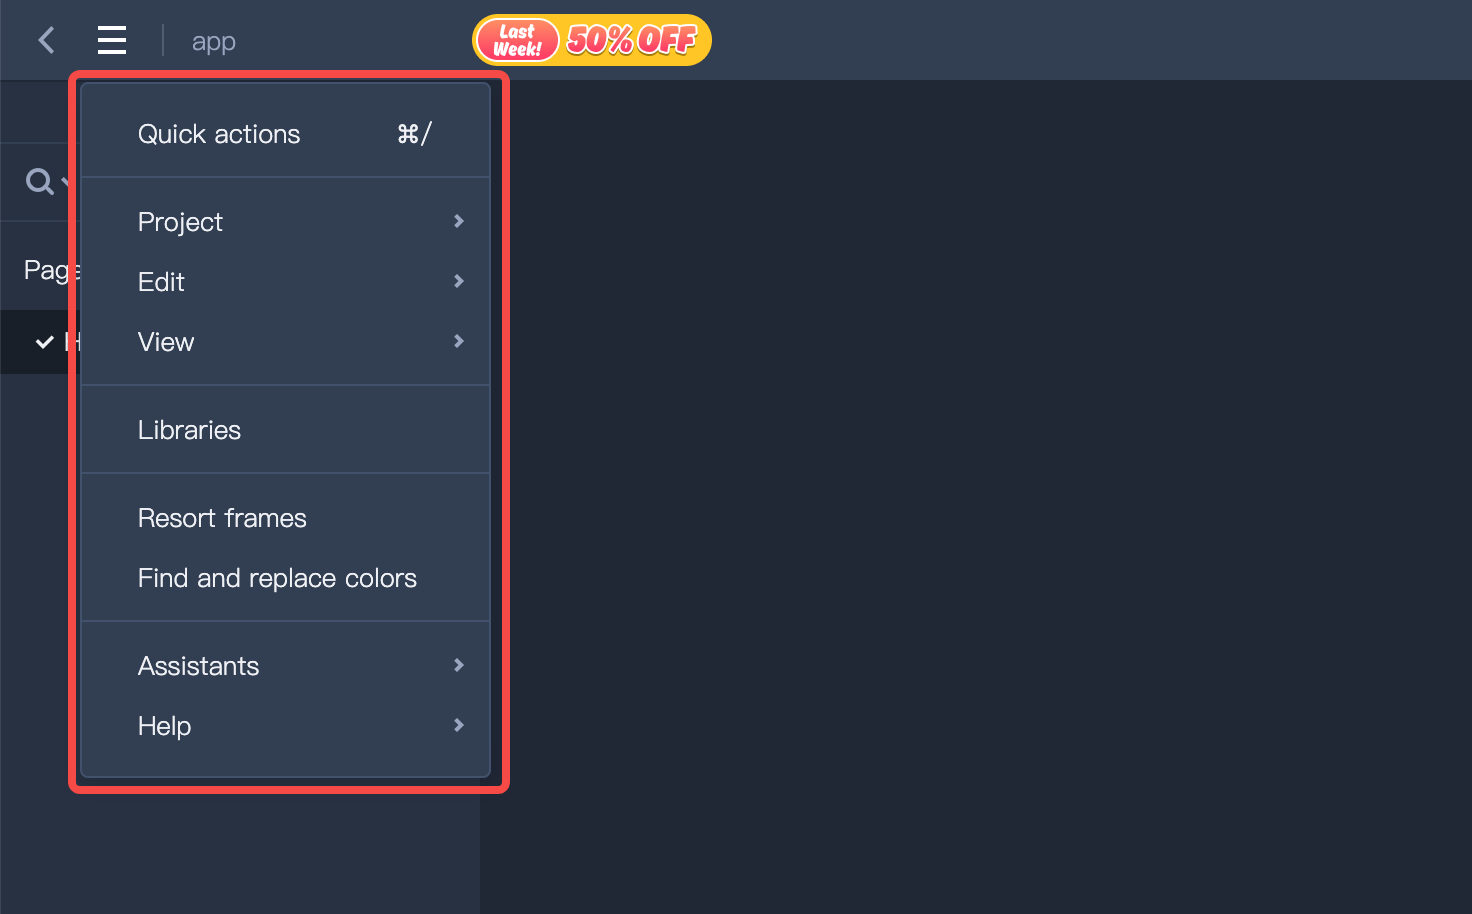
The Left Menu Bar is where you’ll find items and actions like Preferences, Project, Edit, View and etc. Simply press F1, and you can check many of the options that are available using Shortcuts.
The layers and Asssts
Layers: The Layers panel shows all the Pages in a design file and all Artboards and Layers on the selected page. With the Search button, you can quickly search and get a Layer in the list.
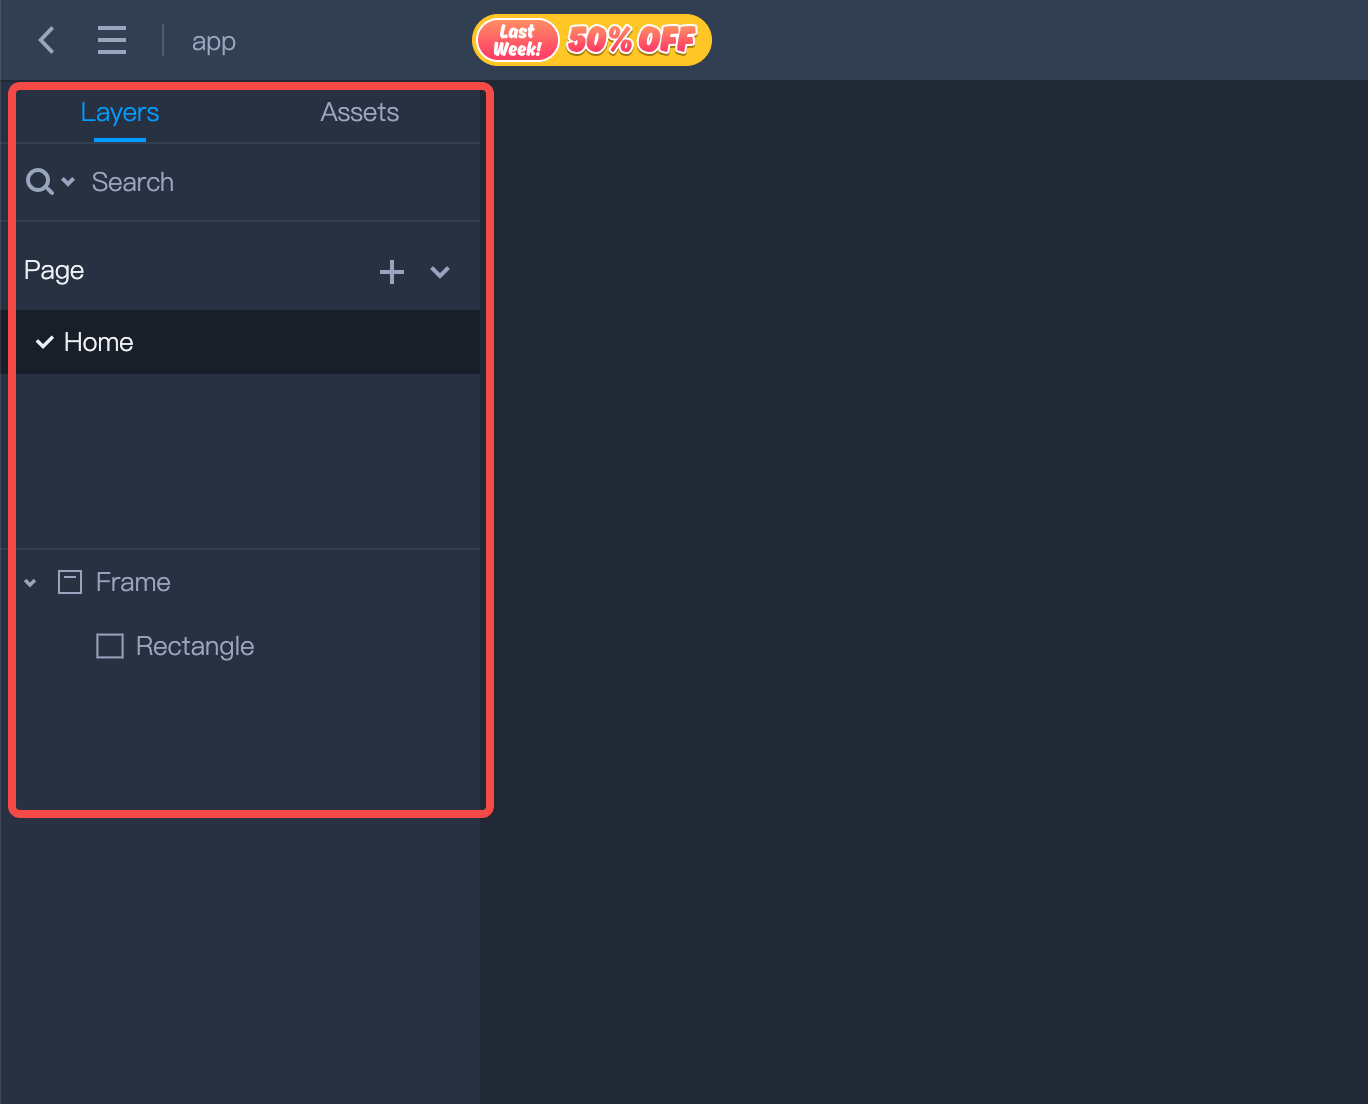
Assets: If you want to better manage your design assets, switch to the Assets panel on the left where you can create symbols and organize your design library.
Top Toolbar
Add Artboard: Mockplus DT allows you to create fixed frames called Artboards, on the Canvas for your work. To create an Artboard:
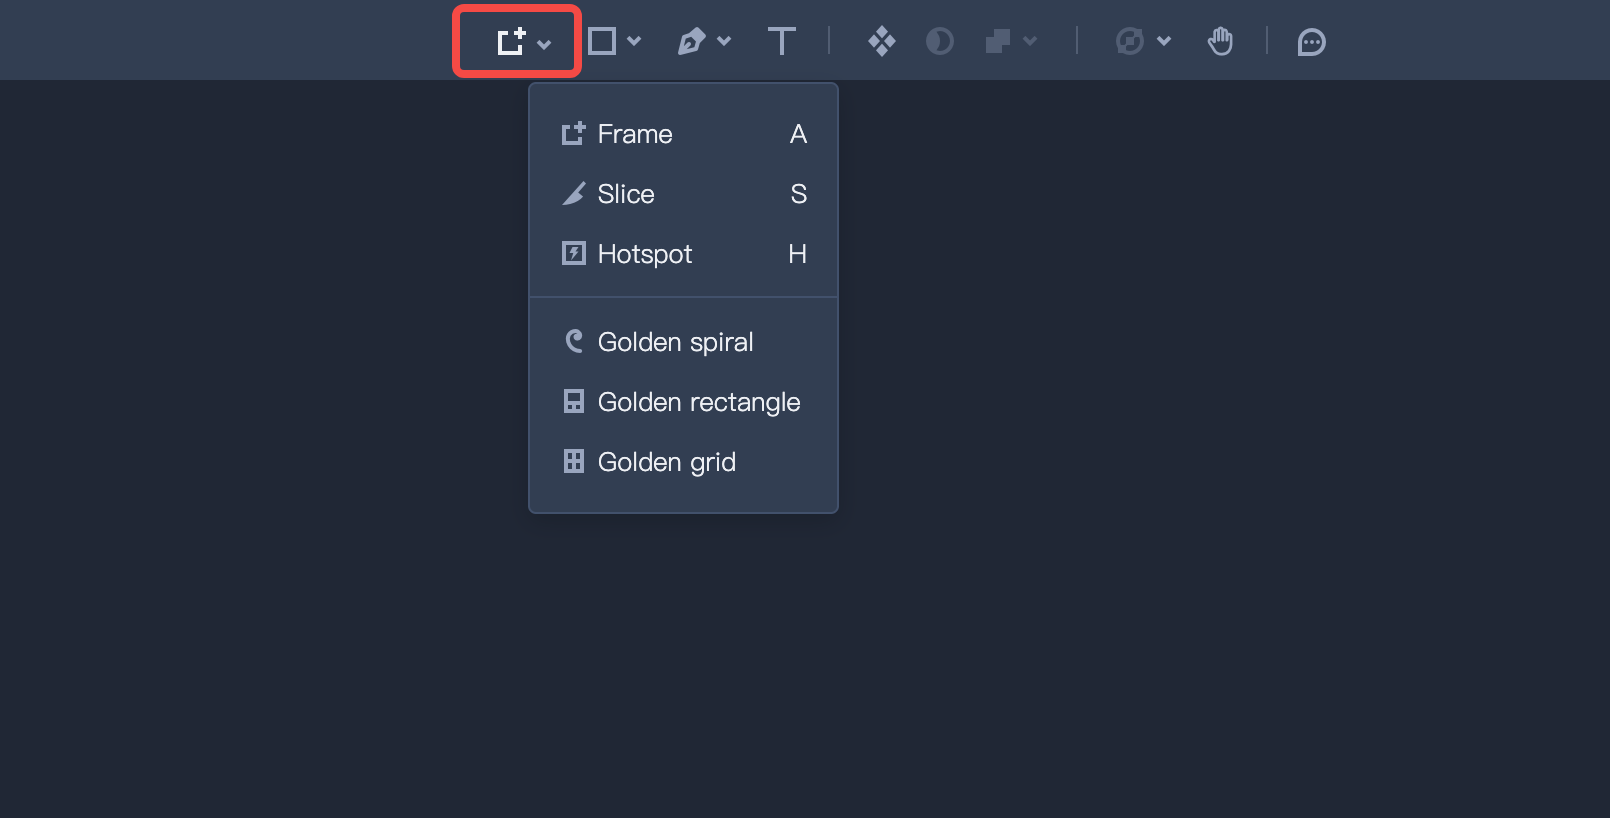
Click on “Artboard” from the Top Toolbar or directly press A.
Next, click and drag it on the Canvas to create a custom-size Artboard.
Golden Ratio Overlays: Mockplus offers three brand-new Golden Ratio Overlays: Golden Spiral, Golden grid and Golden section, helping designers better layout the designs and making designs more appealing to the human eye.
- Head to the top Toolbar;
- Click the Artboard icon and select any Golden Ratio Overlay from the drop-down list;
- Hold your mouse to draw it onto your workspace for your design needs.
Add Slice: A slice works exactly the same as a layer that can be drawn on your Canvas and anything within a slice can be exported as an image. You can select, resize, move, hide, and group Slices just like layers. Mockplus DT enables you to add Slices in just a few steps:
Click on “Slice” from the Top Toolbar or press S.
Click and drag anywhere on your canvas to create a new Slice.
Alternatively, you can click on any layer within your design to create a slice around it.
Add Hotspot: If you want to create a clickable area that’s larger than a single layer, you will need to use Hotspots, which offer more control than links. To add a Hotspot:
Click on “Hotspot'' from the Top Toolbar or press H.
Click and drag to draw your Hotspot area on the Canvas.
Now, click on the Artboard you want your Hotspot to be linked to.
Shapes: Mockplus DT offers you six pre-made, vector-based, and incredibly flexible shapes to give a head start to your design. These shapes include:
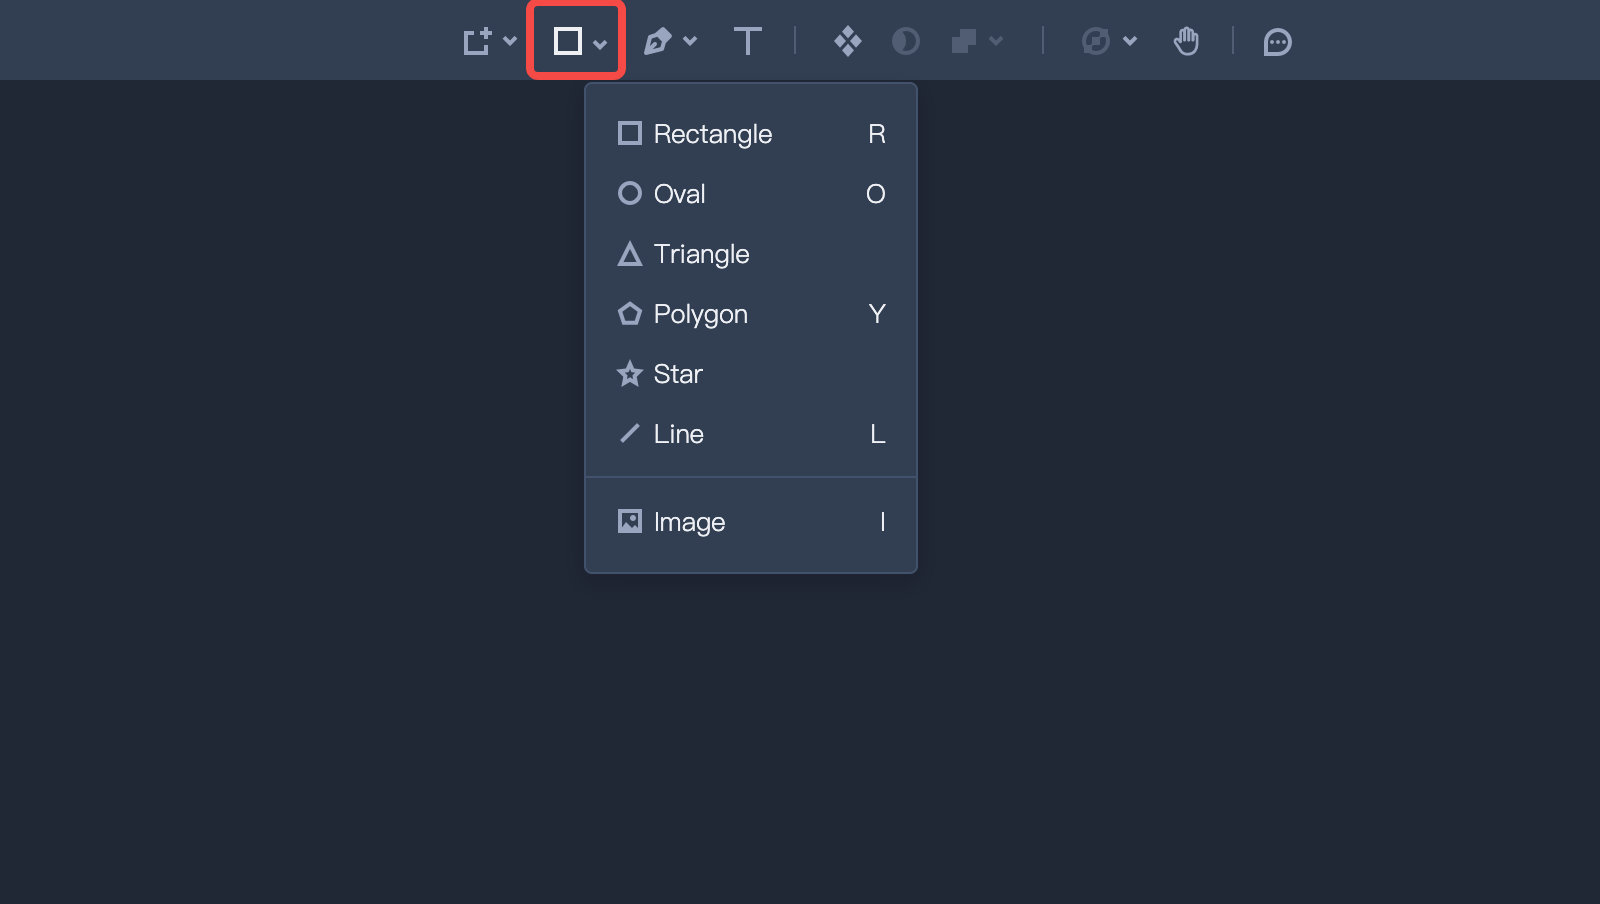
Rectangle
Oval
Triangle
Polygon
Star
Line
To add a shape:
Click on the Top Toolbar and select the “Shape” option.
Then choose the type of shape you want to add to your Canvas.
Vector tool: The Vector tool in Mockplus DT enables you to do better vector editing.To use the tool:
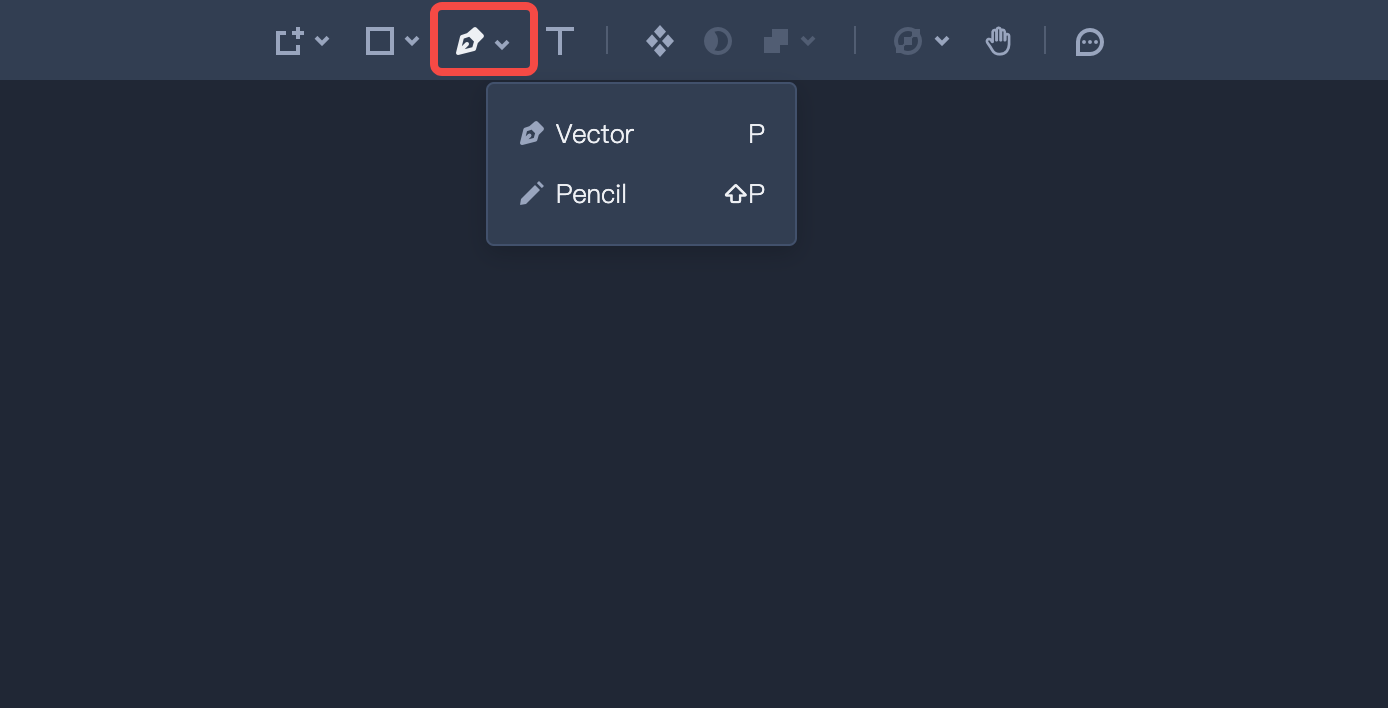
Select the “Vector” tool from the Top Toolbar.
Alternatively, you can press V on the Canvas to use this tool easily.
Pencil tool: With the Pencil tool in Mockplus DT, you can freely hand-draw something for your product design. Here’s how:
Select the Pencil Tool from the Top Toolbar.
Alternatively, you can press P on the Artboard to use this tool directly.
Text: To insert Text:
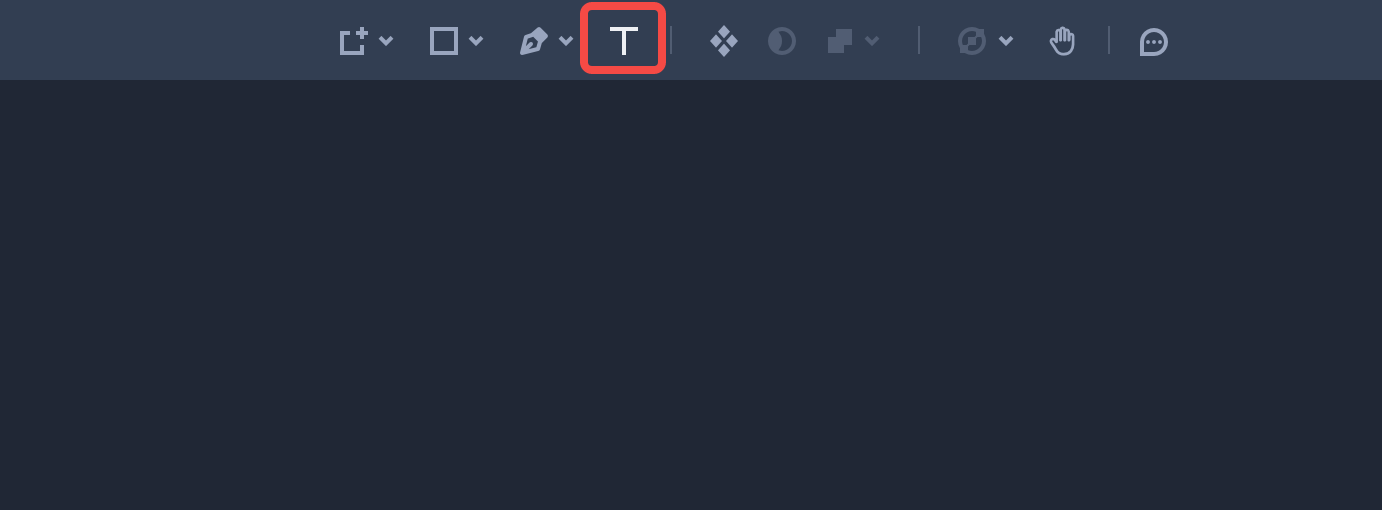
Select “Text” in the Top Toolbar or press T.
Click anywhere on your Canvas and start typing.
Create New symbol: To create a Symbol:
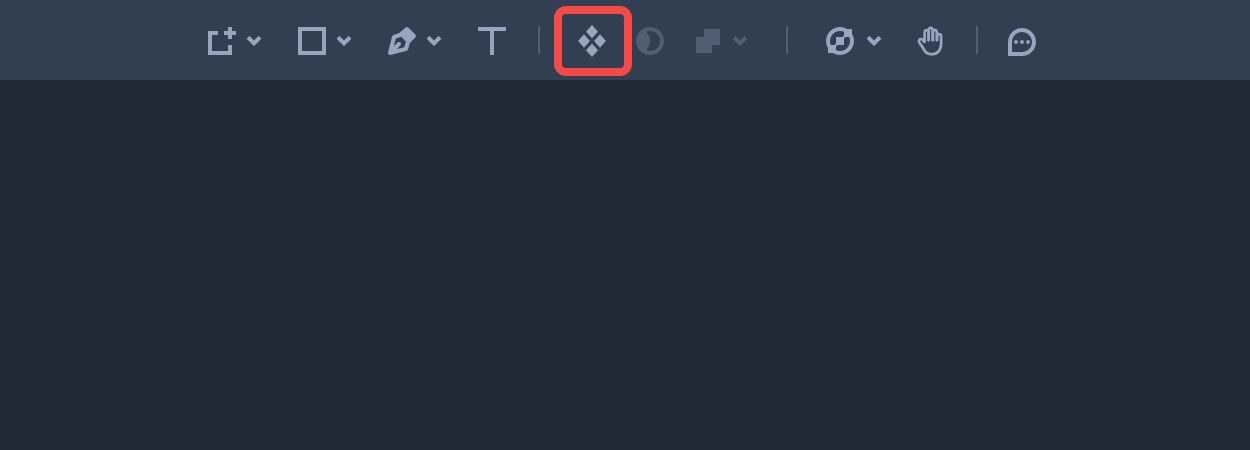
Select a group, Artboard, or a selection of layers.
Choose “Create Symbol” from the Top Toolbar to create one.
Name your Symbol and choose whether to send its source version to a separate Symbols page or keep it on the page you’re currently looking at.
Mask: Mockplus DT enables you to create both simple Masks and Image masks. To do so
Select a shape or an image on your Canvas.
Click on “Mask” from the Top Toolbar to use it as a mask.
Boolean Operations: Mockplus DT offers four Boolean operations to help you combine and create complex shapes:

Unite
Subtract
Intersect
Exclude
To use this feature:
Select multiple shapes on your canvas.
Click on the “Boolean Operations” button from the top toolbar.
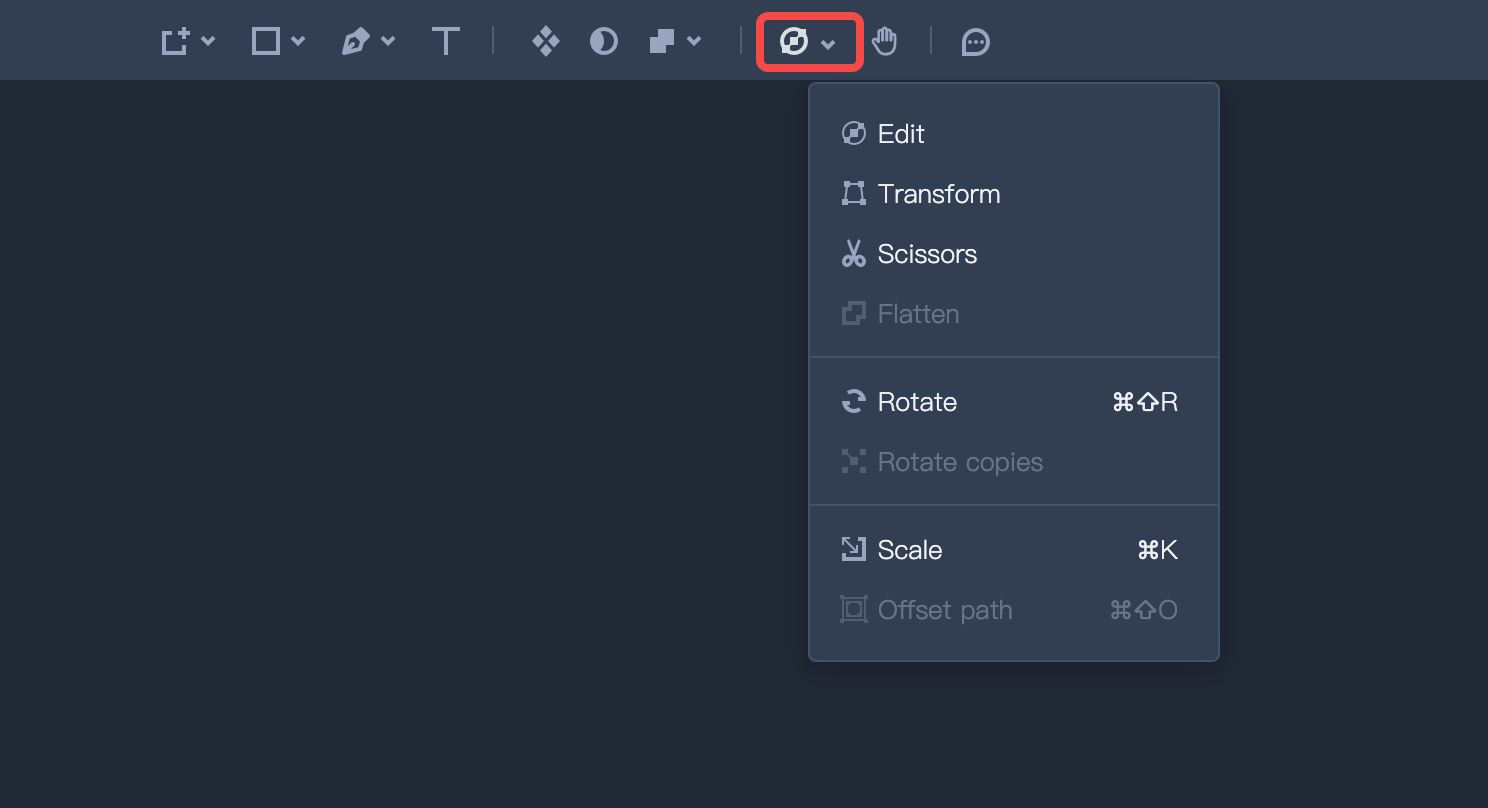
Featured tools to edit Shapes: To further edit shapes, you can click the Top Toolbar and select to use these tools:
Transform tool
Scissor tool
Rotate Copies tool
Canvas
The canvas is where you create your designs. You can directly work on the canvas to set things up however you like. No need to worry about running out of space because the canvas is infinite. However, if you want to design within a fixed frame, you can add Artboards to your Canvas.

Properties and interactions
The Properties Panel is where you can edit all the design properties for any layers you’ve selected.The Interactions Panel shows all existing links and interactions on the canvas and gives you controls to add new Interactions and overlays.
Right Panel

Text Styles
Layer Styles
Color Variables