


Welcome to Mockplus RP, a fast and free online prototyping tool that makes your ideas fly.In this guide, you’ll learn how to create interactive prototypes in Mockplus RP with ease, how to collaborate and get real-time feedback from your team, how can Mockplus RP help you check problems at an early stage and then enable you to refine and iterate your prototypes.
Before getting started you should know
Mockplus RP stands alone from Mockplus Cloud, enabling you to build prototypes quickly.
Mockplus RP runs online; therefore, there's no need to download or install anything.
So, how does Mockplus work? How do you get started? Let's explore.
Create your first prototype
To create your very first prototype, follow these steps:
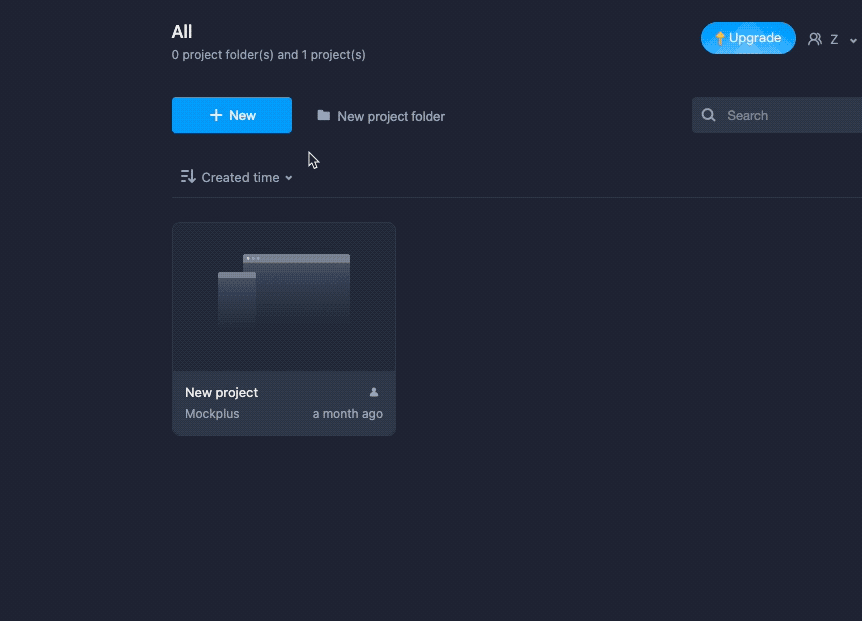
Go to https://rp.mockplus.com and enter your login details.
Next, you will enter Mockplus RP, where you can start prototyping your website or mobile apps.
To start from scratch, click the "New" button
 and select any device.
If you do not want to start from an empty canvas, click the "Free Templates" button in the pop-up window, and save any template you want to start modifying your prototypes.
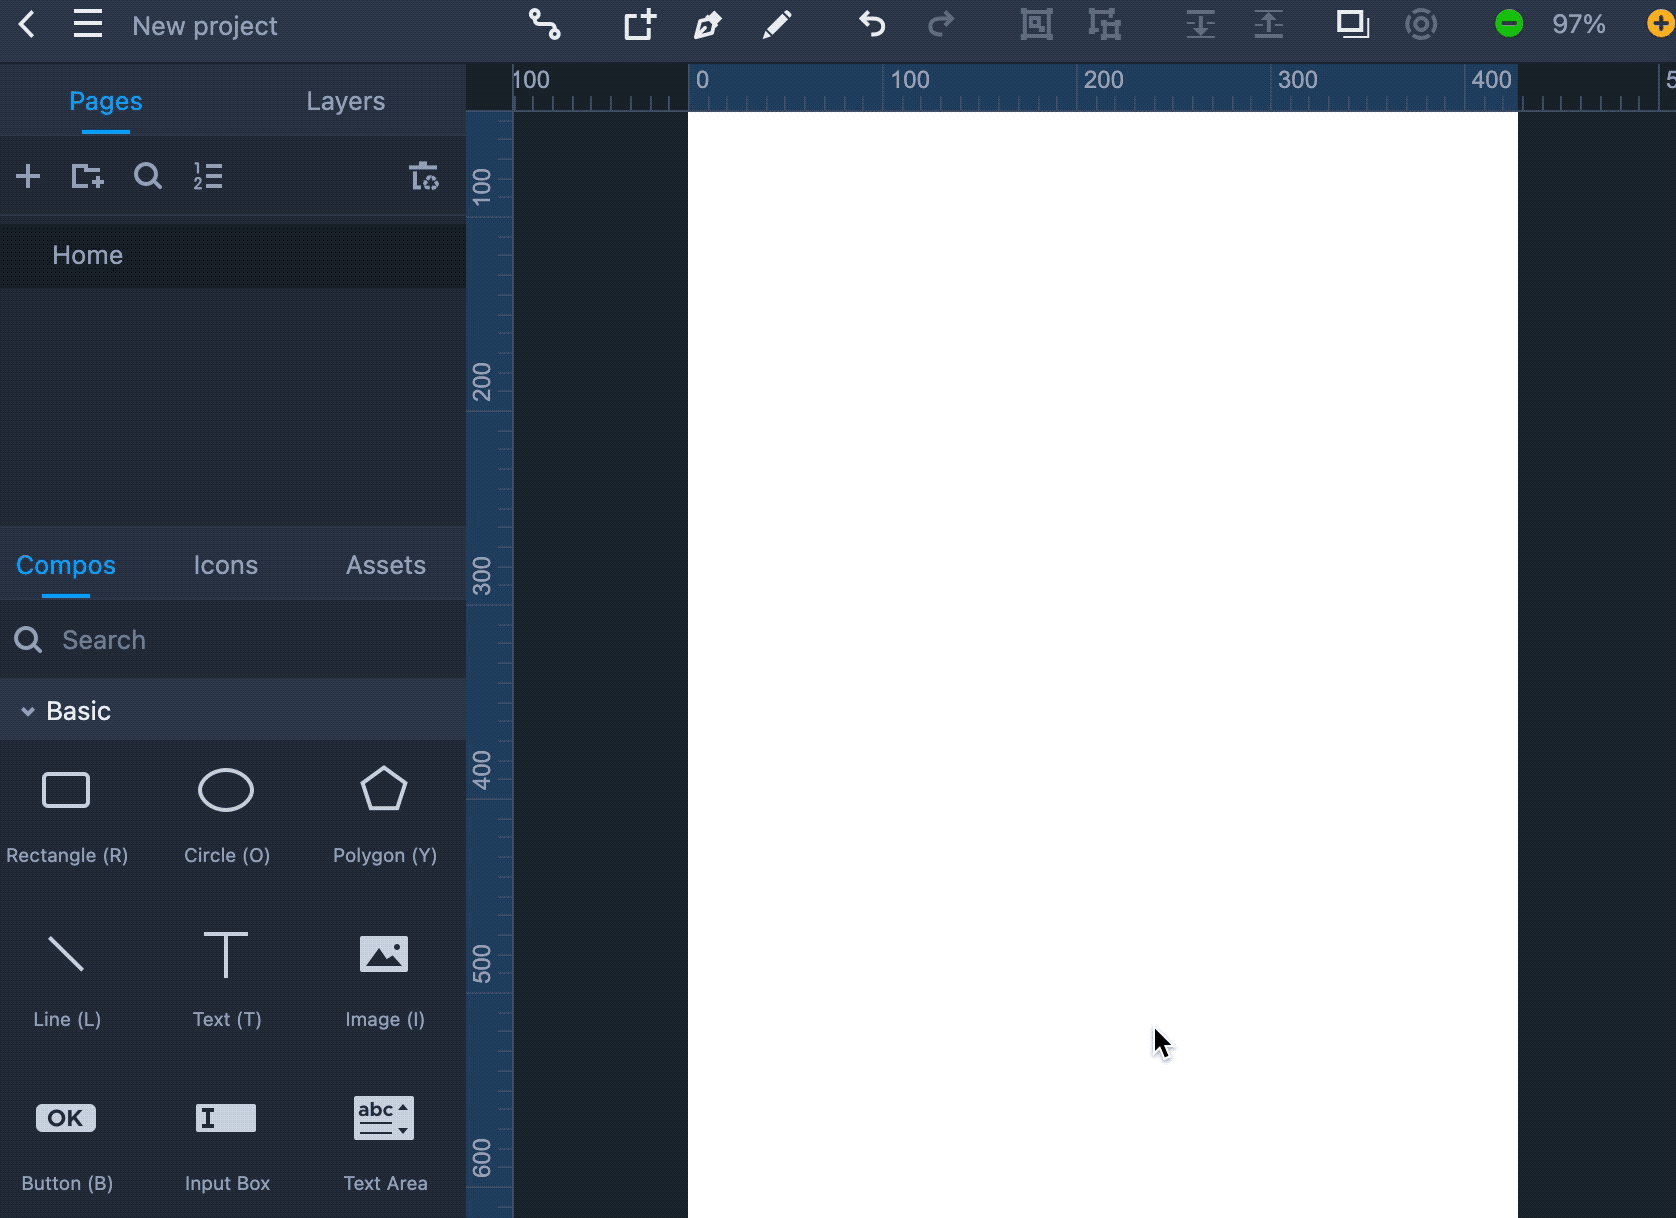
Explore Mockplus RP User Interface
Mockplus RP's user interface comprises five main sections, each required to create and customize your prototypes.Let us give you a rundown of each section:
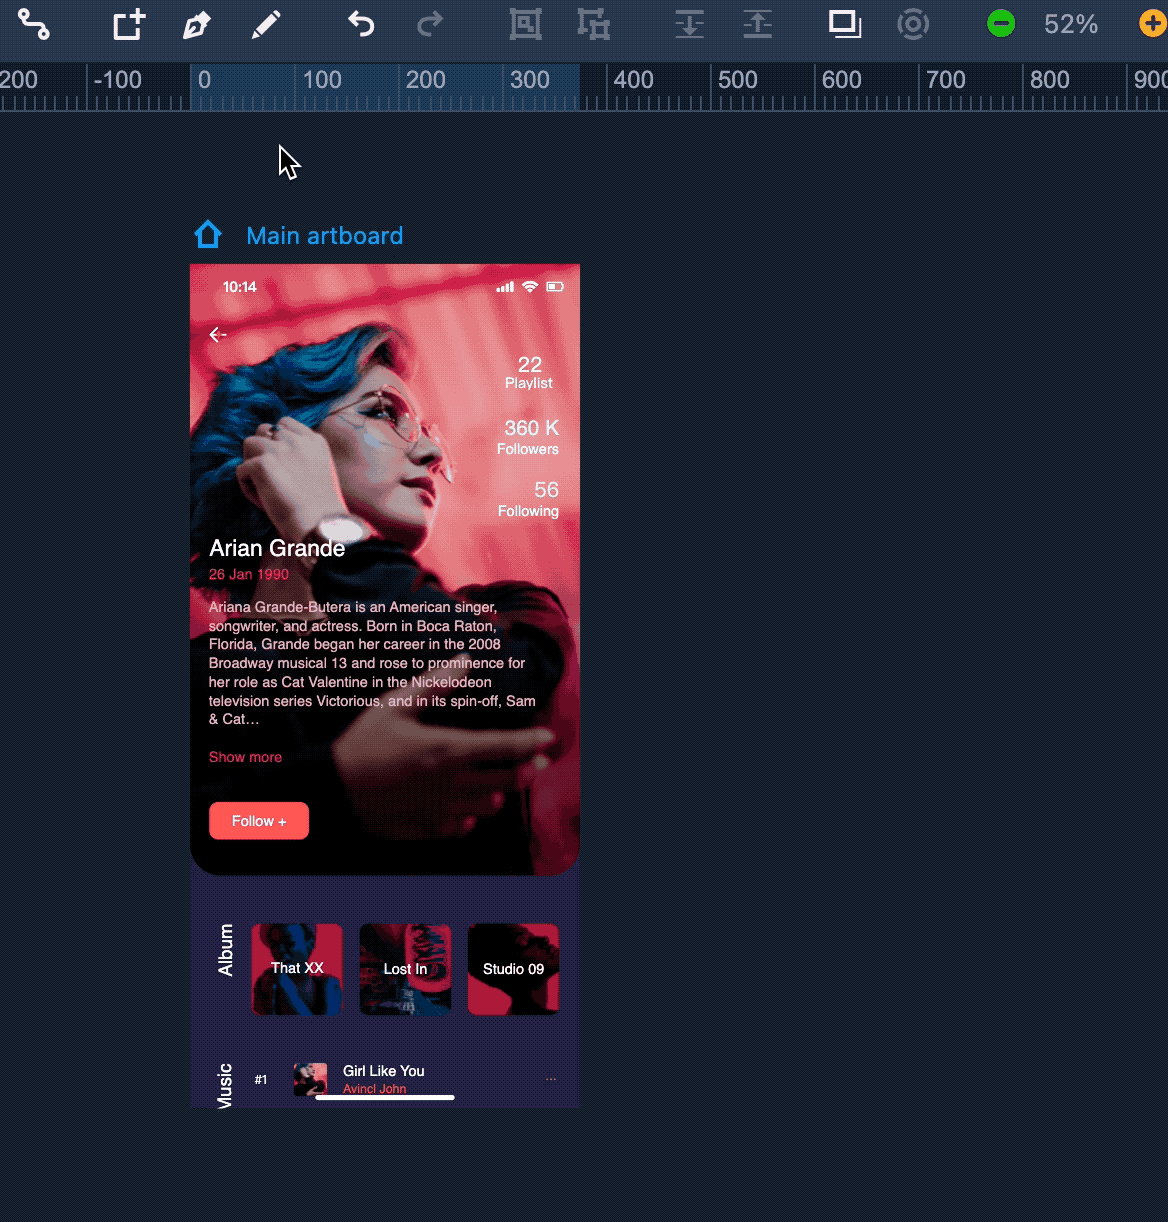
Canvas
You will see the “Canvas” section in the middle of your UI. This is where you can add Artboards and place elements onto the Artboard to build your wireframes and prototypes.
Top toolbar

The top toolbar is quite an important section, as this is from where you can access the Connect Mode, add sub-boards, and group and ungroup your design elements. Plus, the top toolbar also had vector tools like pen and pencil to help you prototype more effectively.
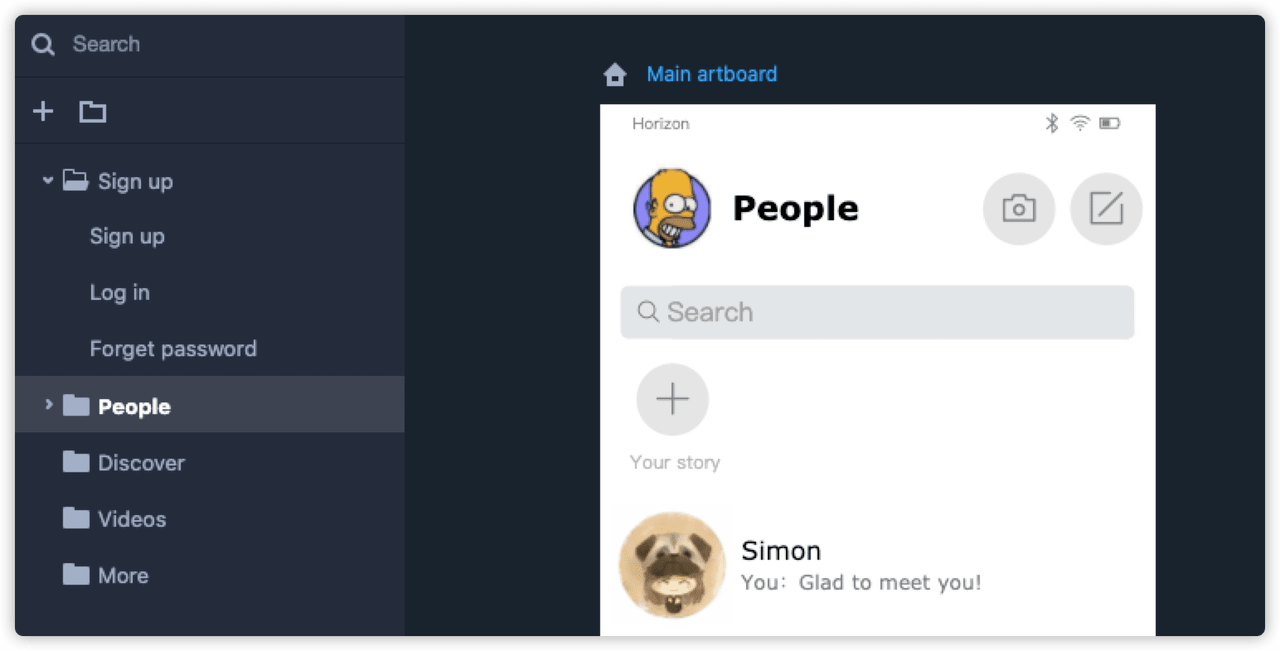
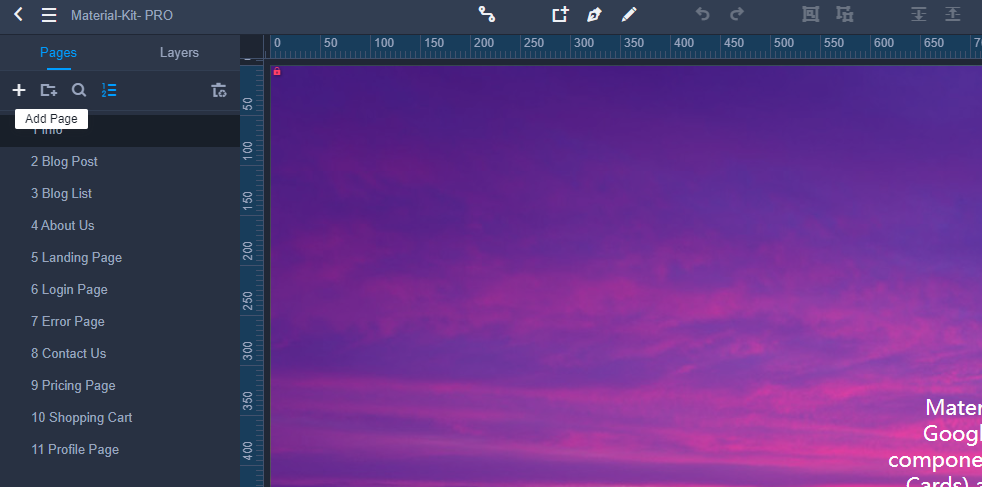
Pages and Layers
The Pages and Layers section helps you view and manage your project pages and layers in a tree structure.
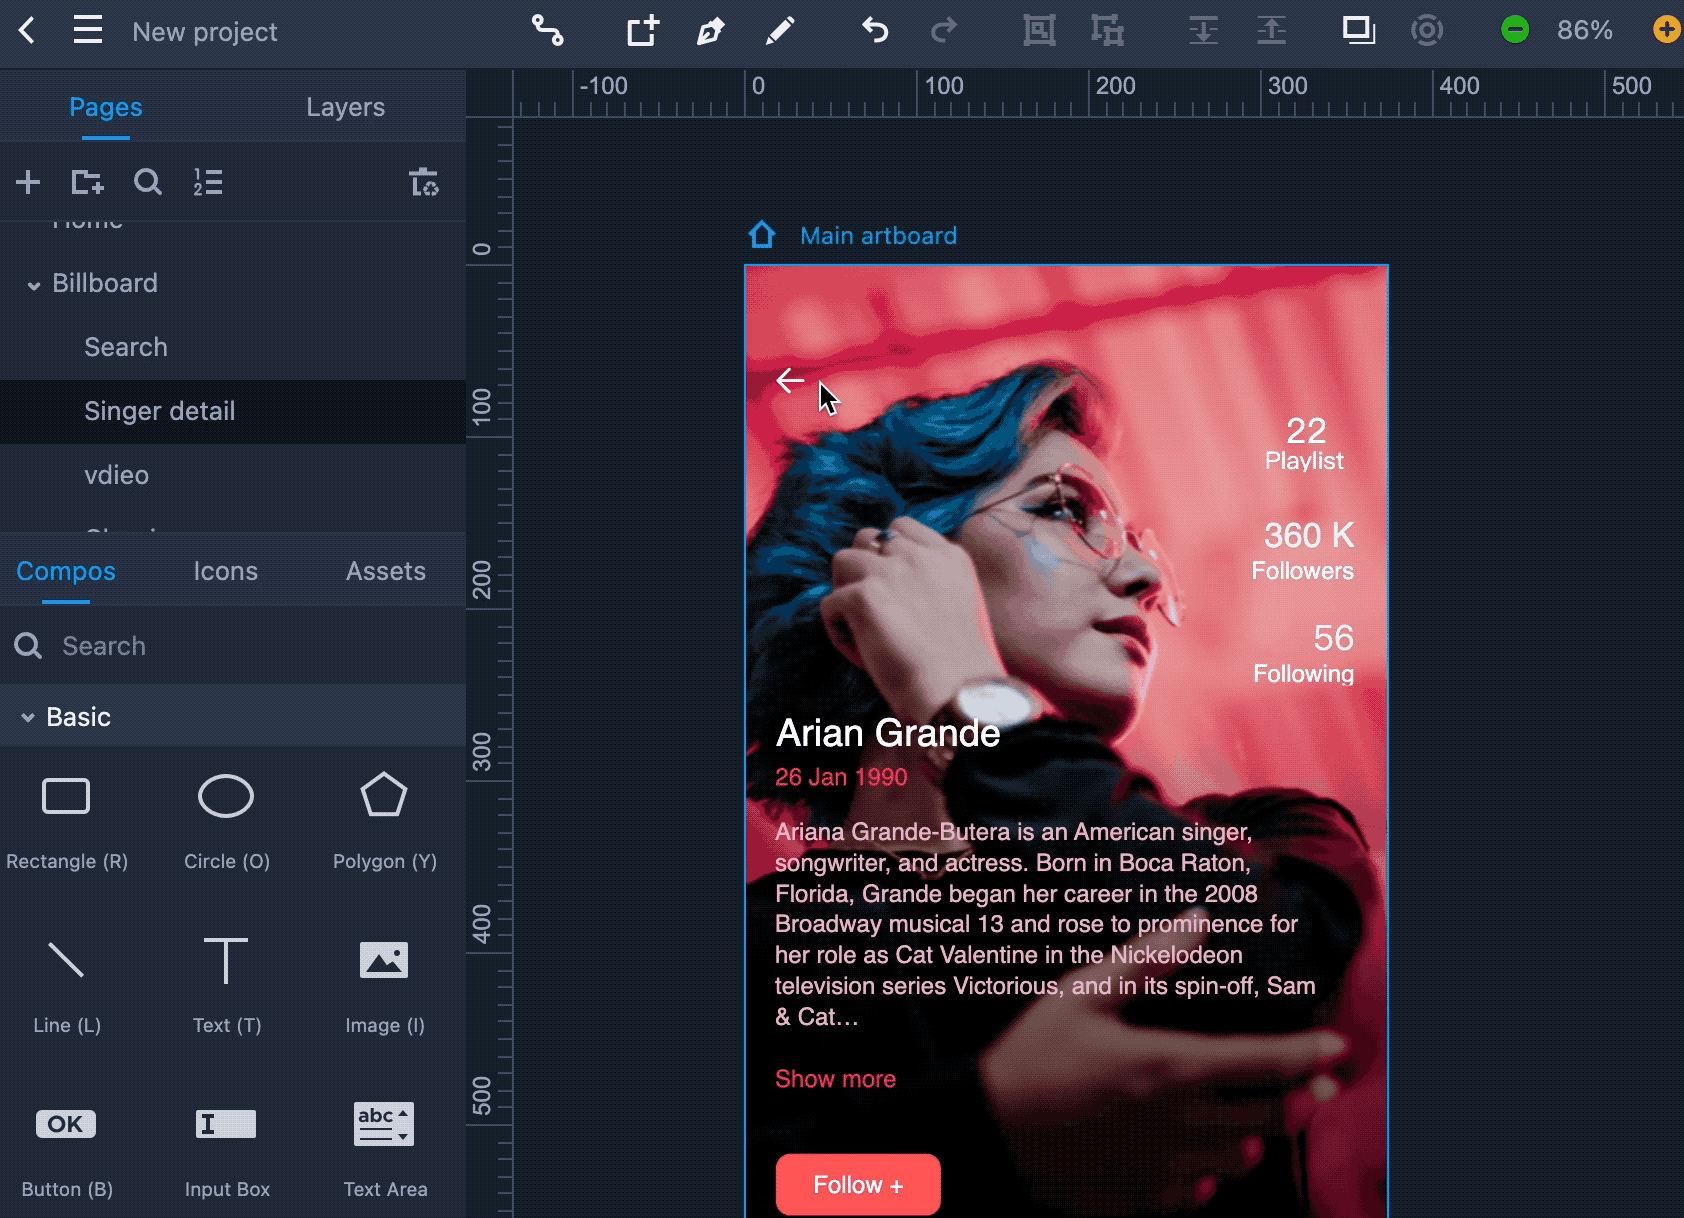
Compos, Icons and Assets
Mockplus RP offers you a built-in component and icon library, where you can find an impressive variety of components, containers, shapes, and ready-to-use icons in both thin and bold strokes.
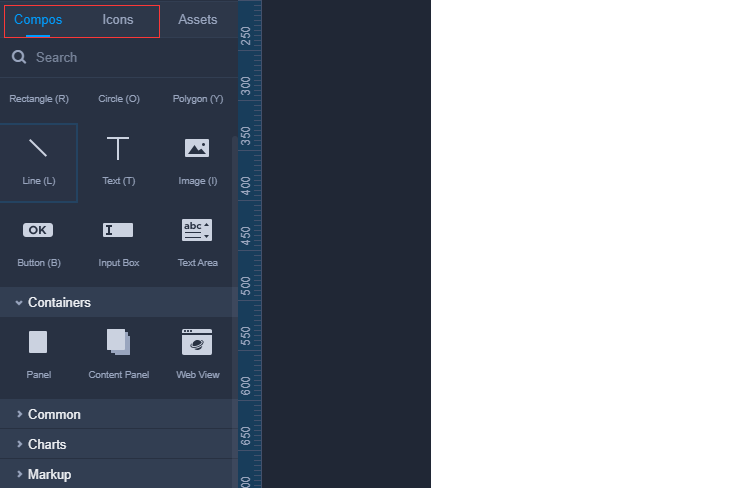
Moreover, if you want to improve your work efficiency further, click the "Assets" tab to add, manage and reuse your design assets.
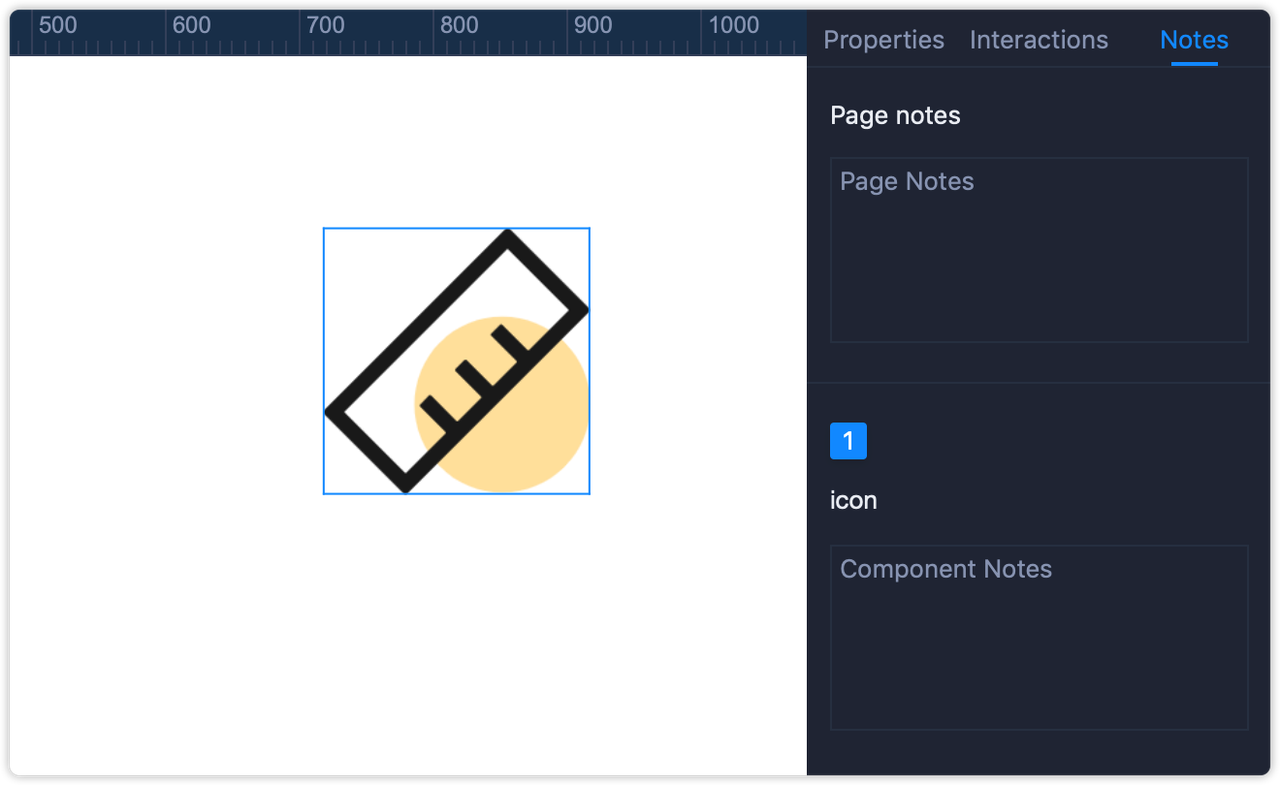
Properties, Interactions and Notes
In the Property and Interaction panel, you can set or adjust the properties of your components and add interactions to your design elements.
In the Notes field, you can add a note to any component or the entire page for further understanding and explanation.
Design the first page of your prototype
Following are the components of designing the first page of your prototype using MockPlus RP:
1. Drag and drop elements onto the Artboard
MockPlus RP comes with a simple drag-and-drop feature that helps you work on your prototype with ease.Simply select elements from the Components and Icons library and double-click/drag them to the Artboard to design your prototype. You can also use keyboard shortcuts to add basic components onto the Artboard quickly.
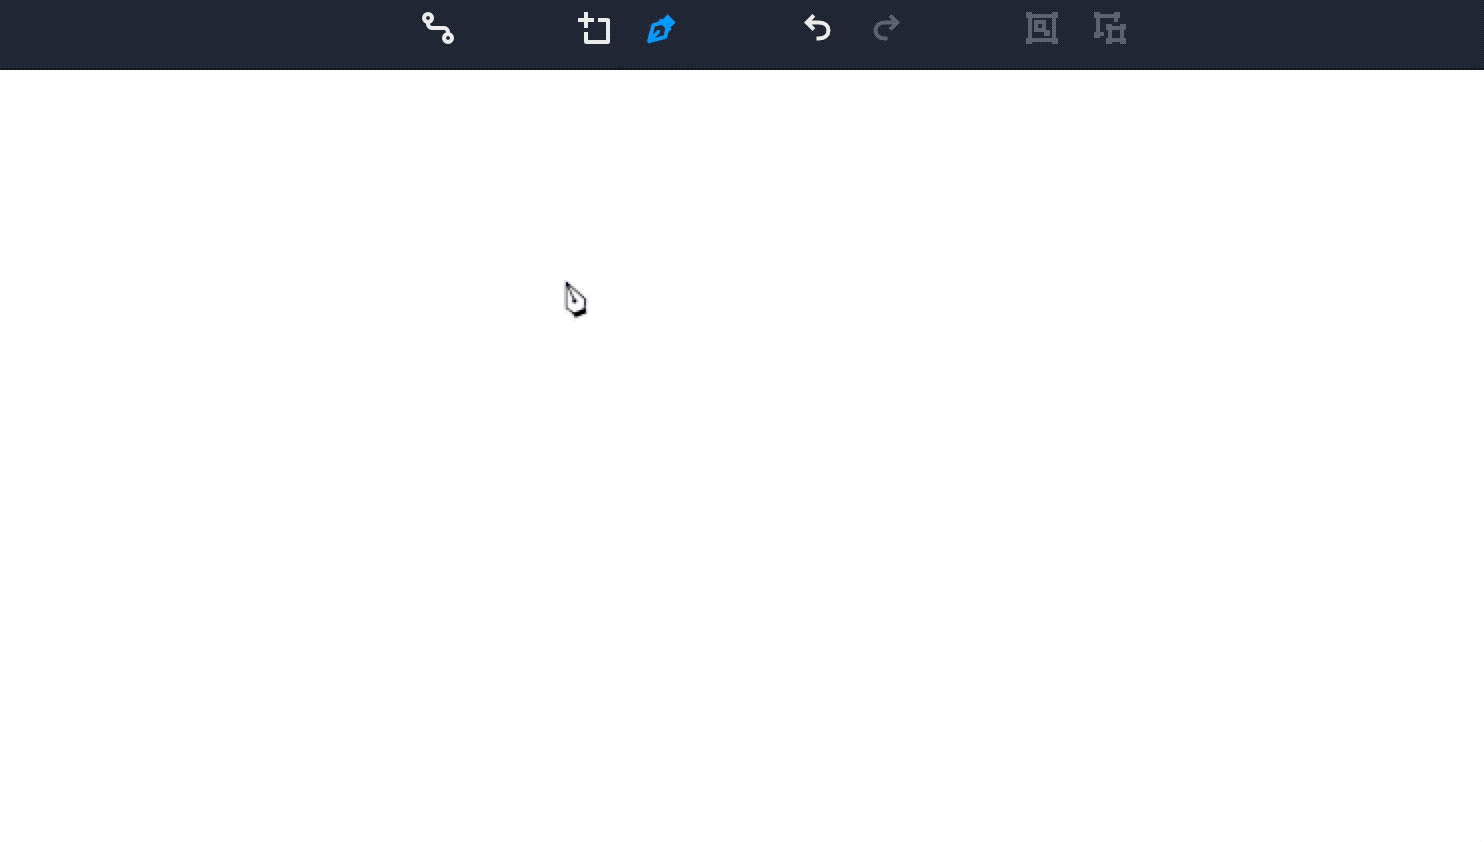
2. Draw vector shapes using the Pen and Pencil Tool
The pen and pencil tools are present in the top toolbar. You can use vector tools to draw straight lines, curves, a combination of both, and other complex illustrations to give your ideas a definite form for better understanding.
3. Adjust properties for your design elements
To set and adjust the properties of the components you added to the Artboard, select the "Properties" tab from the panel on the right.You can also view and edit an element’s styling, position, and visibility during simulation according to the requirement of your design. Note that different elements have distinct properties that you can customize.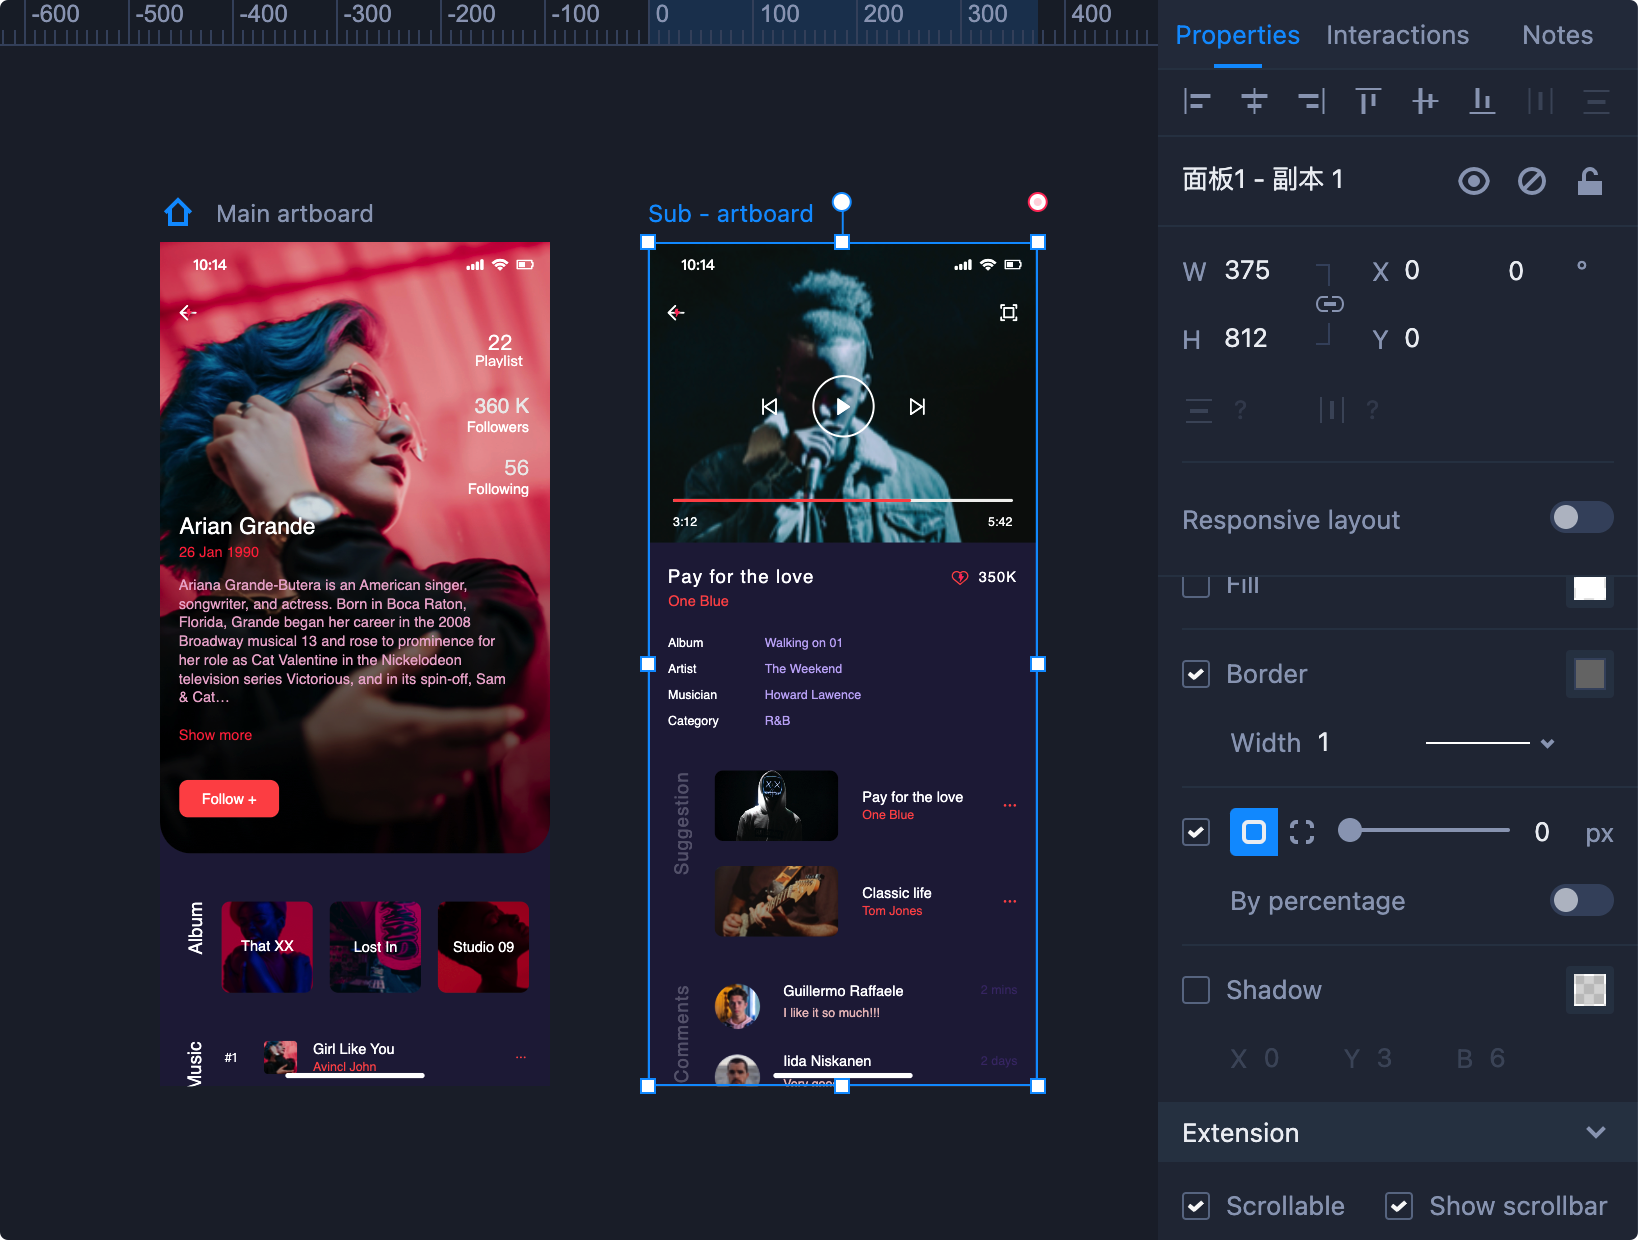
4. Add sub-boards for your prototype
Mockplus RP allows you to present dialogue or dynamic content using main and sub-artboards.You can add sub-boards for your prototype with the following two methods:
Click "Add Sub-artboard” on the top toolbar and draw a rectangle on the workspace with your mouse.
Or you can:
Press the "A" key and draw a rectangle in the workspace with your mouse.
5. Add another Page
If you want to add another page, just head over to the Pages panel, where you will find a list of all the pages in your prototype. Click on the ‘+’ button to add a new page.To rename the page, double-click on a page in this panel. Or you can right-click on a page to perform more operations, such as copying, cloning, hiding, etc.
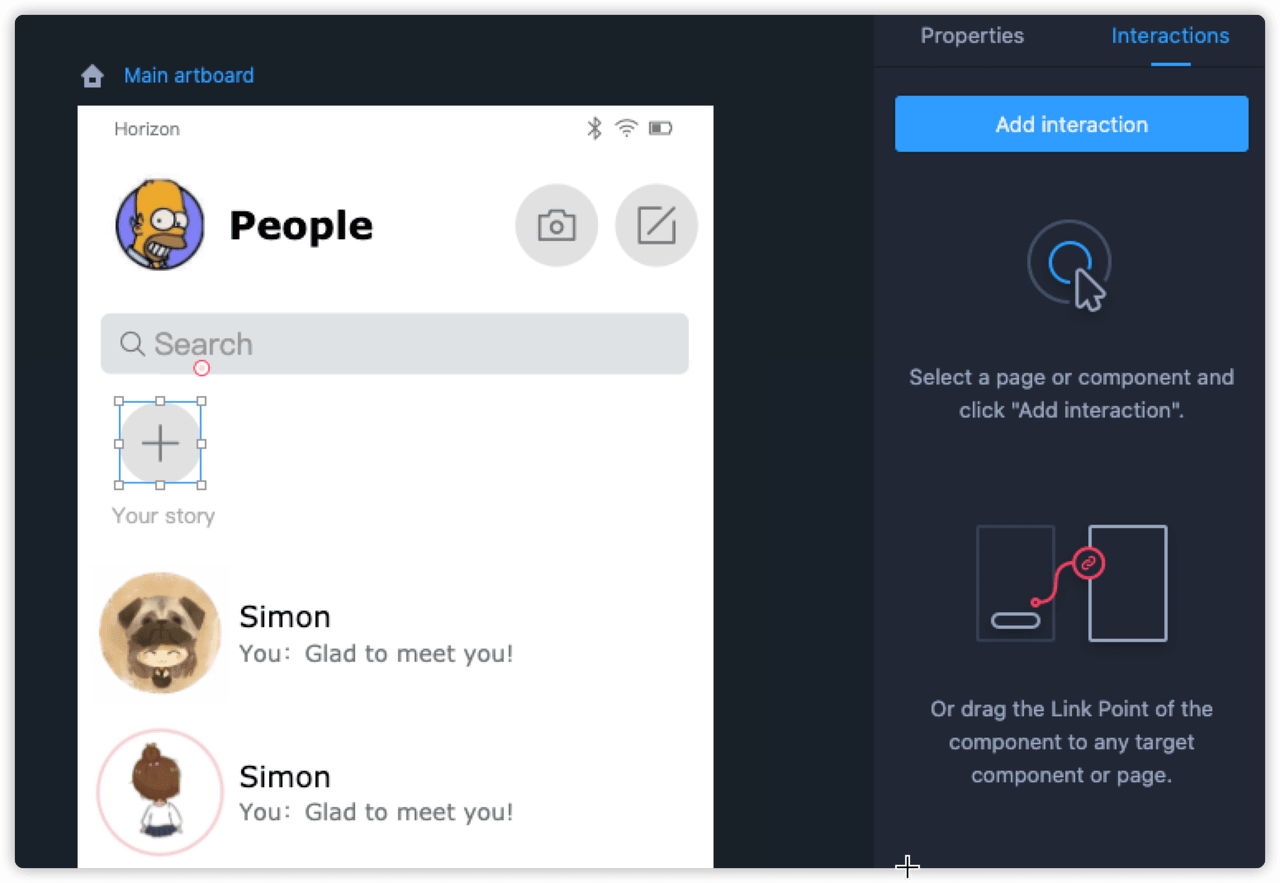
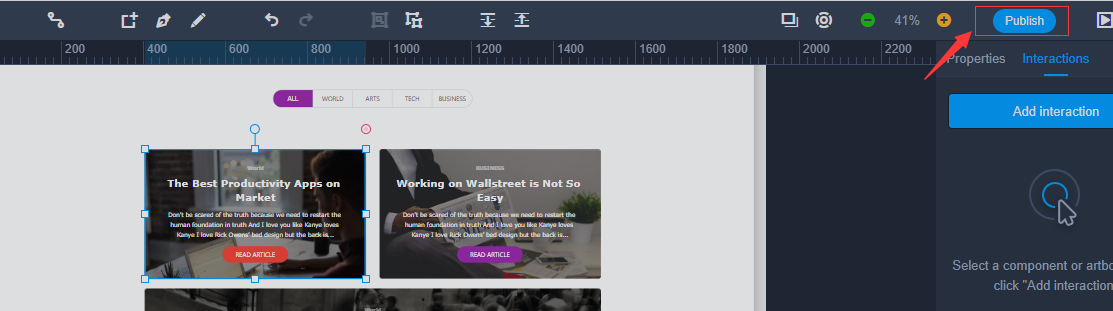
Add interactions to your design elements
In Mockplus RP, you can create clickable prototypes using two different methods:
Drag and Drop: Select an element on the Artboard and drag its link point to any target component or page.
The Interactions Panel: Select an element you want to link to another component or page. Now go to the Interactions Panel on the right, and click the "Add Interaction" button to add a new interaction for the selected element.
Collaborate and get feedback from reviewers
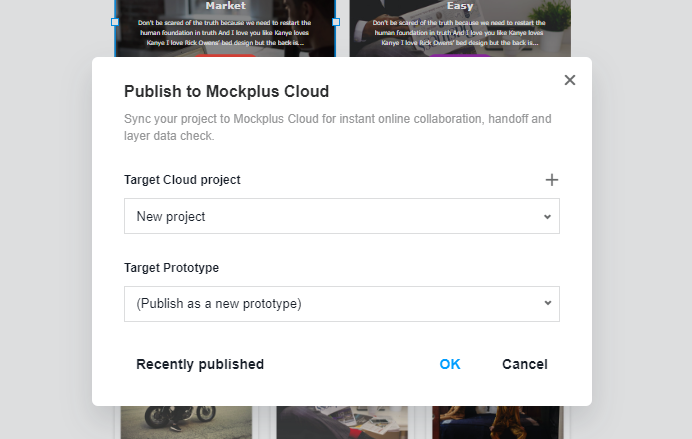
MockPlus RP allows you to share your prototypes and get feedback from clients and colleagues by publishing your prototypes to Mockplus Cloud.They can view, interact with, and leave comments on your prototype pages and UI elements.Here's how to go about this:1. Click the "Publish" button in the right corner of the top toolbar.
2. Place your prototype in an existing project or create a new one from the pop-up window.
3. Once your prototype has been successfully published to Cloud, your team members within the project can view and directly add comments to your prototypes.
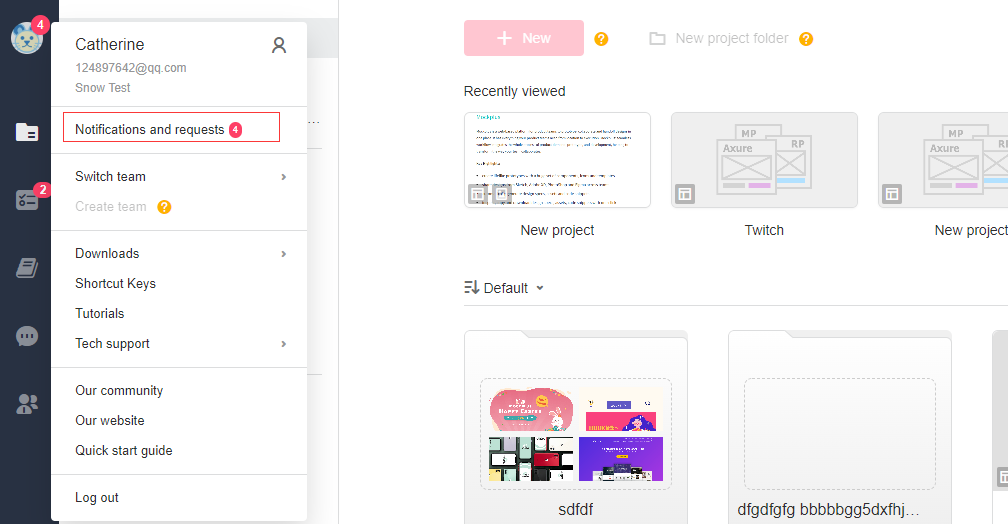
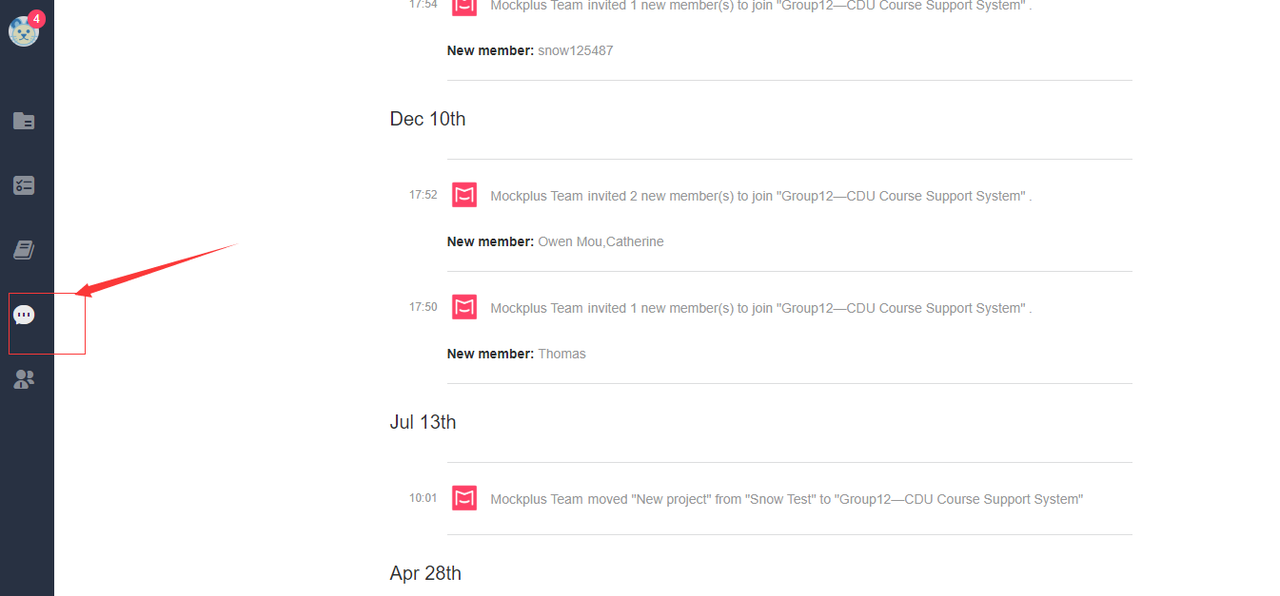
4. Head over to your Cloud project homepage and click your avatar. This will take you to the “Notifications and Requests” panel, where you can check all the comments you have received on your prototypes.
Preview and test your prototype on a real device
There are 2 ways to preview and test the look and feel of your prototype on MockPlus RP:Preview on the web end
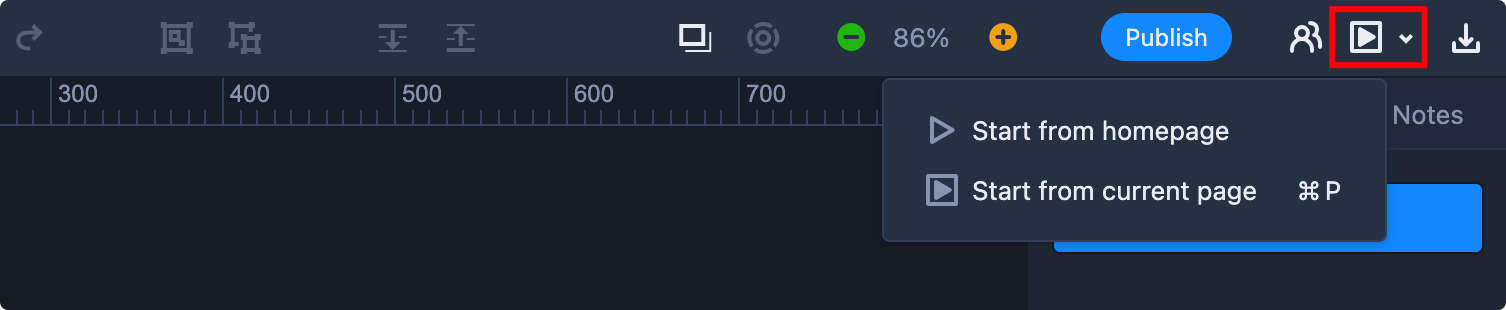
Click the “Preview” button
 on the right corner of the top toolbar to start previewing immediately.
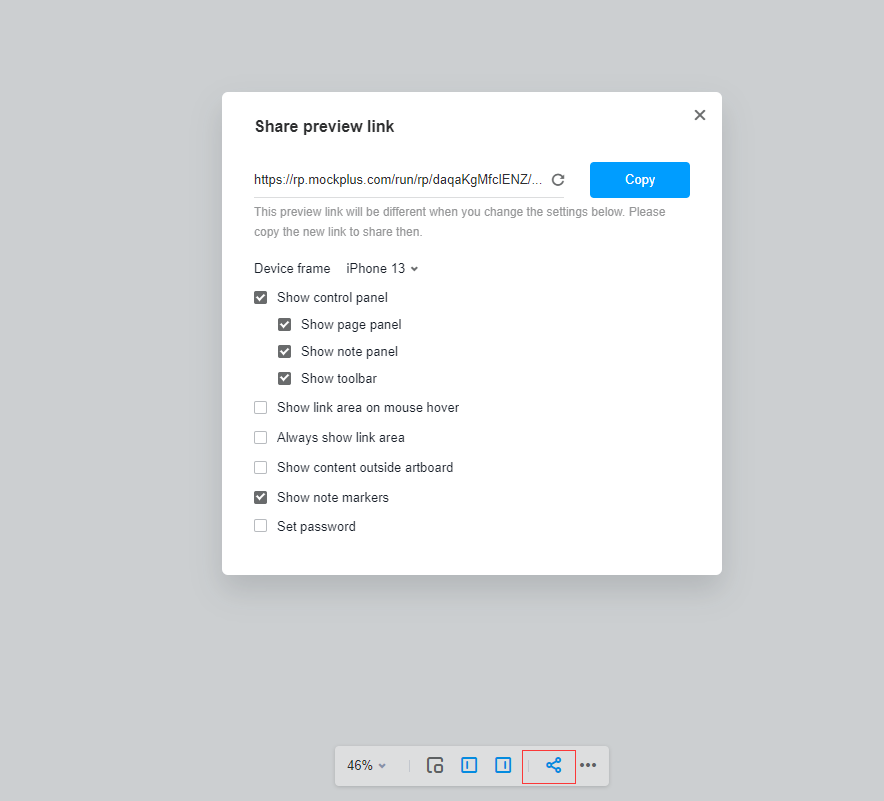
Click the “Share” button
 on the navigation bar, choose any device frame you need and share the preview link with other stakeholders. They can click the link to preview and test your prototypes directly on the web.
Preview with Mockplus app
Download and install the Mockplus mobile app on the Apple App Store and Google Play Store.
Open the mobile app and sign in with your Mockplus account details. You’ll then see a list of prototypes within your project.
Tap on a prototype to preview it, which allows you to test your prototypes on an actual mobile device.